DIY NAS Setup with OpenMediaVault on Old Hardware
Introduction
In this article I will show how I set up a custom NAS server out of some old hardware and OpenMediaVault. This will be my base storage solution and I plan to use it with media player and as a general backup solution.
Hardware
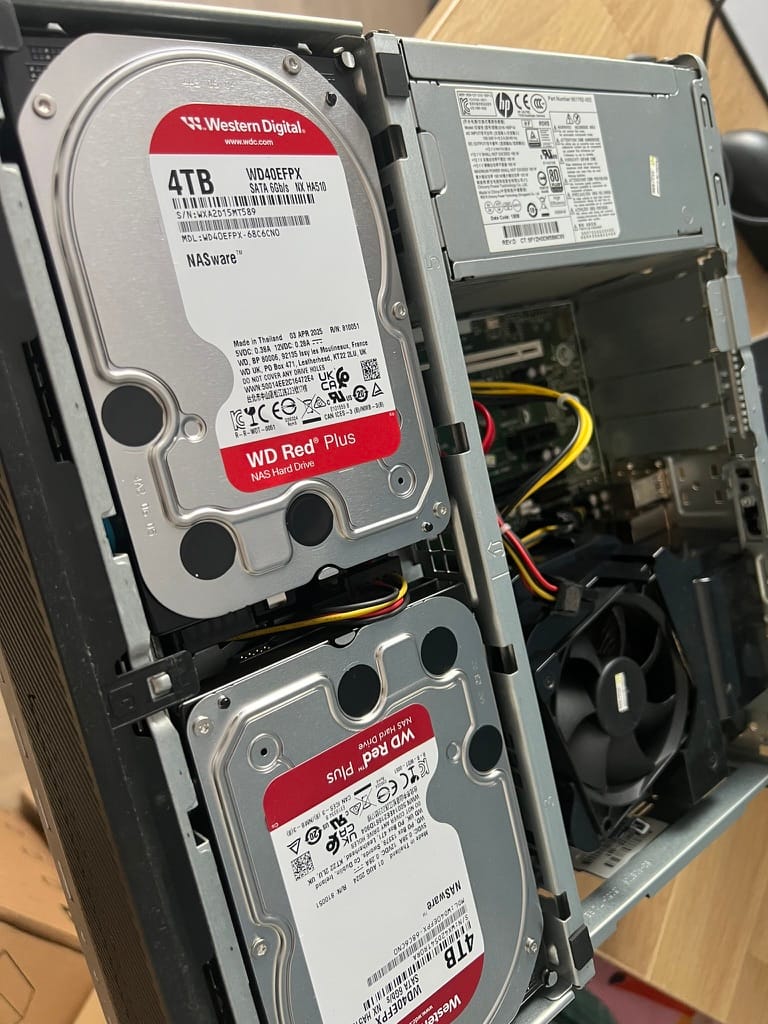
Some time ago I bought used HP G3 desktop for 20 euros. The specs are quite low e.g. an old Intel i5, 8 gigs of RAM, nothing fancy. I equipped it with a set of WD Red Plus 4TB and 256Gb Nvme drive.
OpenMediaVault 7 Installation
Download the .iso file from official site, and burn it onto a USB stick. For macOs I would recommend using Etcher. During the installation make sure that the device is connected to the network. DHCP will set an IP address for the machine. We will change it later to make it static. Personally, I left each configuration as default, however feel free to customize as needed (language, timezone etc.).
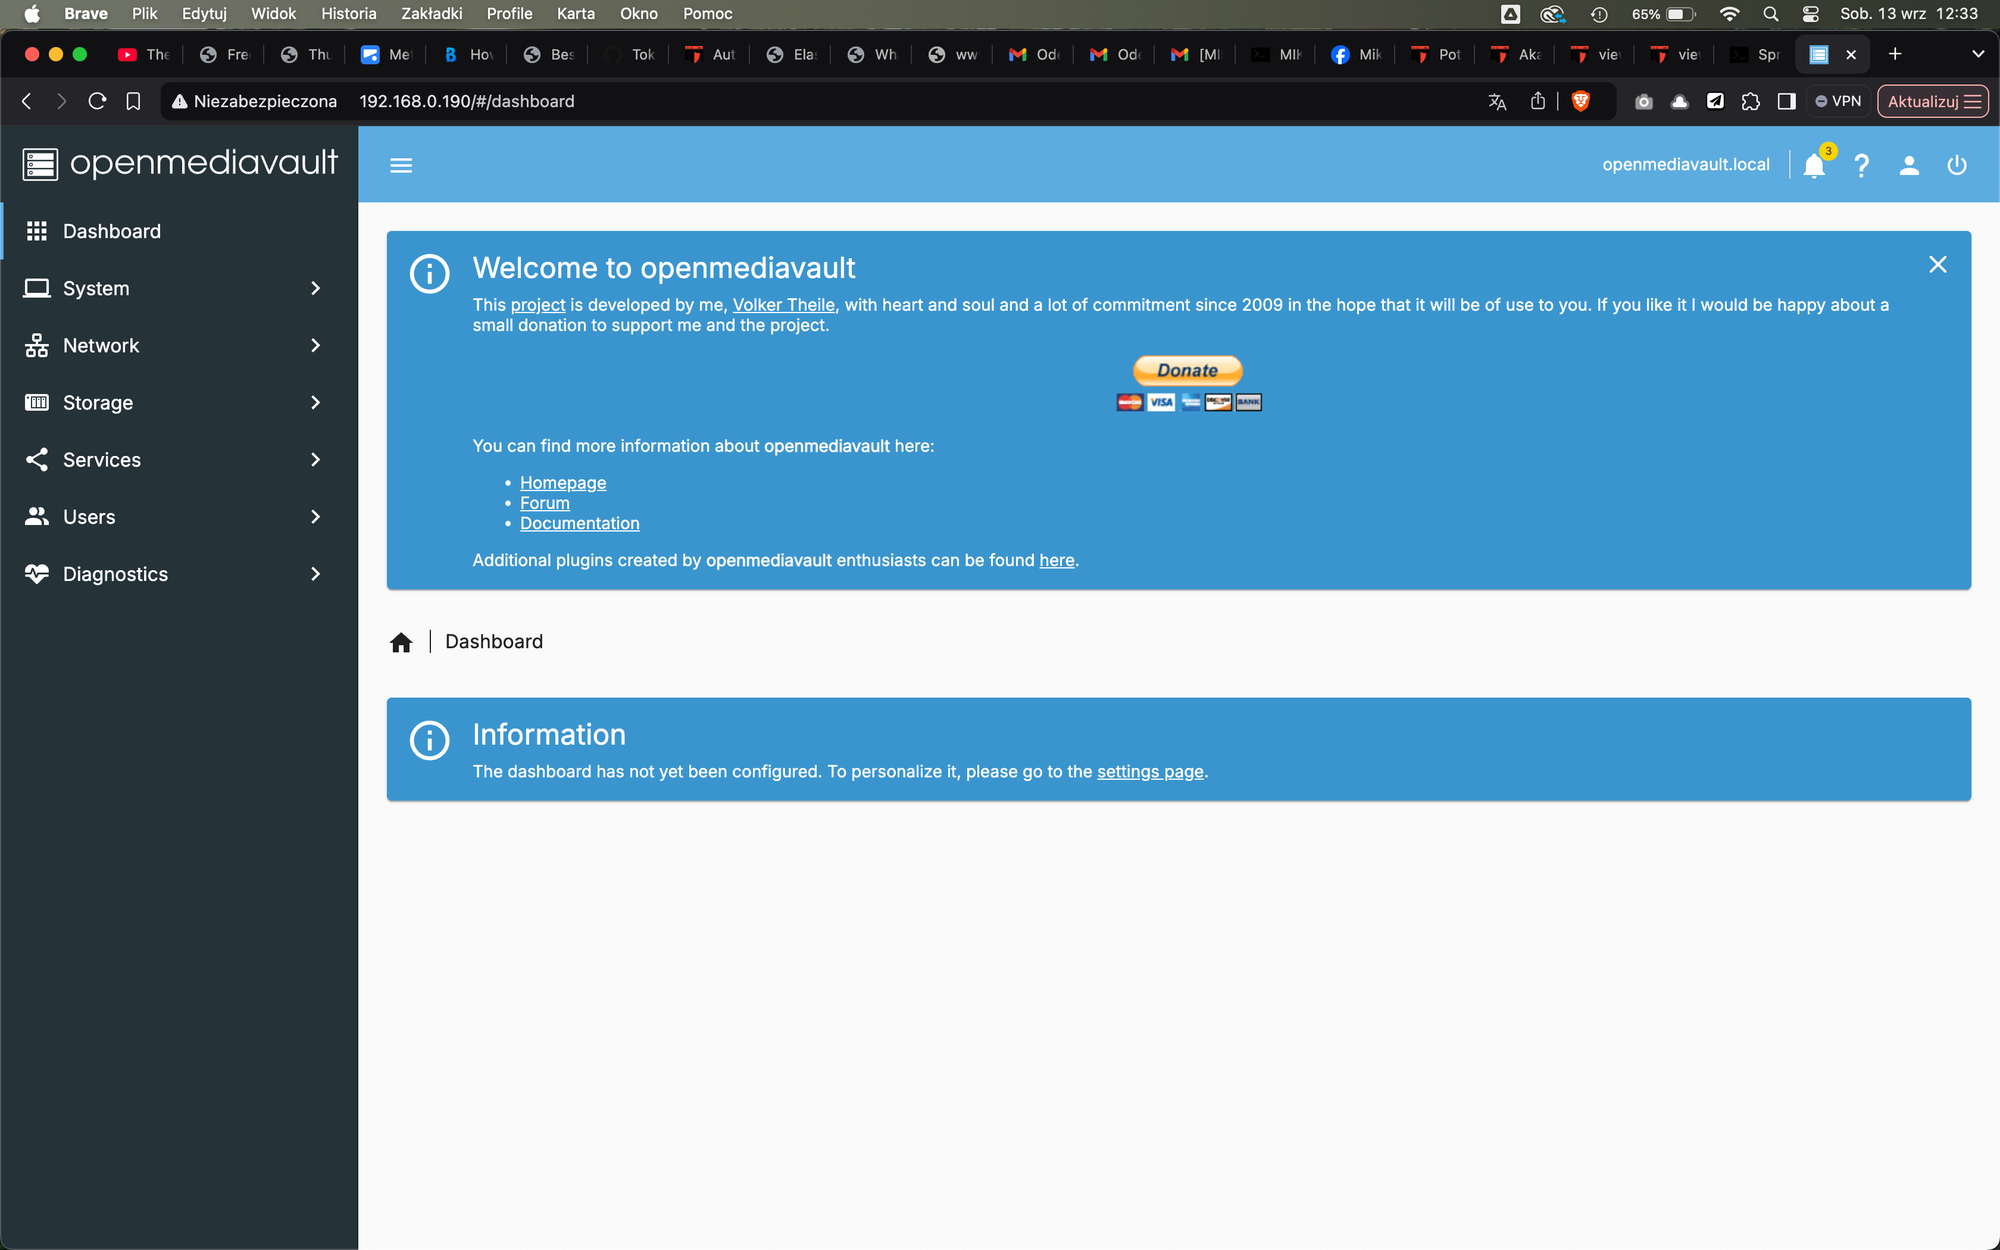
After installation, the system will reboot. Make sure to remove the USB stick. After restart the IP address will be shown . In my case it was eno1: 192.168.0.190. When I entered the IP address in the browser, I was greeted with the login page. For first login, use admin for login and openmediavault as password.
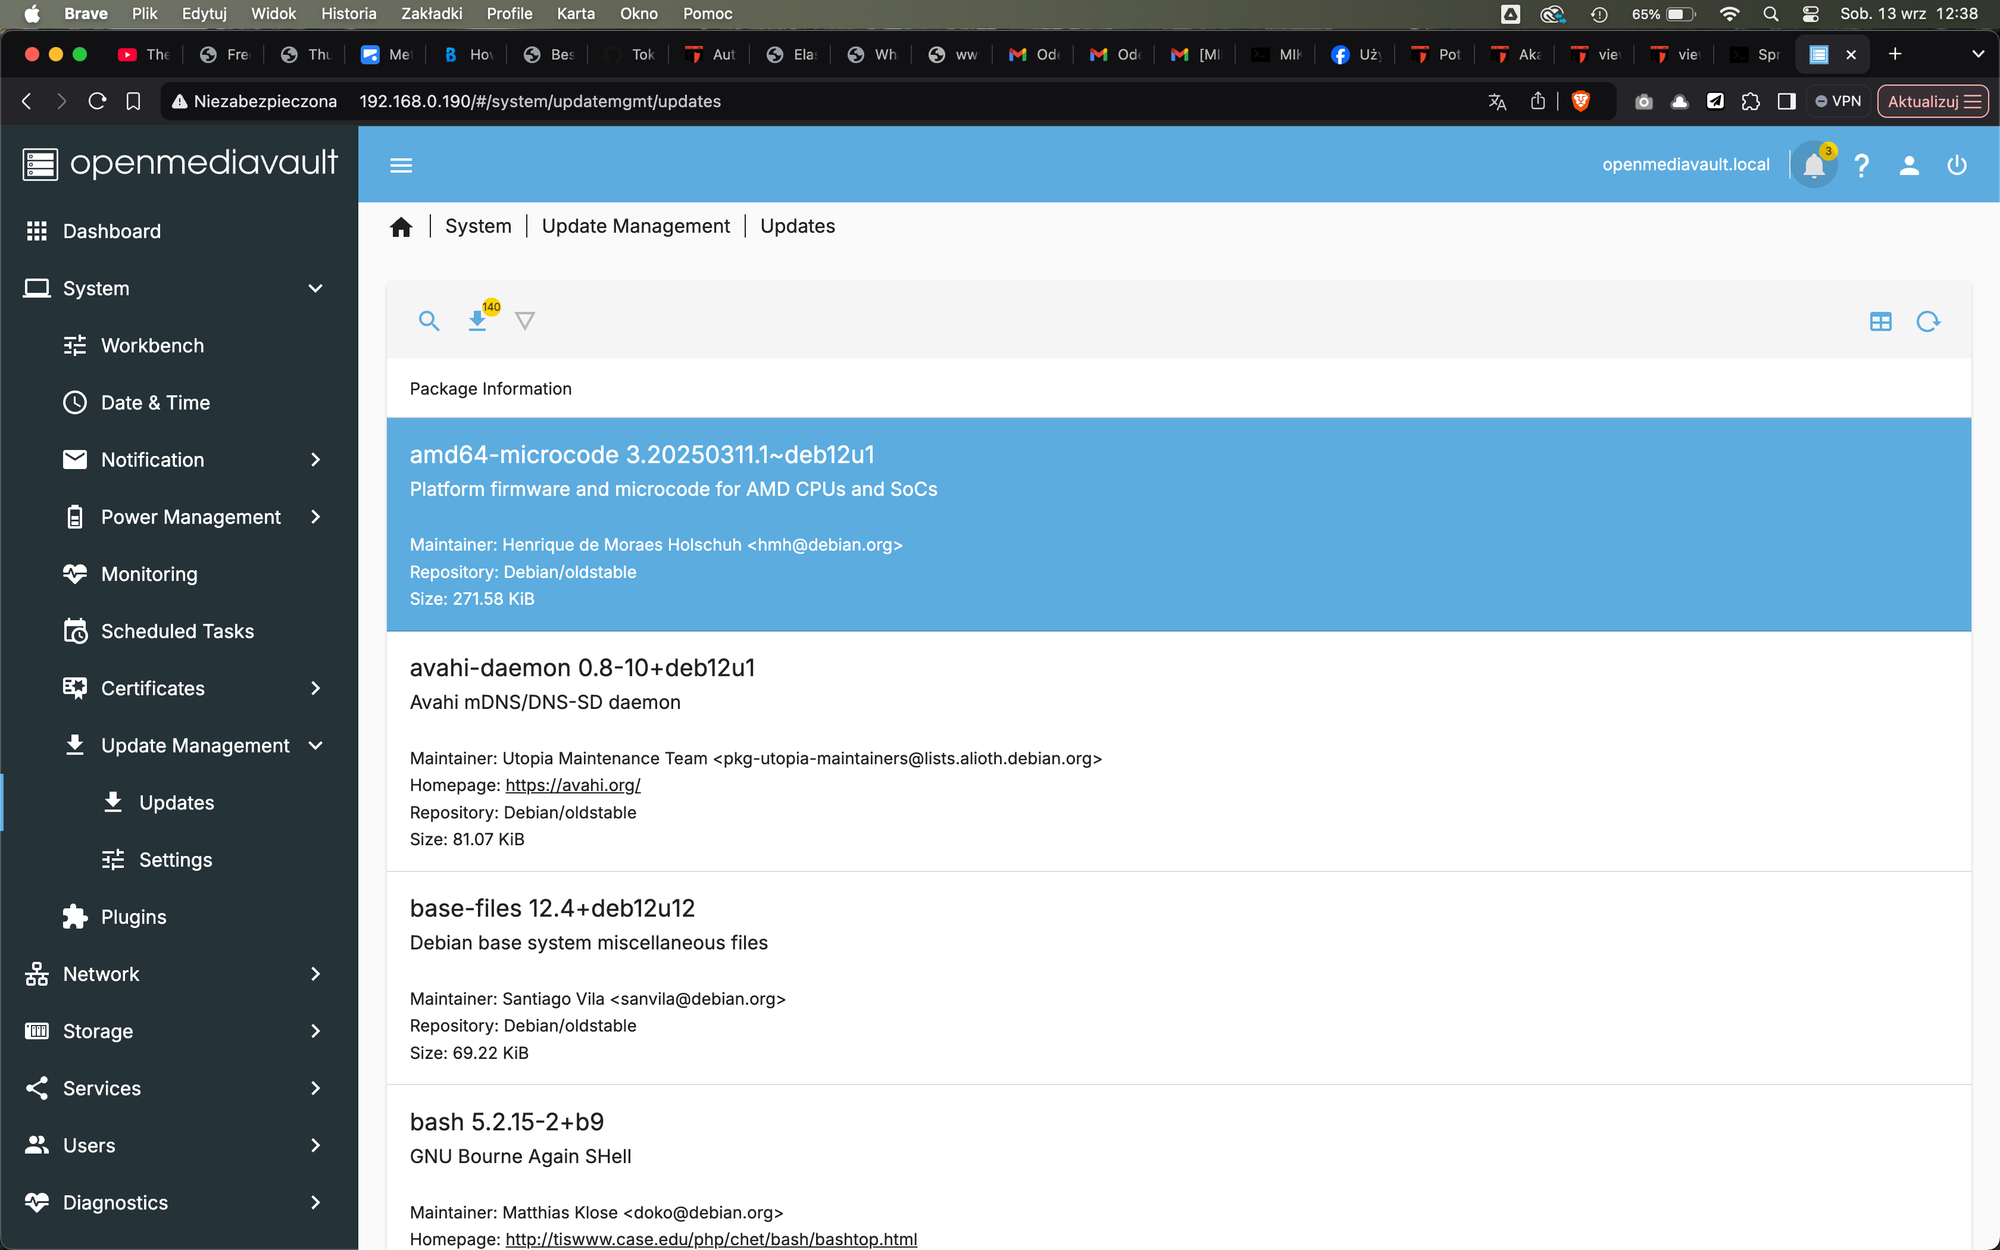
Although I downloaded the latest version of OMV first thing I usually do is to update the entire system. Navigate to System -> Update management and update the system.
Changing OMV IP address
There is always a risk that DHCP given IP may change in the future. OpenMediaVault will be my primary data storage solution and many devices will be connected to it. That's why I want to have static IP here. We can easily modify its value by going to Network -> Interfaces menu, and change the address.
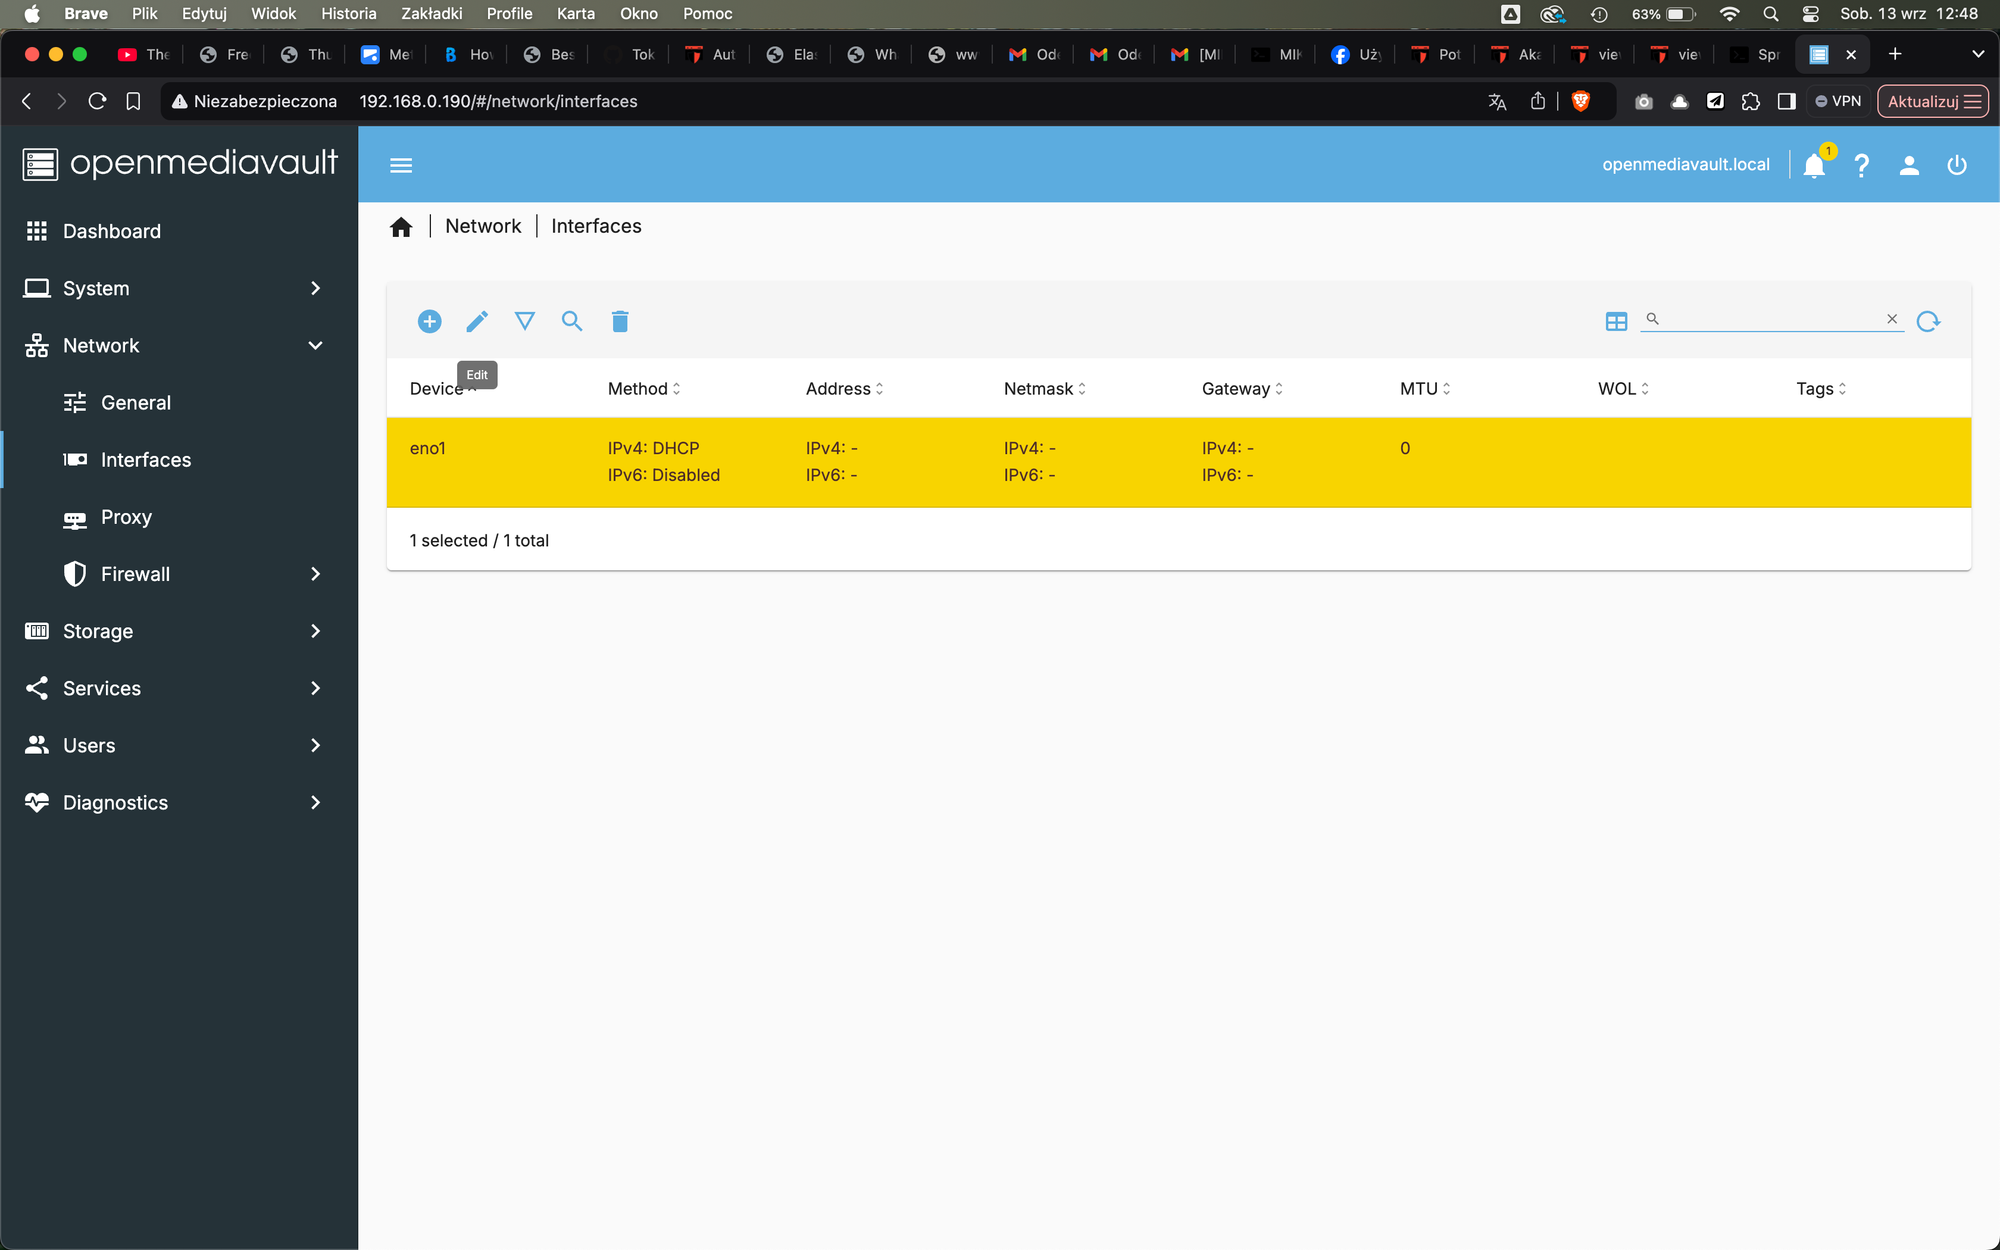
I gave the following configuration:

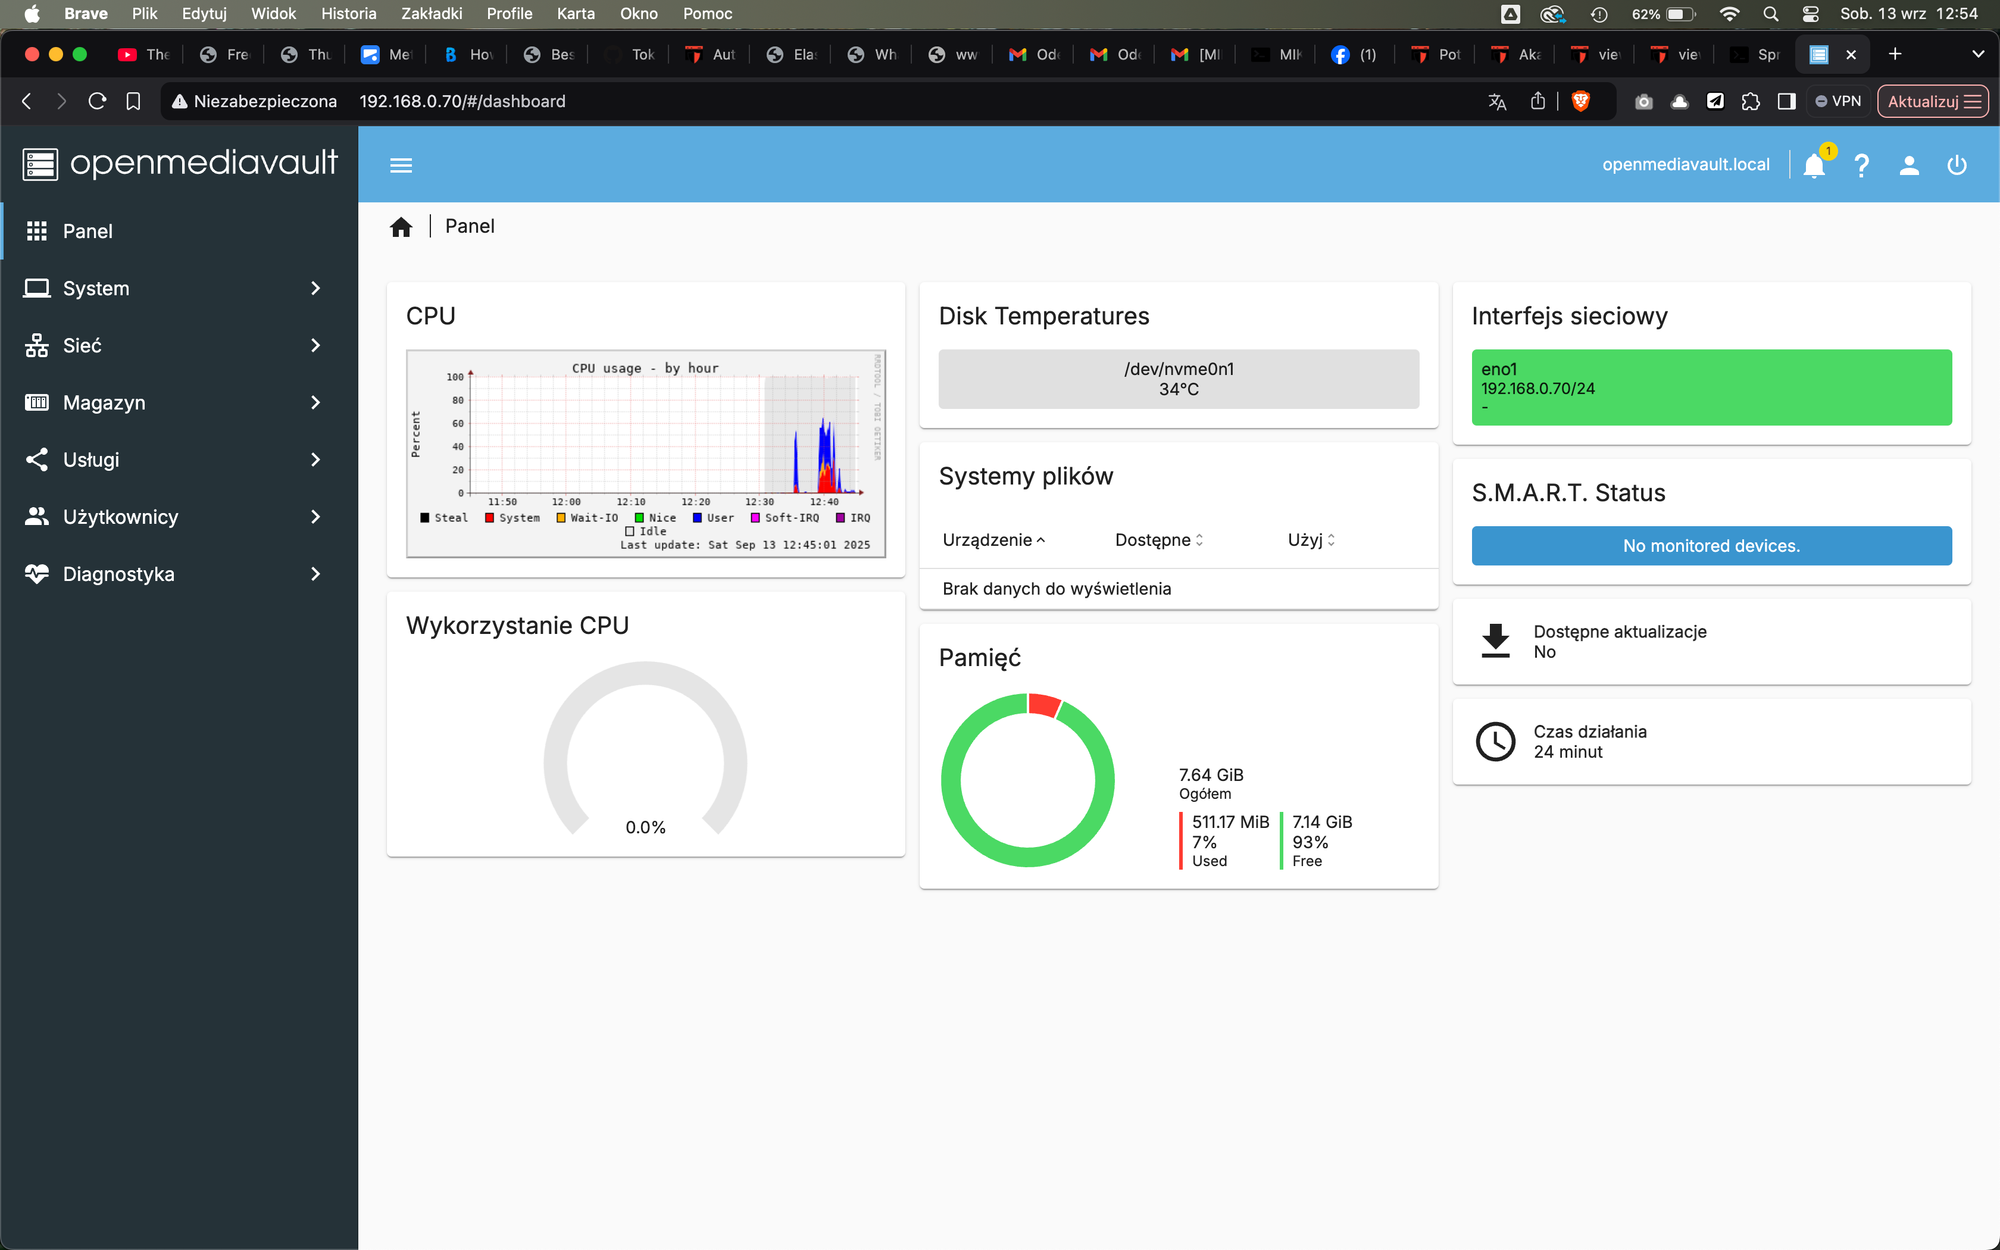
For DNS I used my PiHole instance, which is at 192.168.0.80. If you don't have your own DNS server, you can use for example Google which is 8.8.8.8. I don't use IPv6, so I left it disabled. And after applying changes, I entered the new IP address, and OMV worked as expected.
Create a BTRFS file system OpenMediaVault
I will focus on BTFRS file system type as for my use case and honestly majority of users it will be the best and easiest solution to start with. BTRFS characteristics:
- Provide snapshots
- Raid support on file system level
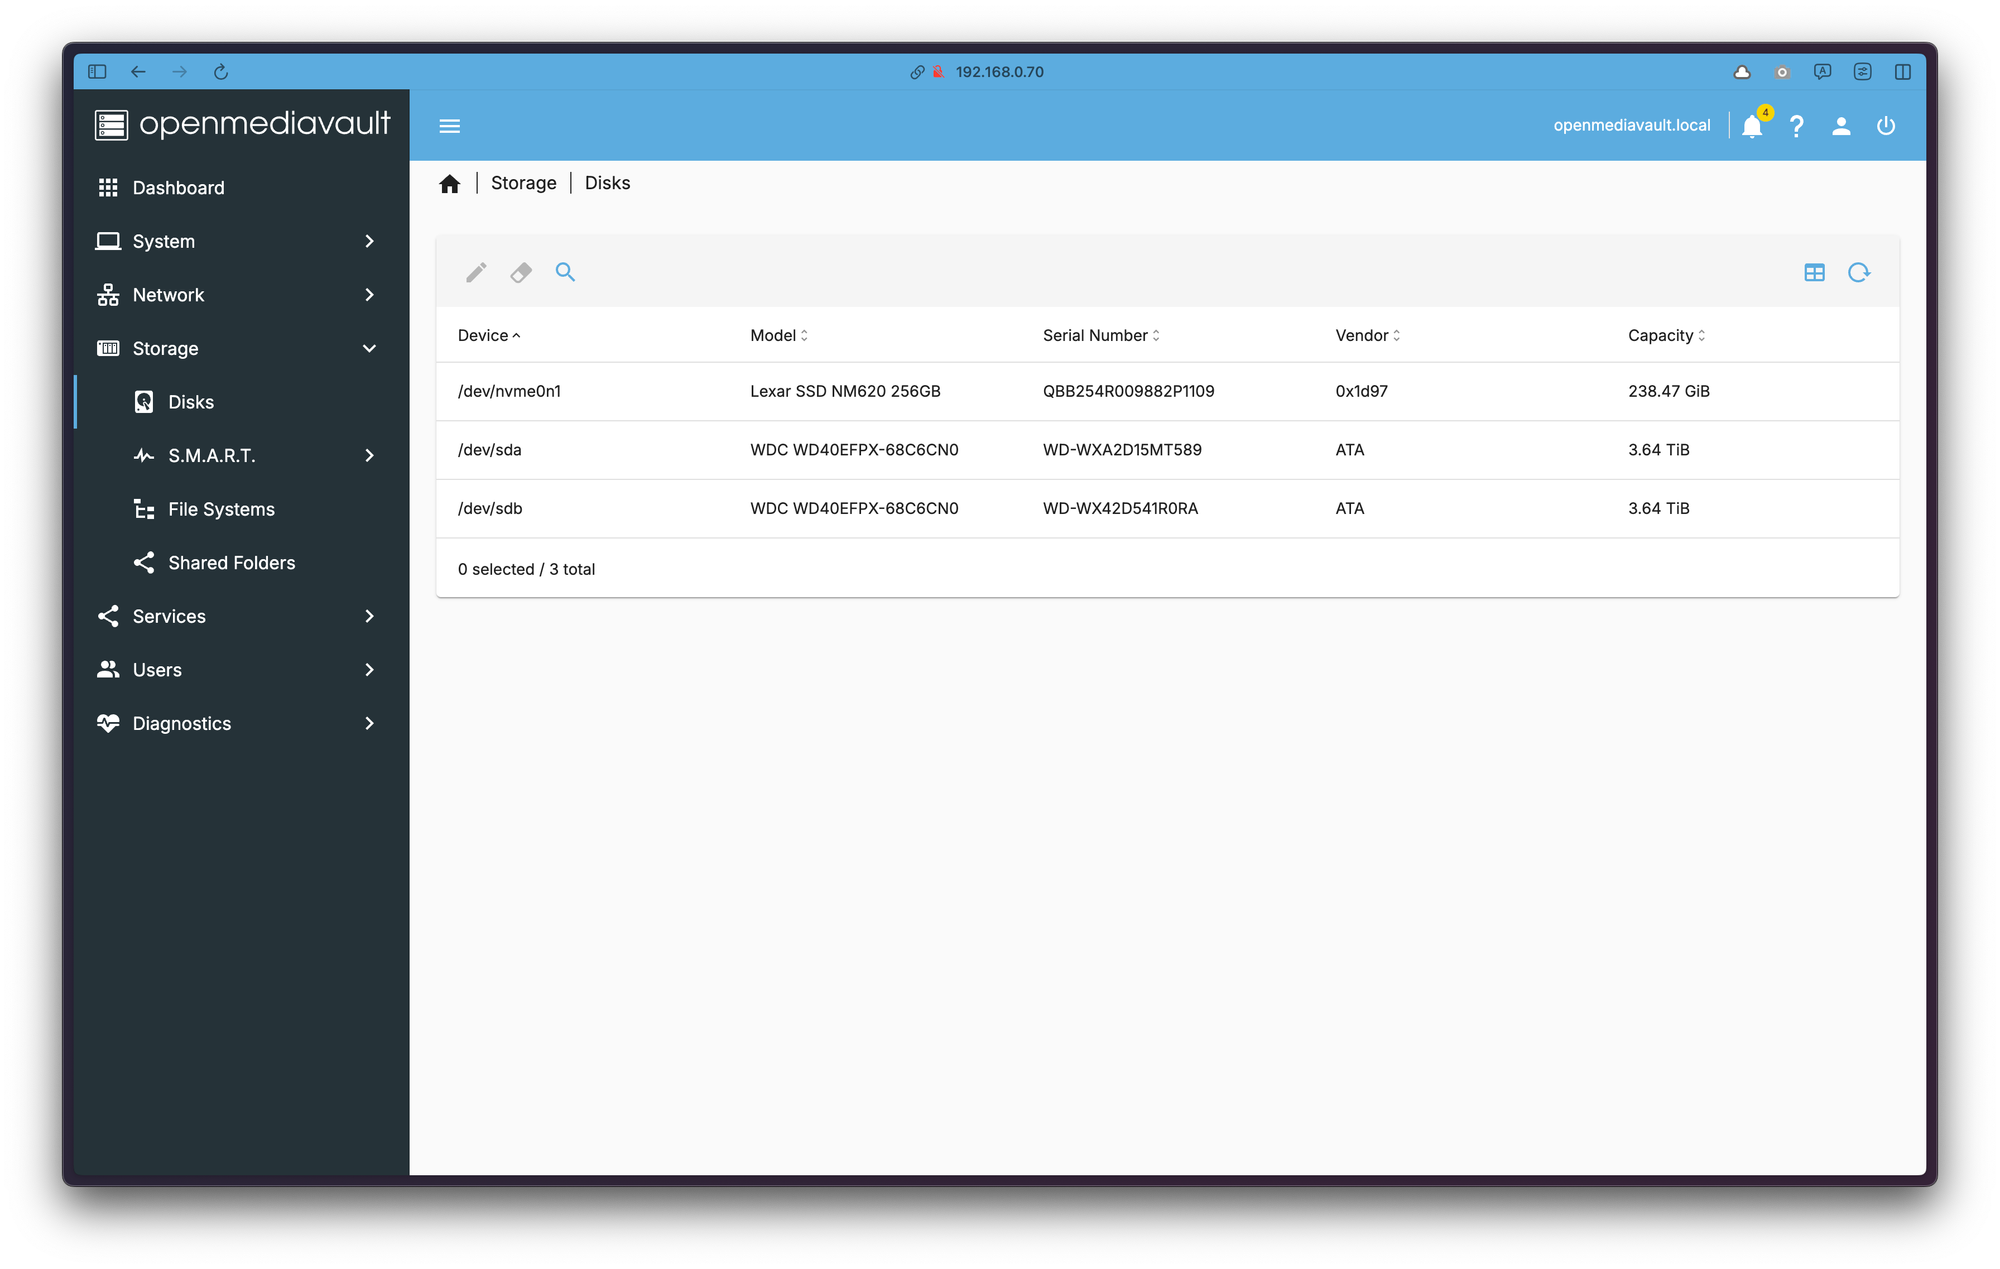
I started with drives not plugged in, so now it is good time to plug them in. New drives should be visible in Storage -> Disks pane.
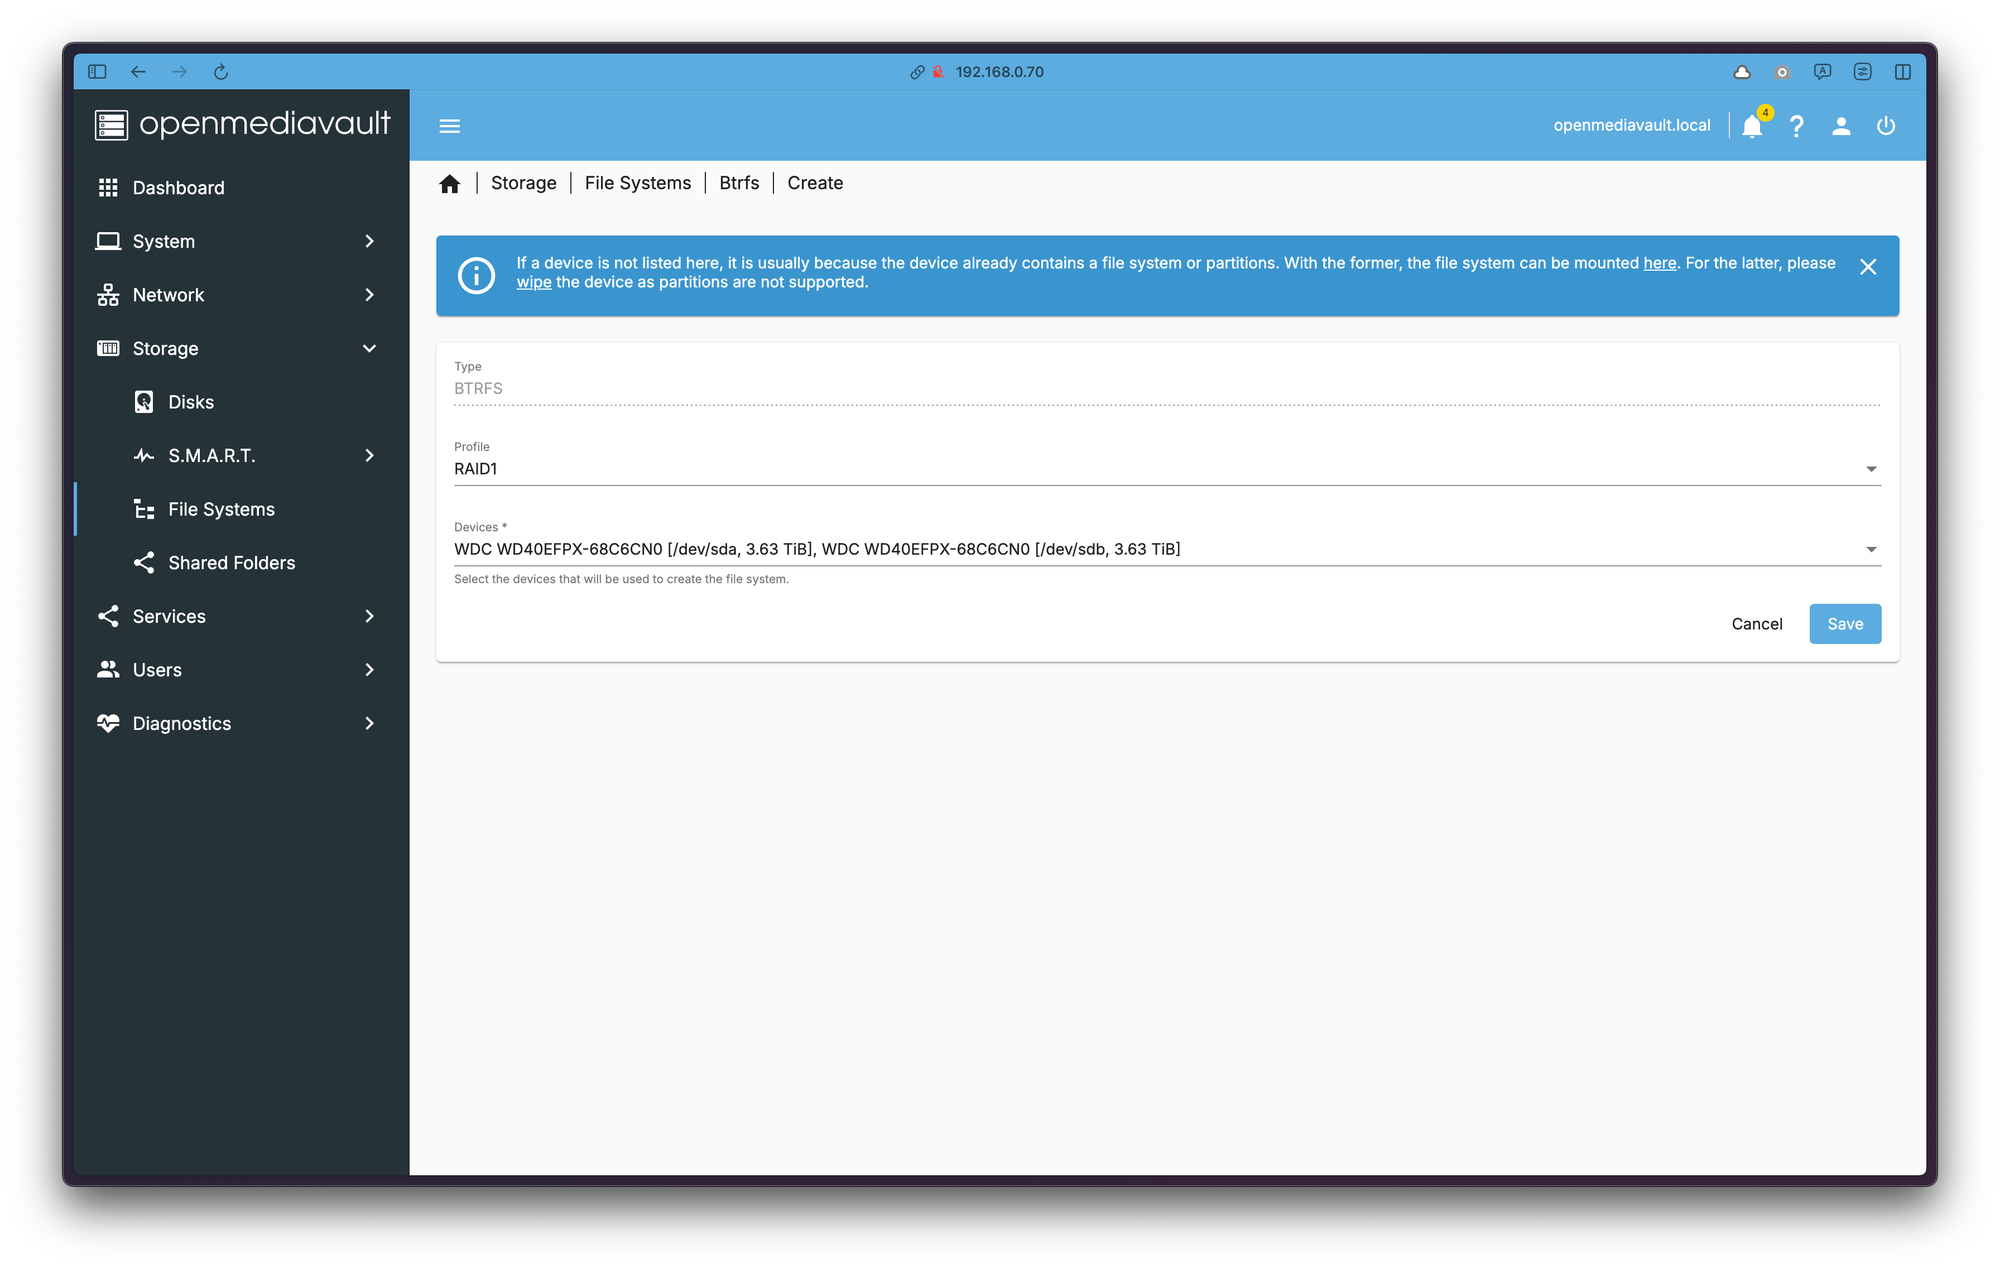
Now navigate to Storage -> File Systems. Hit the + icon, and then BTRFS. On next screen choose RAID1, and select your disks.
Why use RAID1?
Having two disks RAID1 makes a live copy to second disk. It is called mirror. However it should not be considered as a backup. More like availability case when one drive fails then file system would be still accessible.
On the next screen I left the default values. Don't forget to commit the changes.
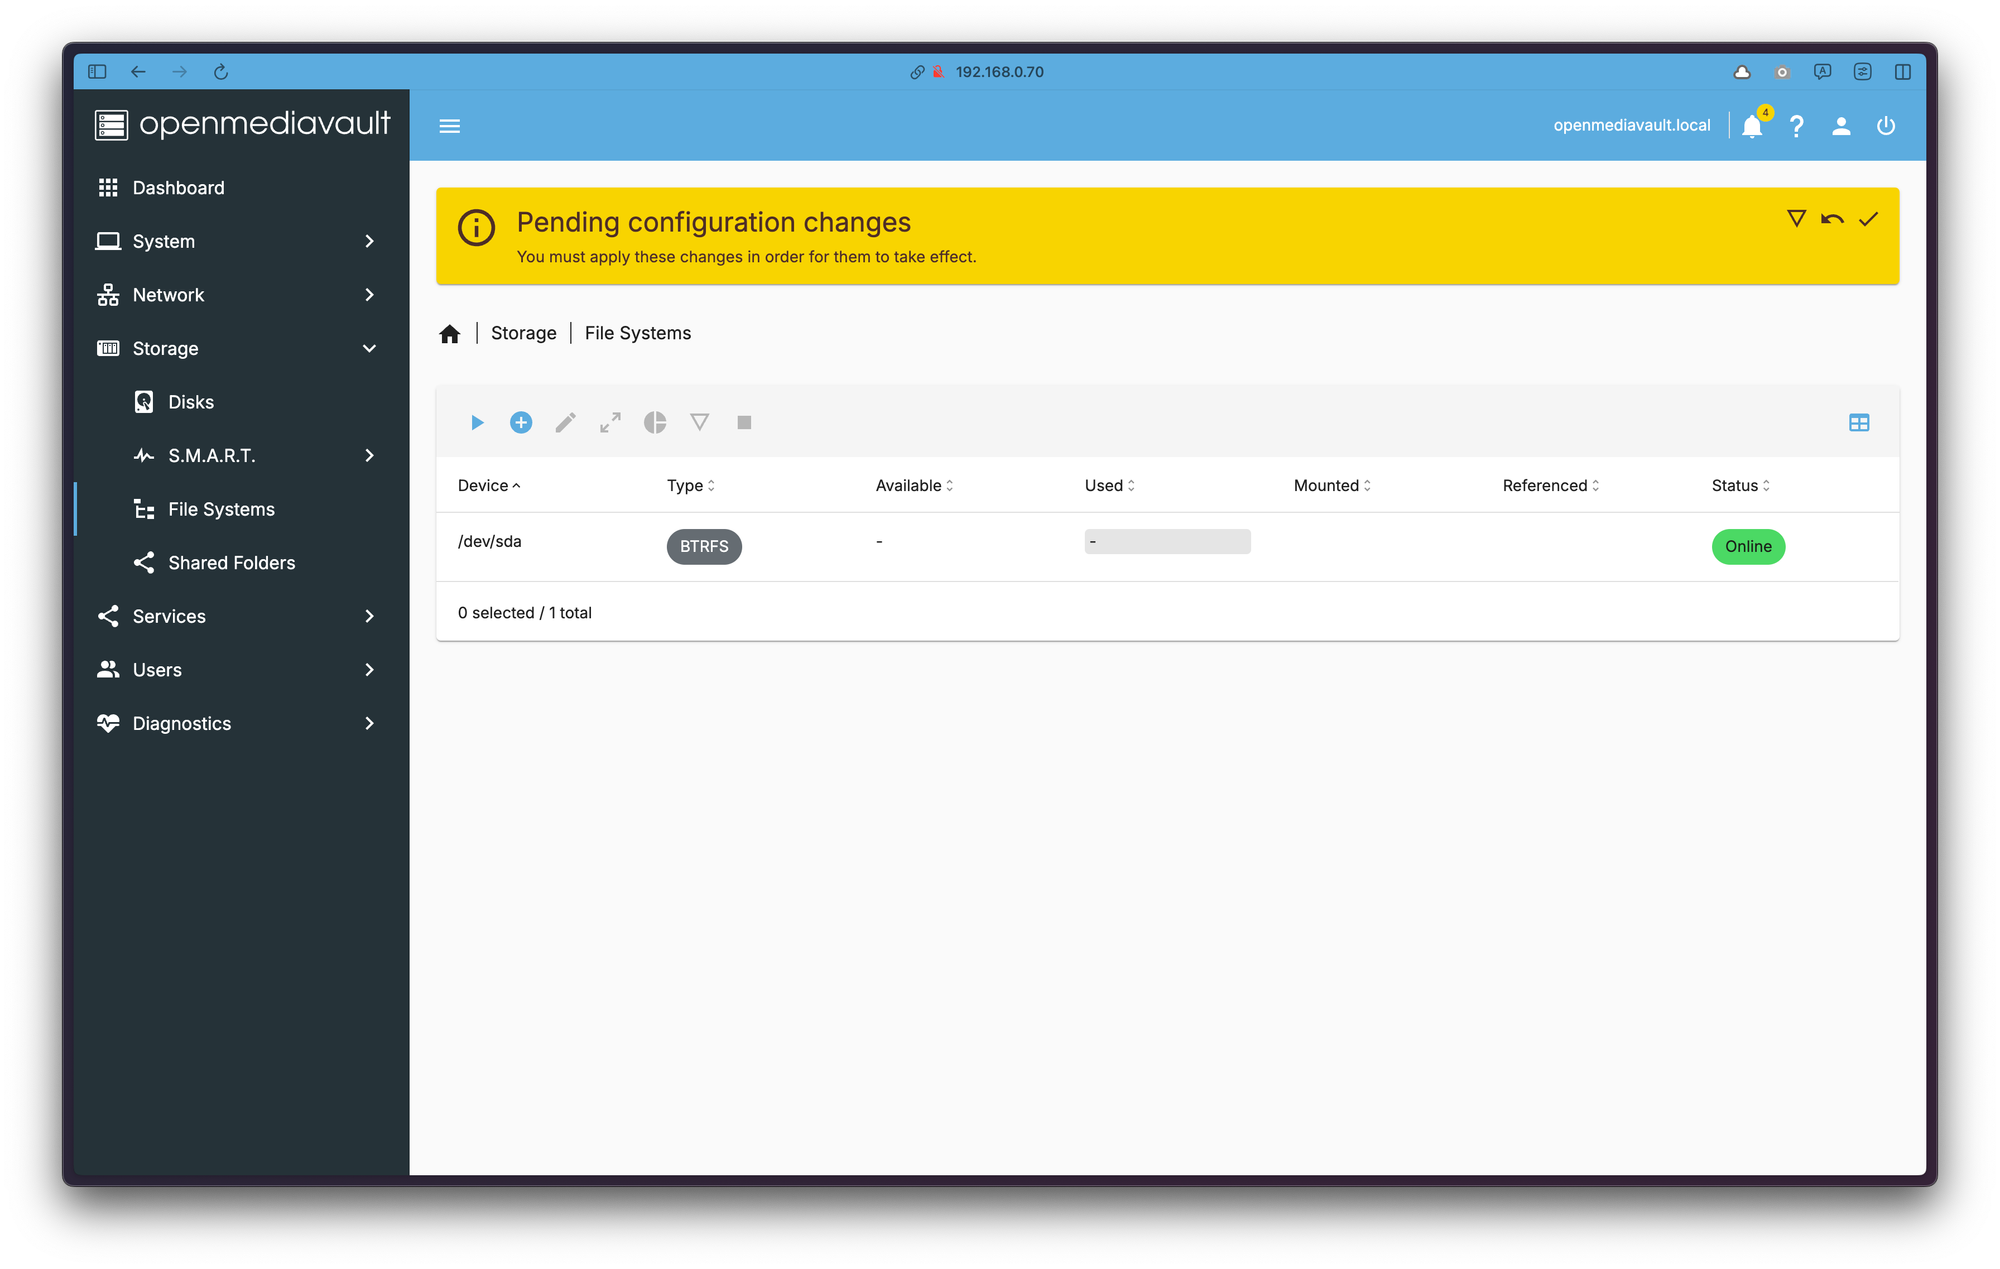
In RAID1, we should have maximum capacity the same as the smallest drive. I used 4TB drives, so I expect capacity around that number. OMV showed sum of two disks, but as it was reported, this is a bug that will correct itself once data is transferred.
Create SMB share in OpenMediaVault
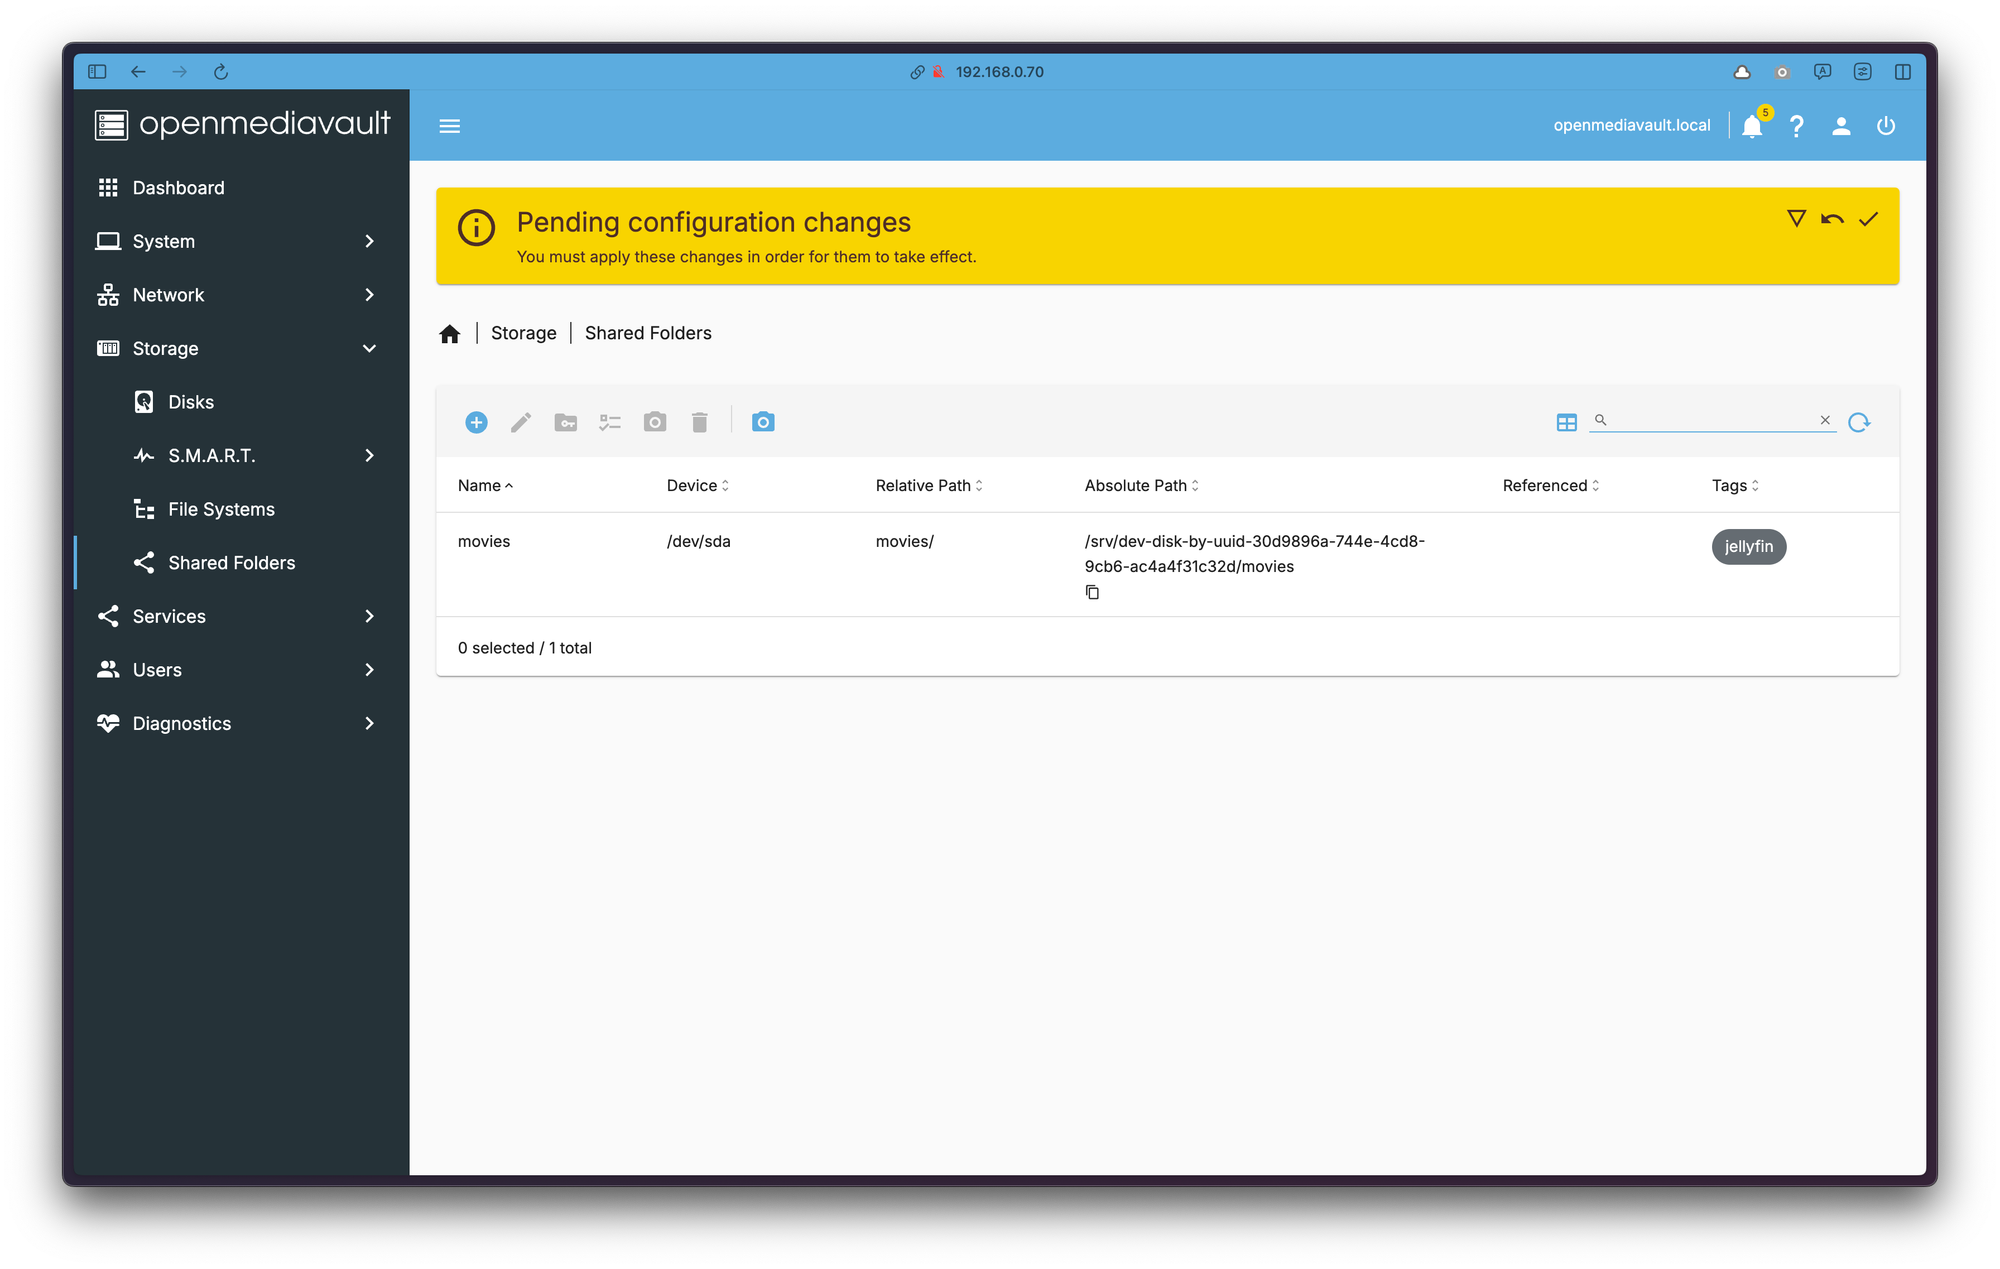
A few thing we have to set to create a SMB share. Shares Go to Storage -> Shared Folder and hit + icon. Give a name to your share. I gave mine movies as I plan to later integrate it with Jellyfin (self-hosted app for storing and watching videos).
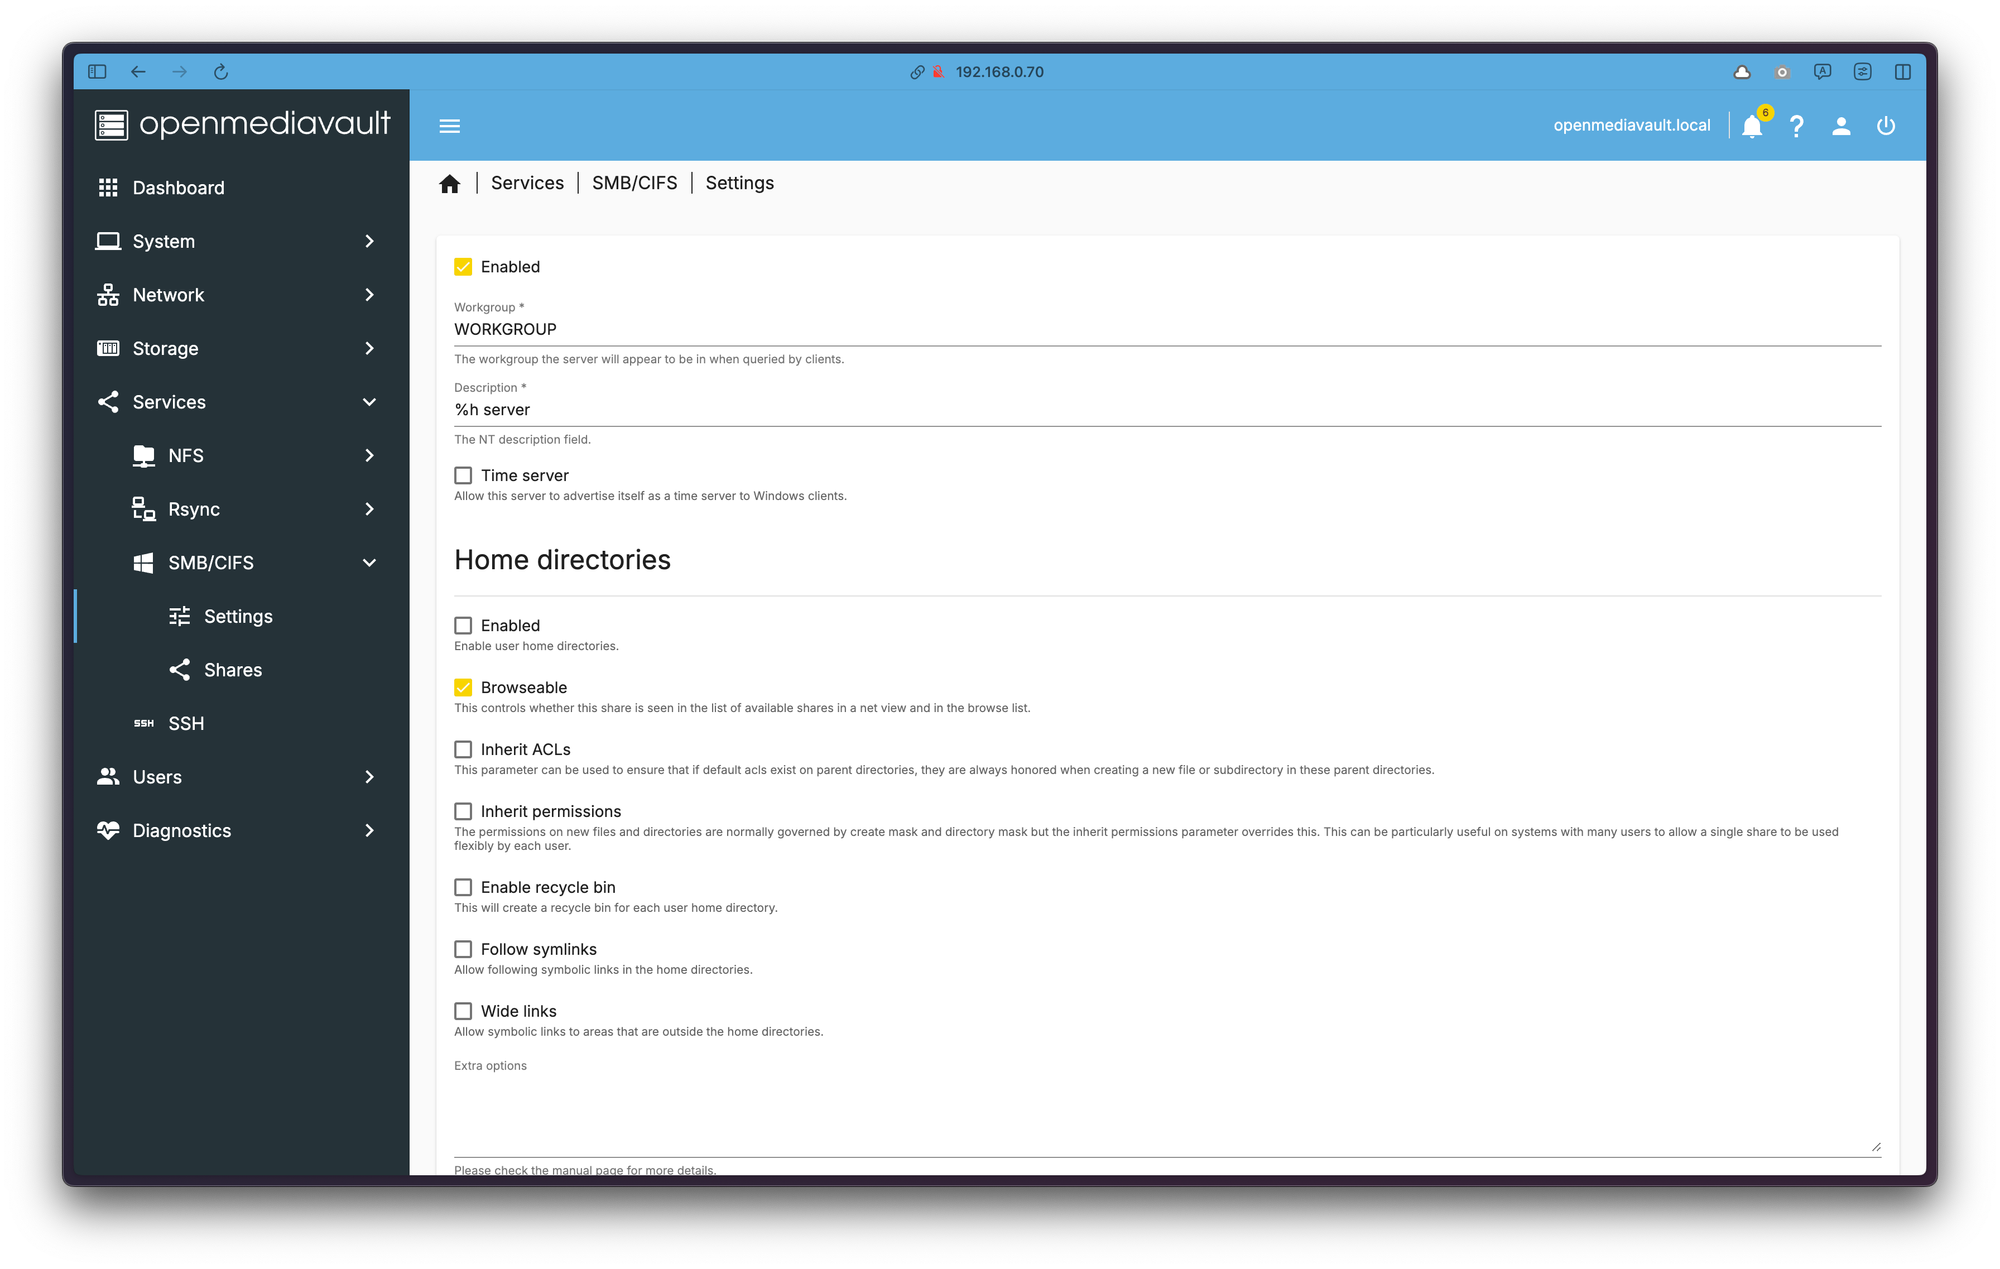
We can't use the share straight away. We need to enable the SMB service. To do so, navigate to Services -> SMB/CIFS and go to Setting. Tick Enabled, and save the changes.
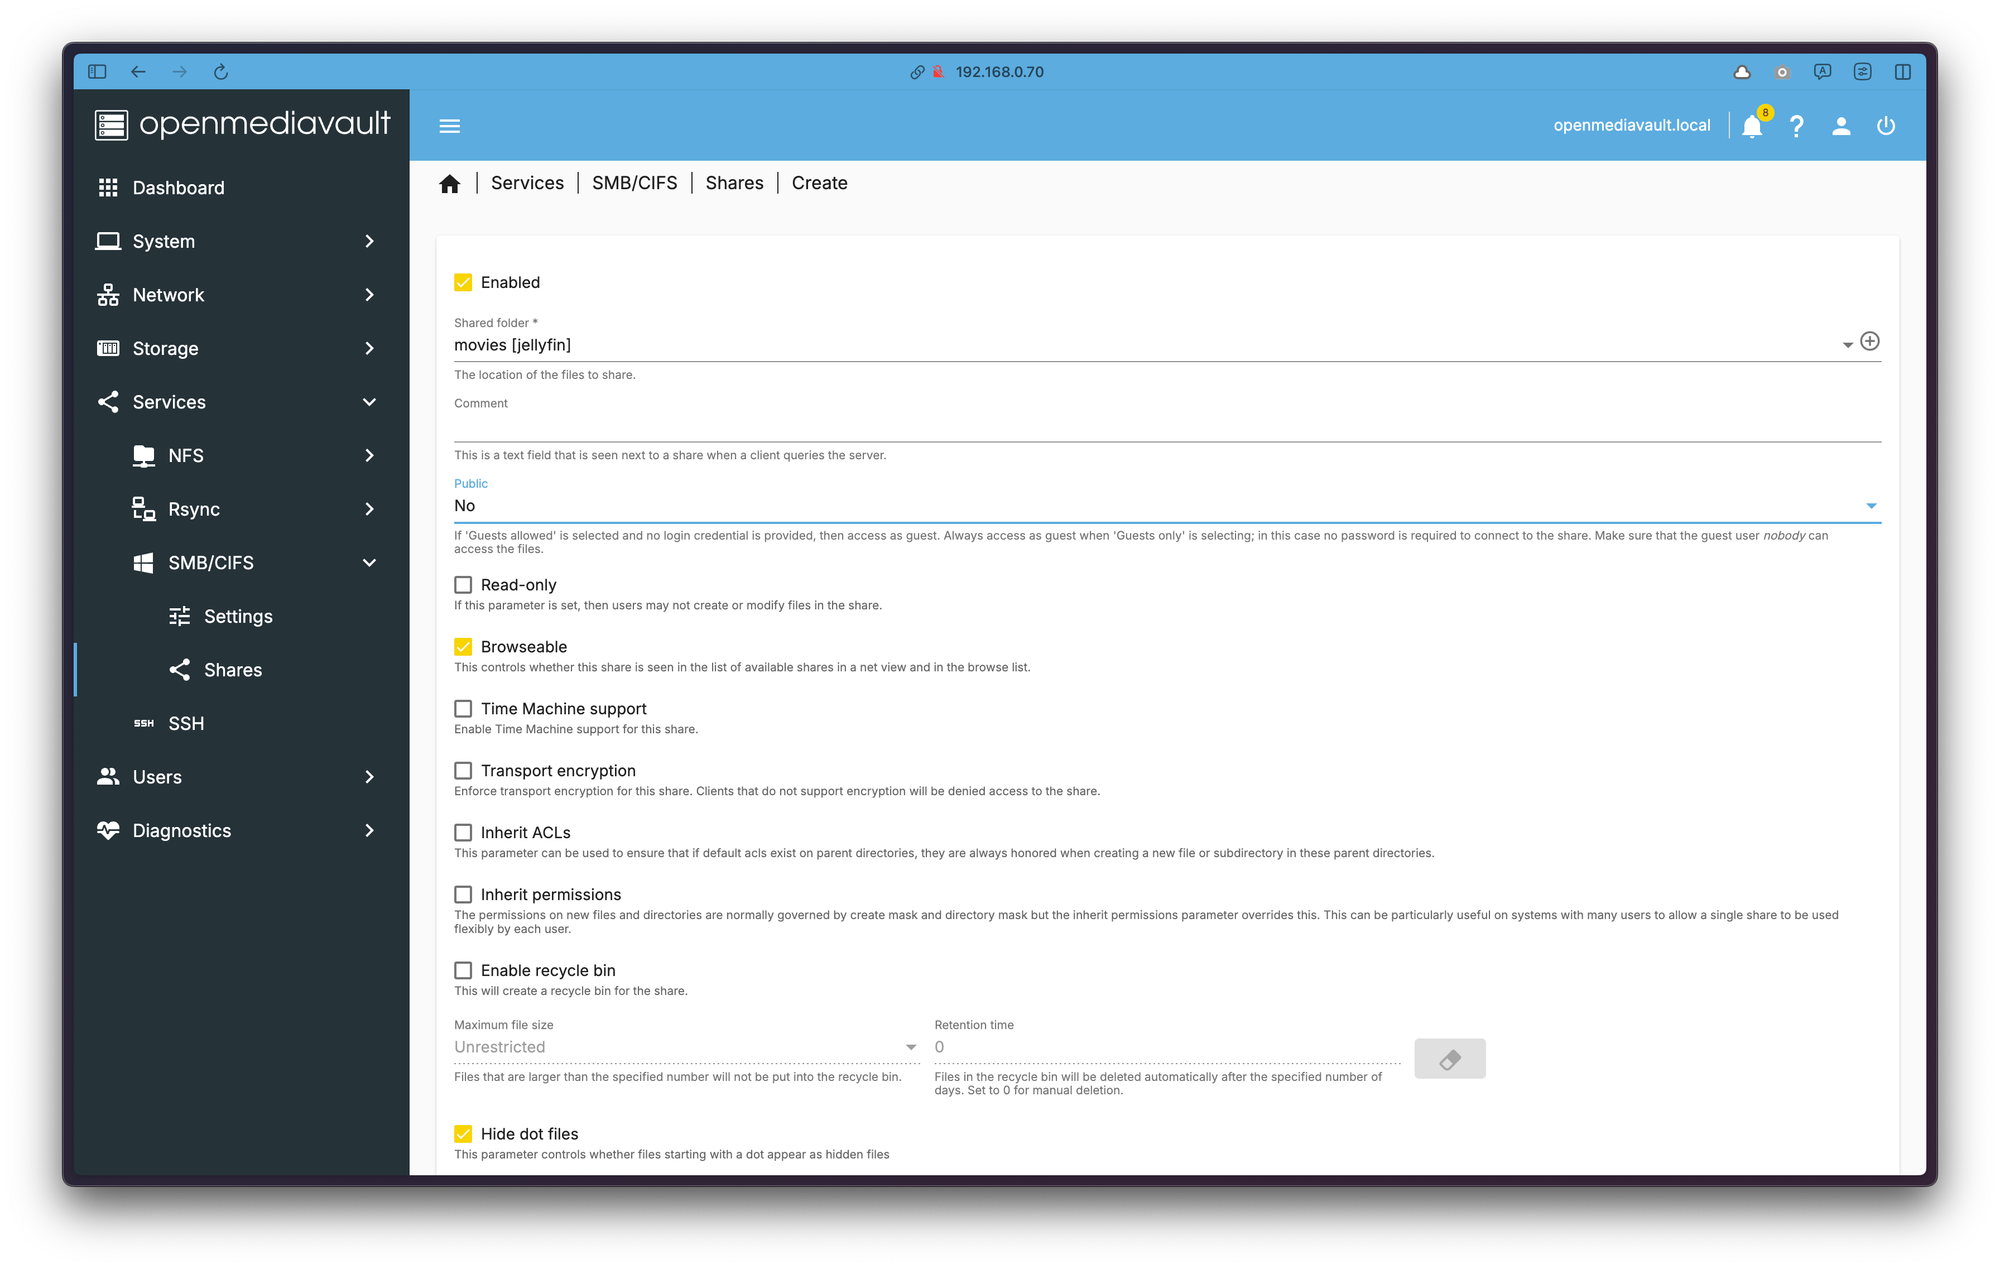
Next go to Shares and create new share. I left default options on.
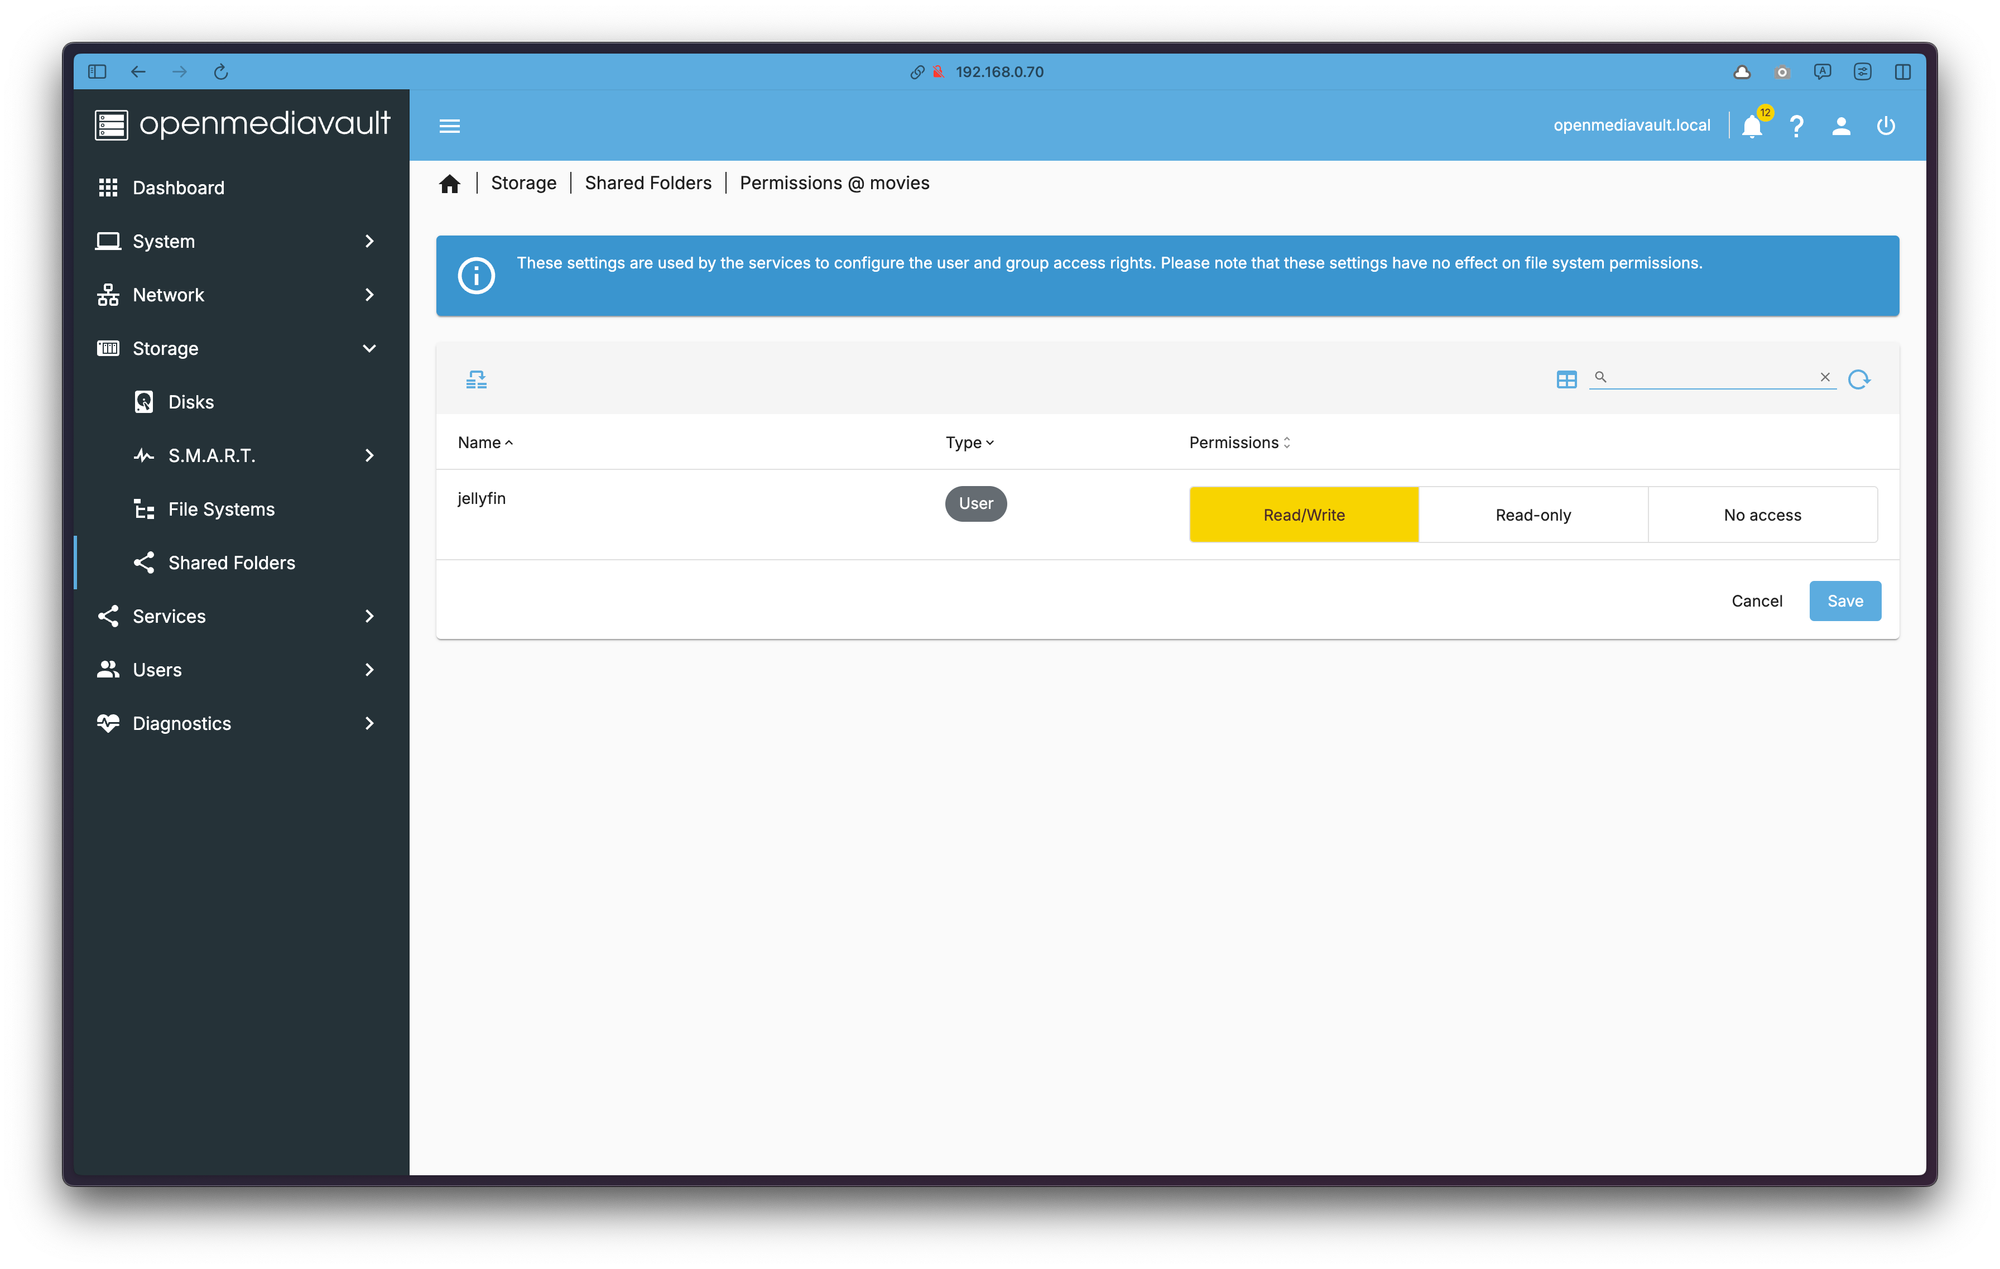
One last change is to grant user permission to the share.
Testing OpenMedaVault SMB share
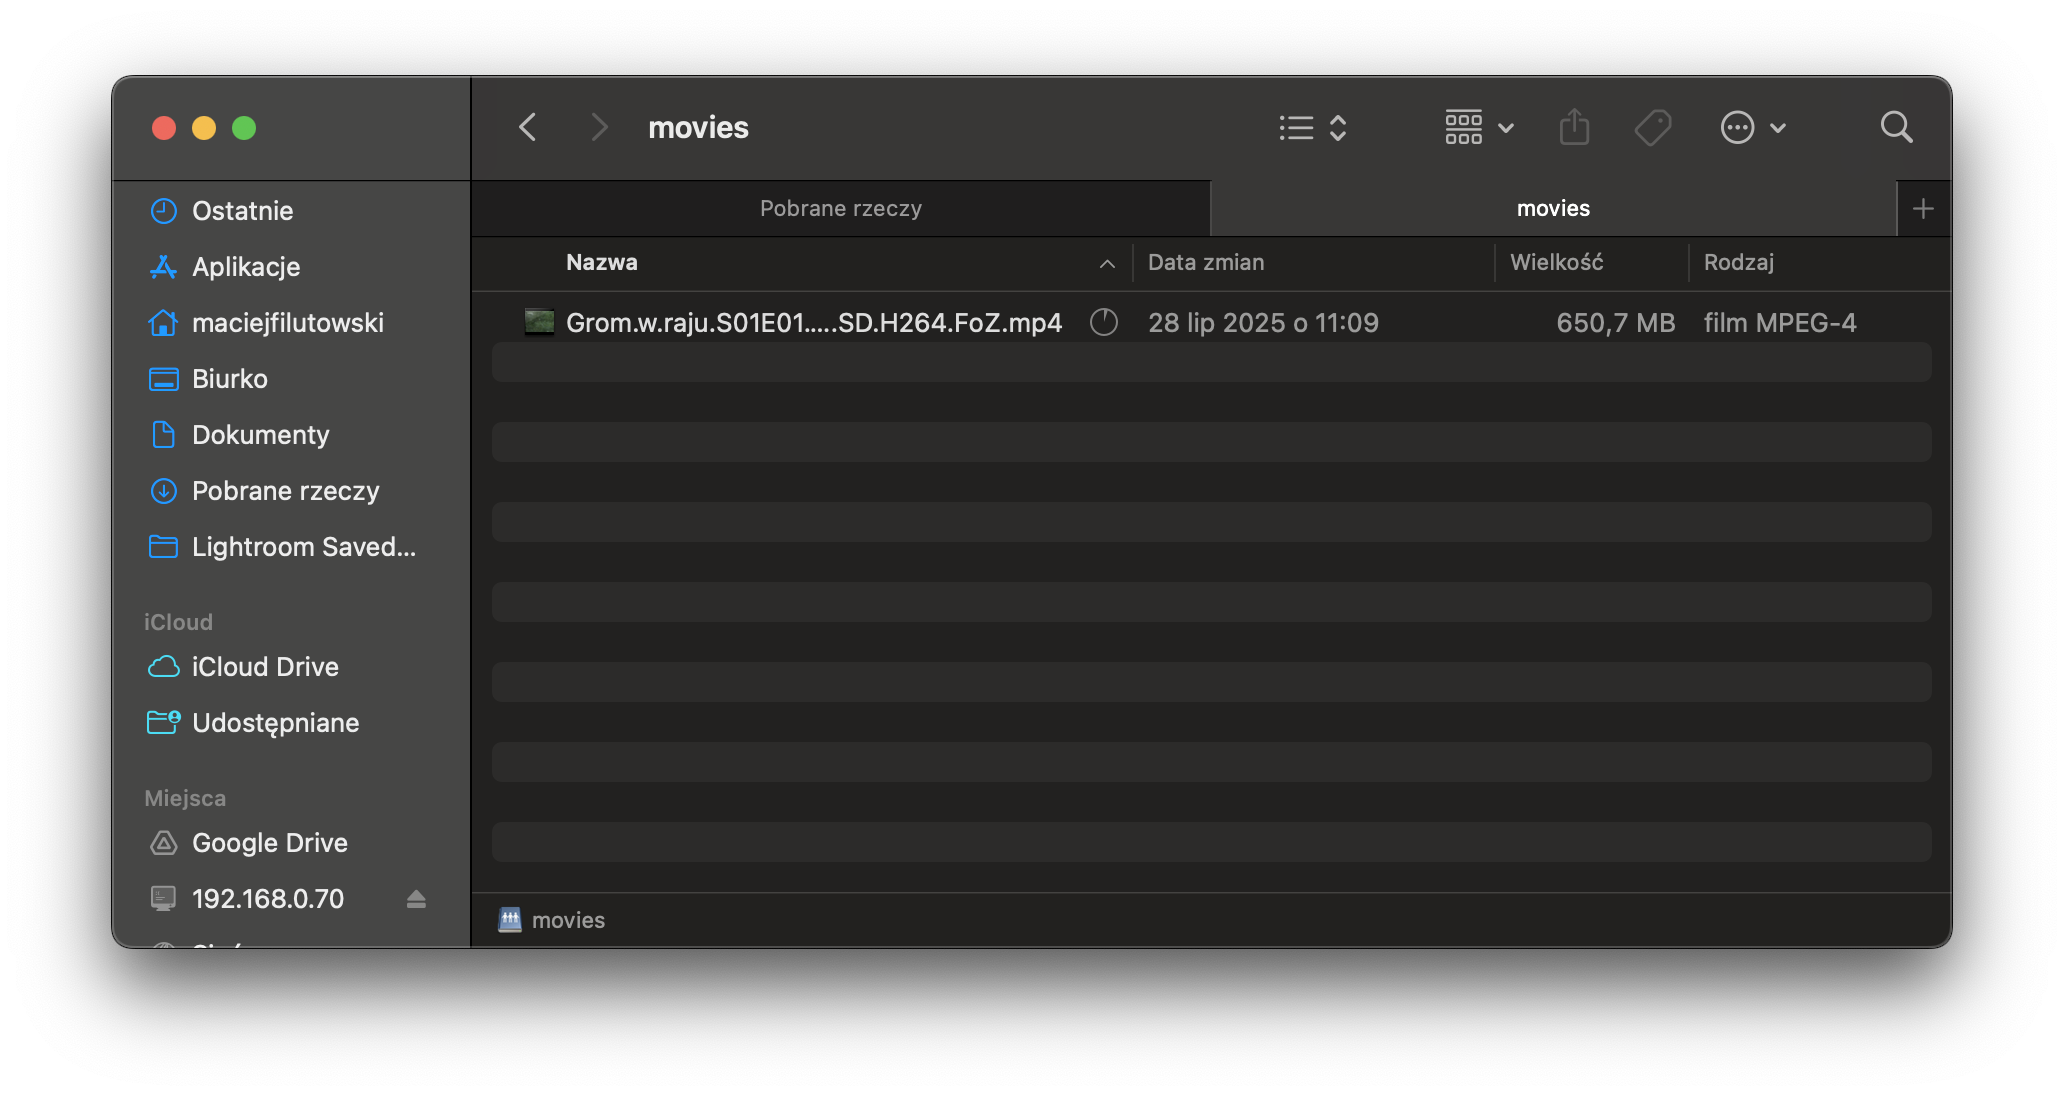
Now that we have all set up properly, let's test the solution. I'm on MacOs so I will be using Finder to connect to shared folder. On Windows or Linux it shouldn't be hard to connect to it.

And yes, after providing user and password, our share is accessible.
Summary
In this article, I shared how I built a custom NAS server using an old HP desktop and OpenMediaVault 7. I walked through the hardware setup, installing OMV, configuring a static IP, and creating a BTRFS file system with RAID1 for redundancy. I also showed how to set up an SMB share so the NAS can be accessed from other devices on the network. It’s a simple, budget-friendly solution that works great for media storage and backups.