How to set up Zigbee2MQTT for Home Assistant
Finally, my Home Assistant is up and running. Now it’s time to connect my very first home sensor. Today, I will take you through the process of setting up Zigbee2MQTT and connecting Aqara temperature sensor.
Prerequisites
- Running Home Assistant instance ( https://maciejfil.com/how-to-install-home-assistant-os-in-proxmox/ )
How to Install Zigbee2MQTT in Home Assistant?
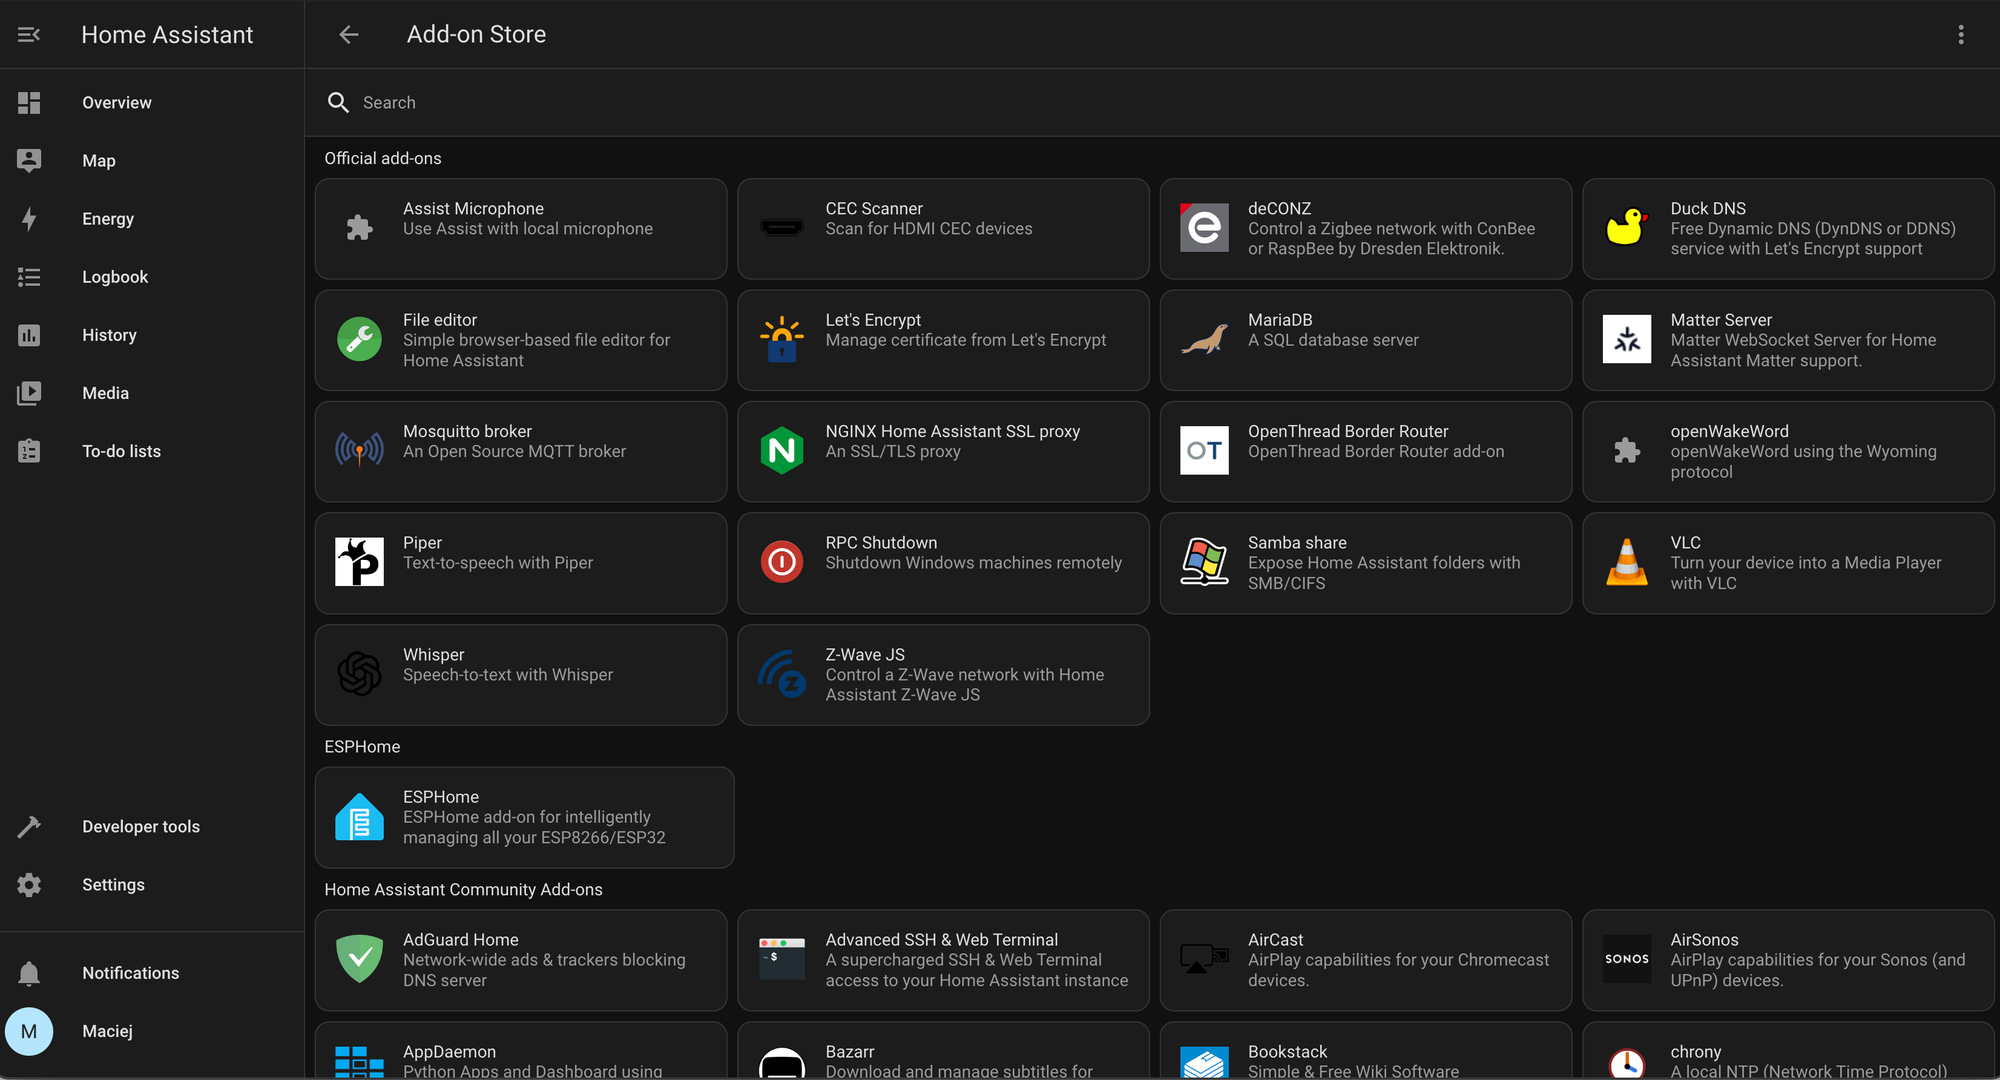
To start with,, we need to install message broker - MQTT. Go to your Home Assistant home page and open Add-on Store.
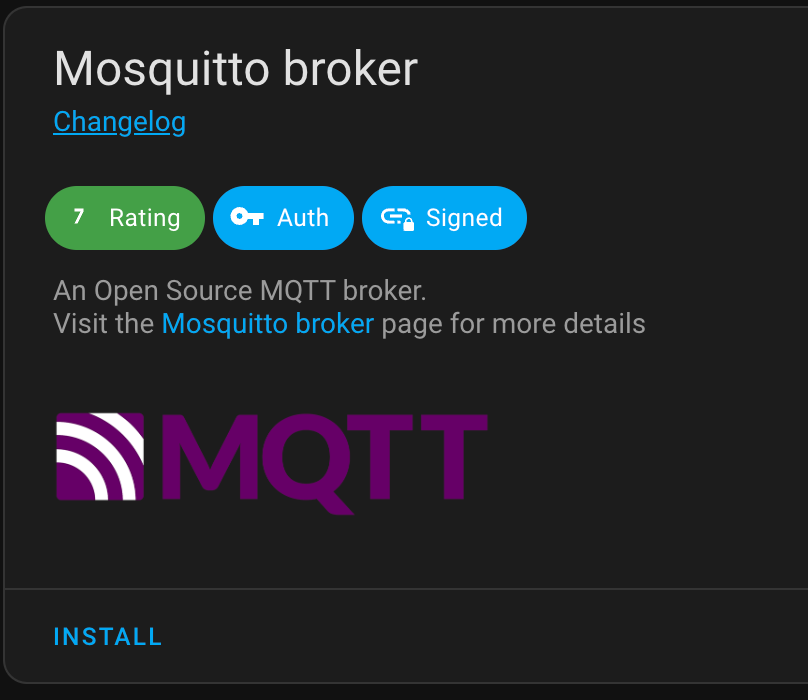
Next up, click Mosquito Broker and then Install.
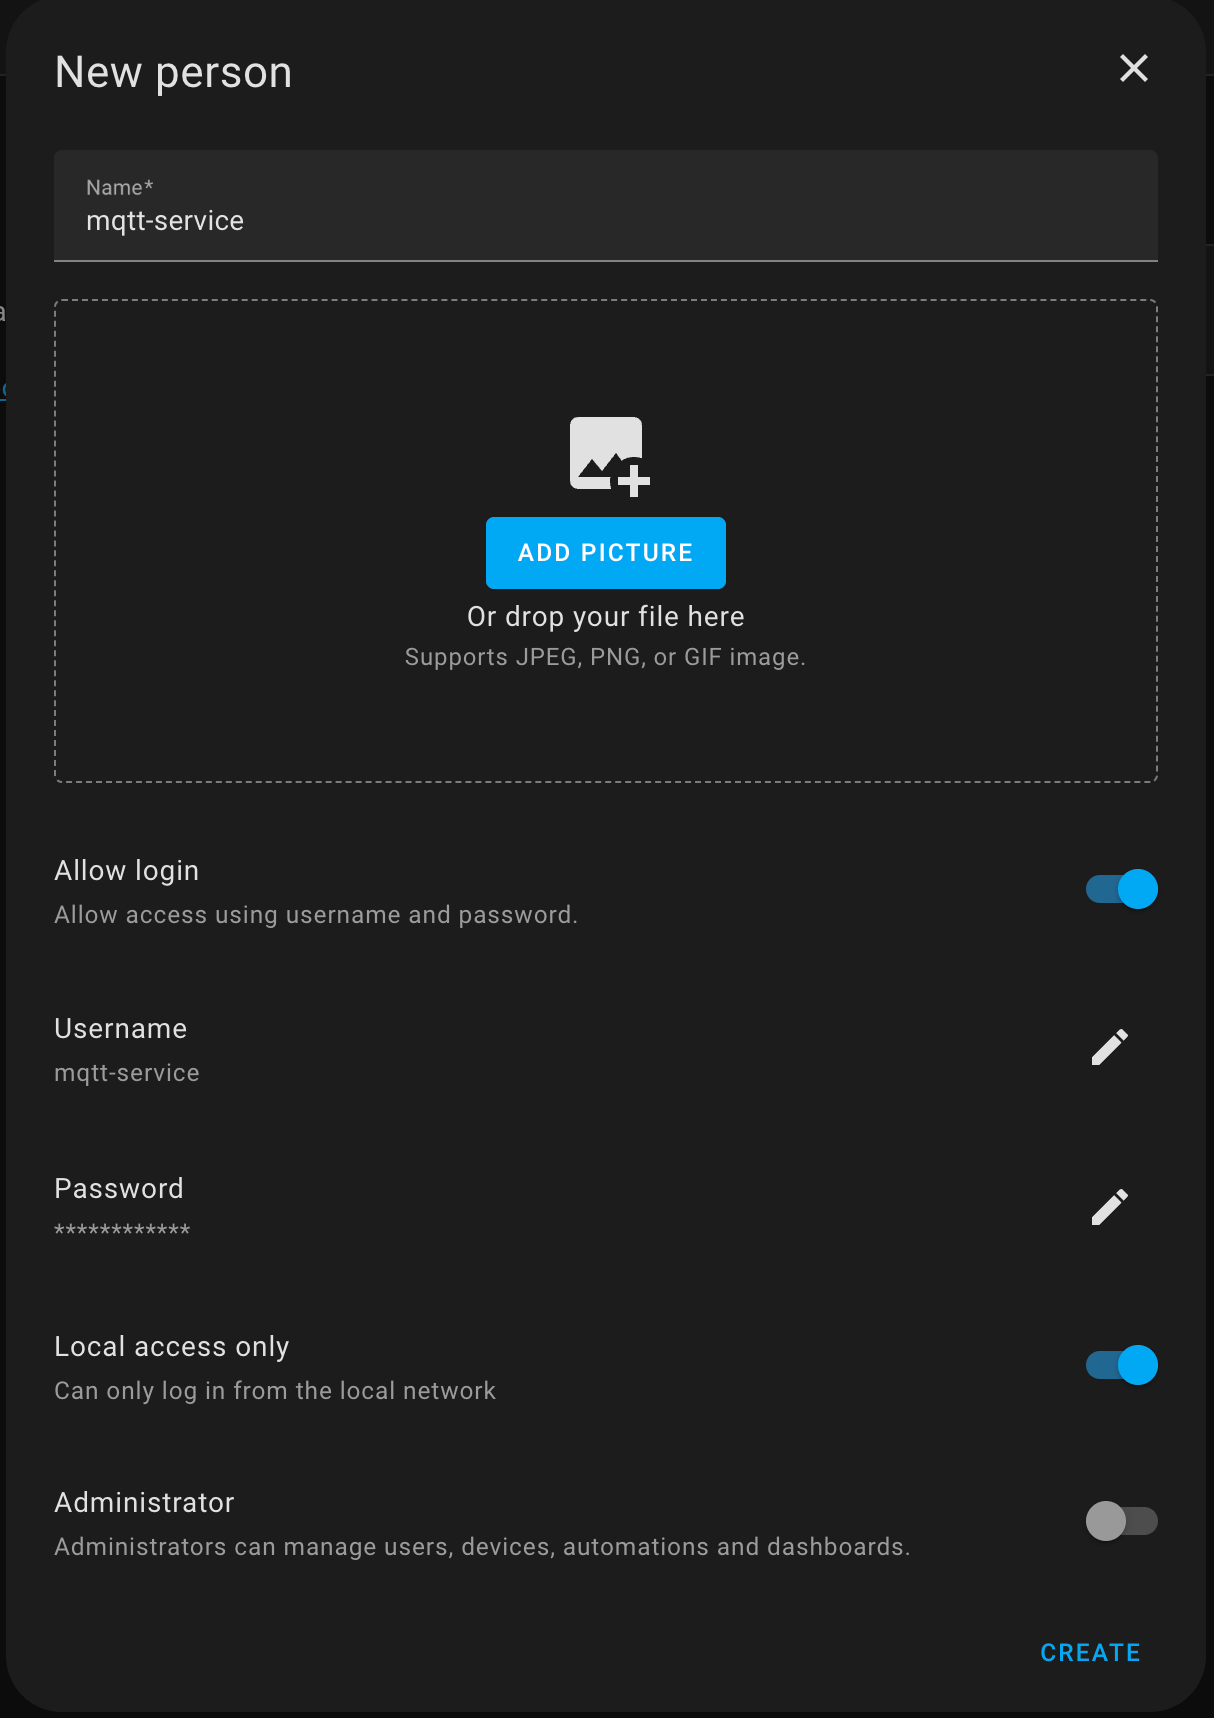
Once we have installed it, a good practice is to have separate HA user that can access message queue (we don’t want to expose our secrets, right?). Go to People and add a new user. Remember to tick Local access only.
Add Sonoff Zigbee Bridge to HA
Now we need to pair our bridge with Zigbee2MQTT. I will use Sonoff ZBDongle-E. Since my Home Assistant is a VM I need to add new device to it. Go to Proxmox and find the HA virtual machine. In Hardware tab, choose Add device.
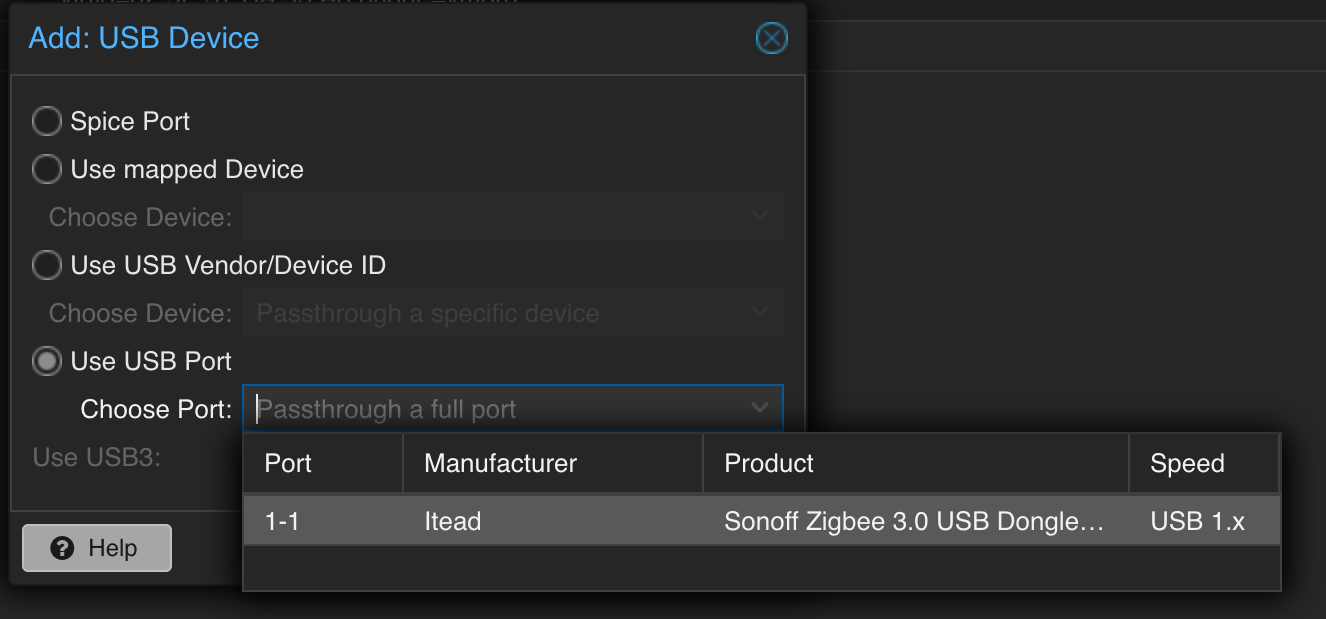
To apply that change in the VM we need to restart the machine. You can do it either from Proxmox, or from HA terminal. I choose HA terminal method. Enter the VM and type host restart. After a few seconds, your HA instance should be up again.
Install Aqara temperature sensor.
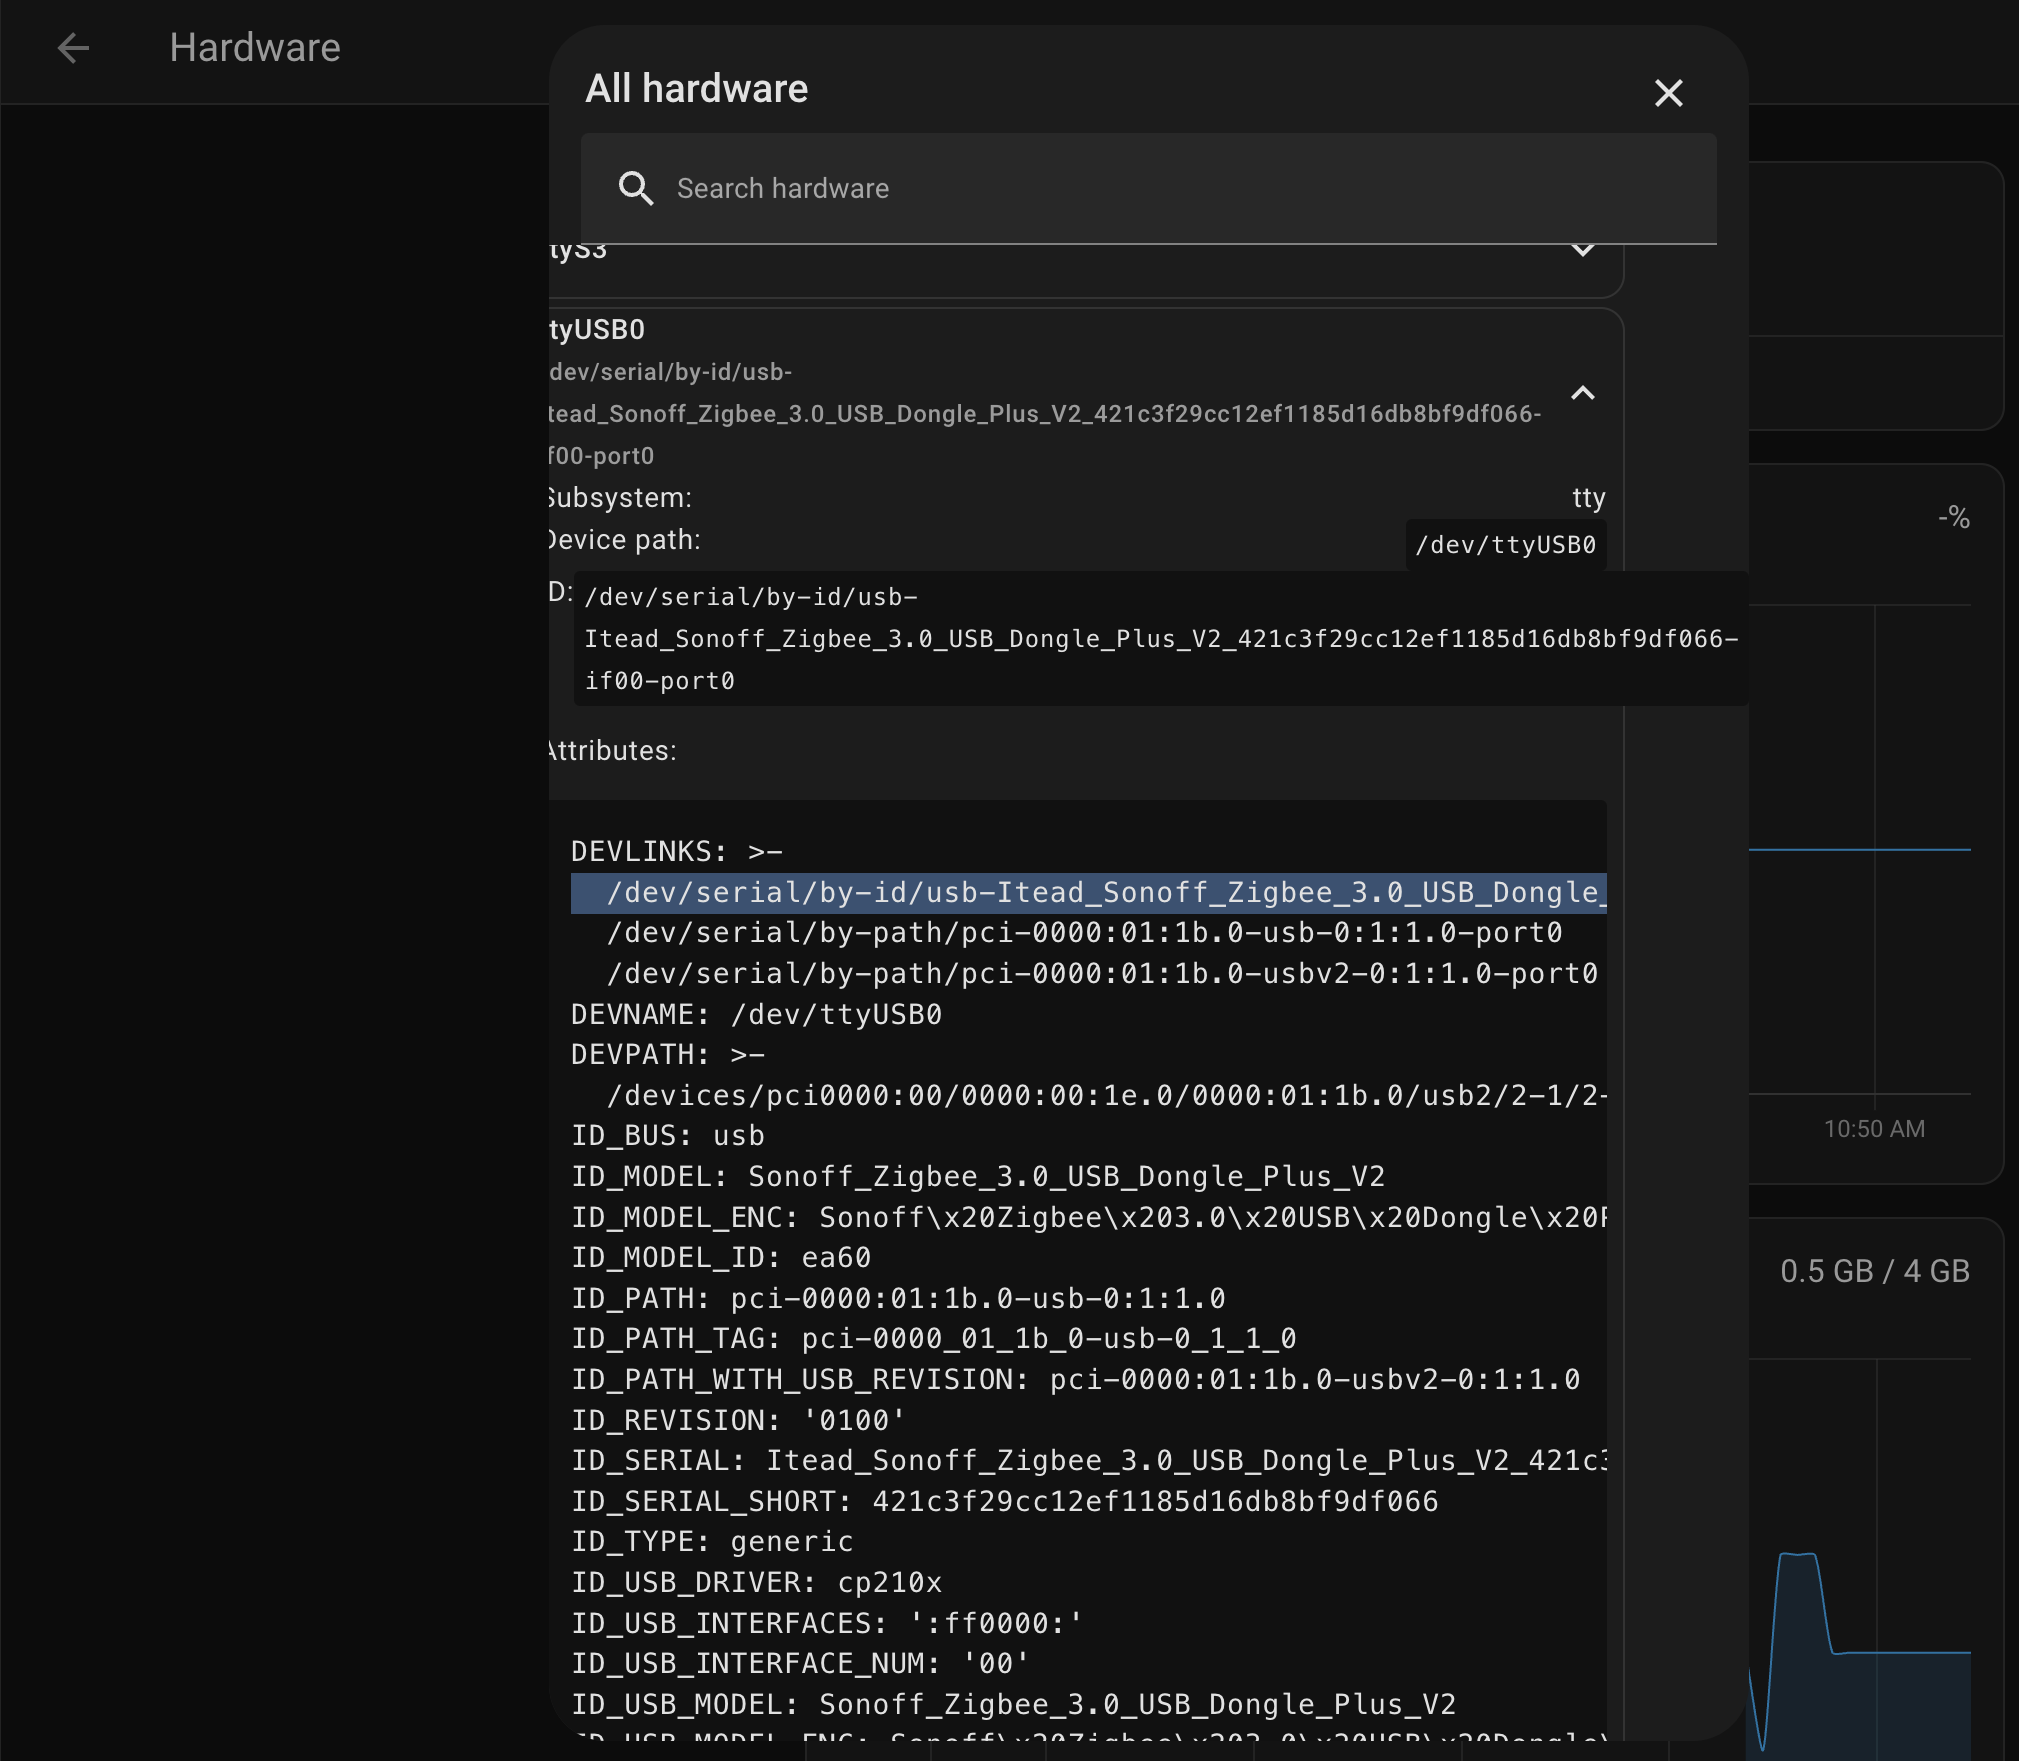
The device should be visible now. Go to System -> Hardware and click All Hardware.
In most cases USB dongles are visible under ttyUSB0. Expand that and search for devlinks. Copy that value and save it somewhere.
Install Zigbee2MQTT add-on
Head over to Add-ons store menu. To be able to install Zigbee2MQTT we need to first add a custom repository. Click the three dot menu in top right corner then Repositories. Paste the following link https://github.com/zigbee2mqtt/hassio-zigbee2mqtt. Click Add.
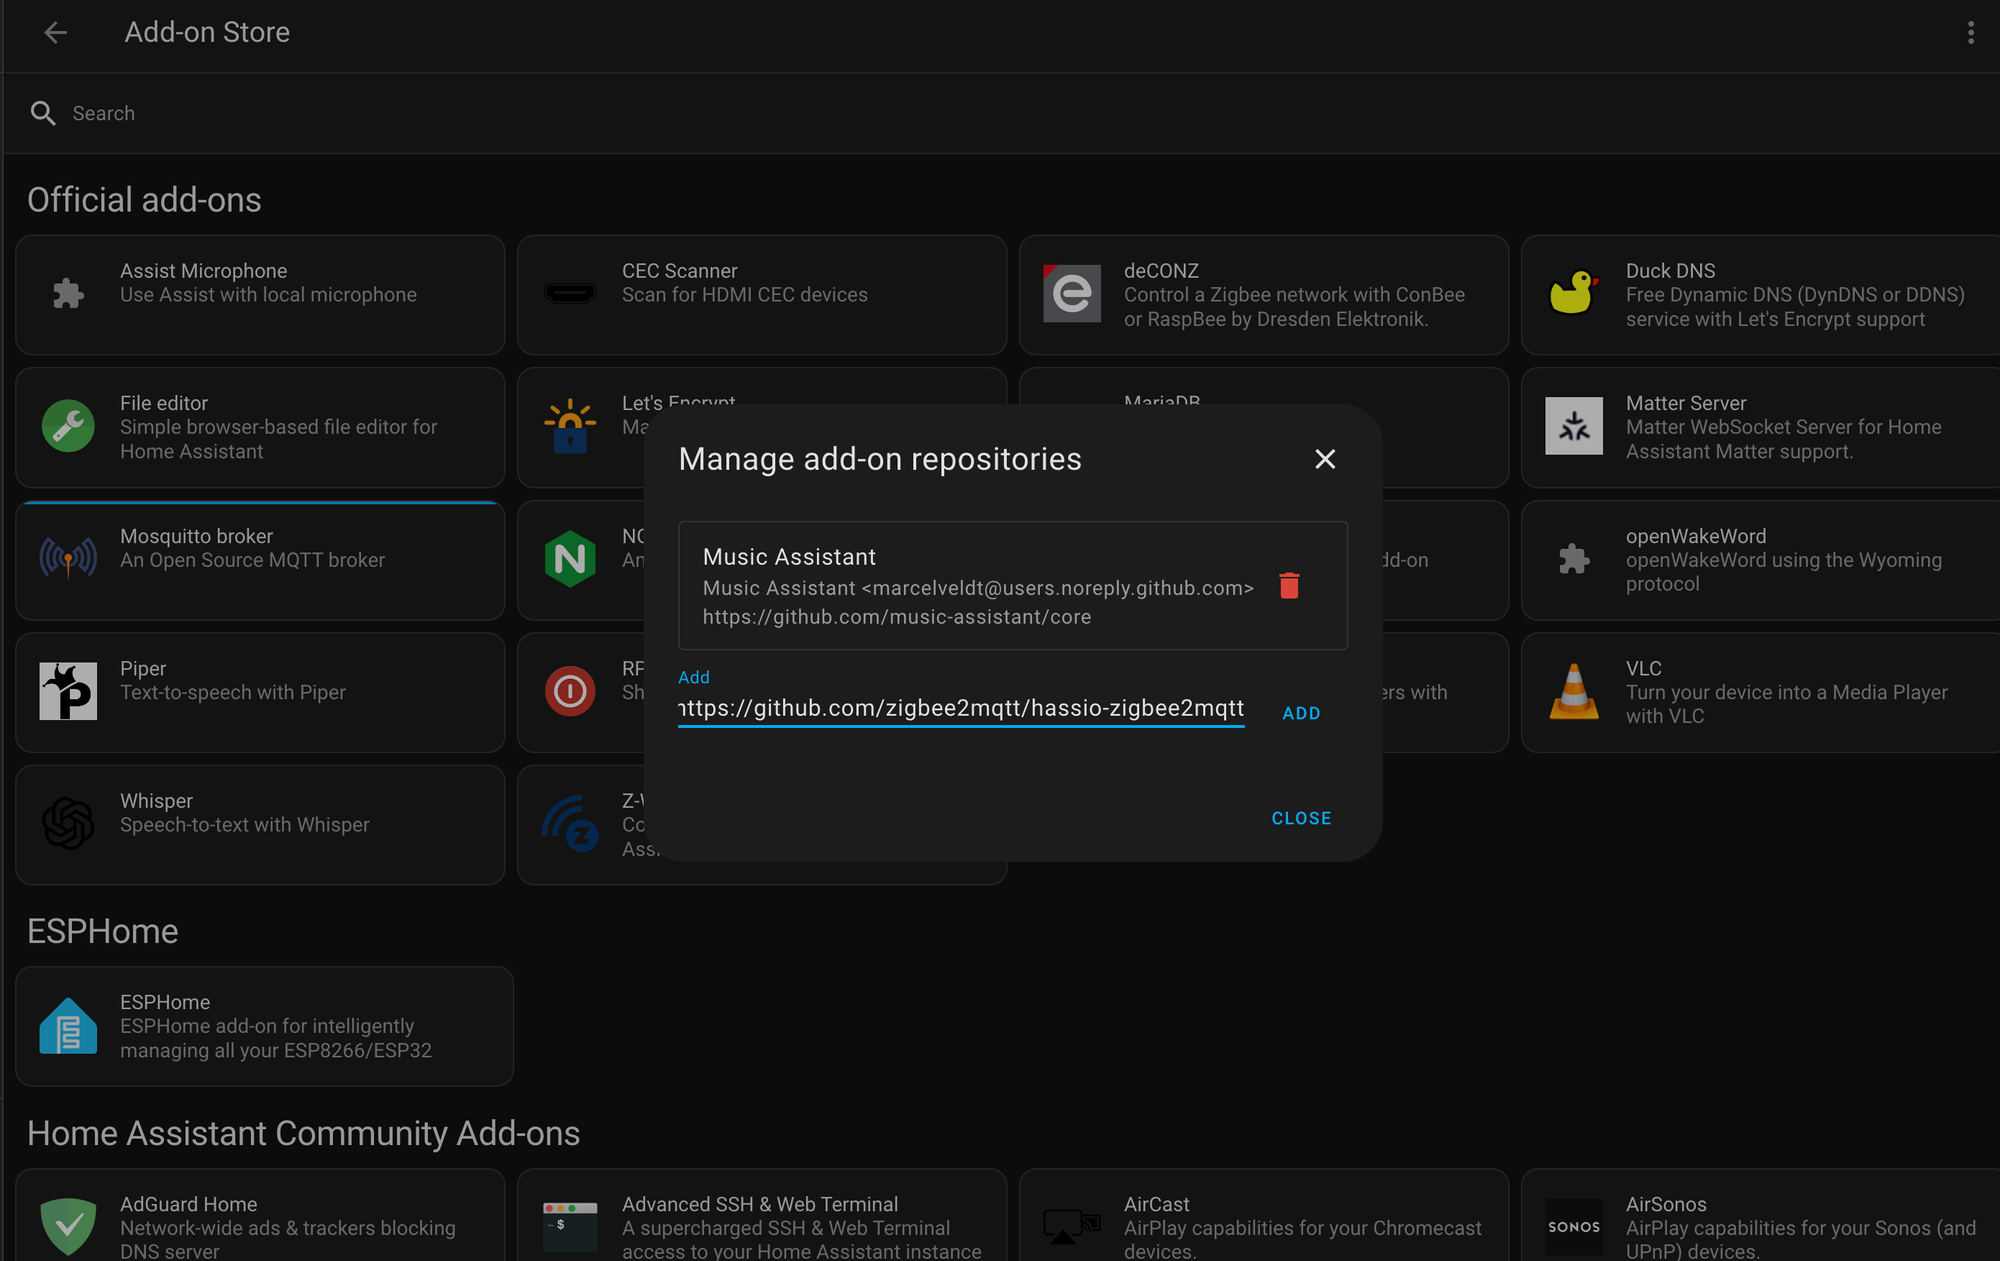
Now you should be able to see new apps in the store.
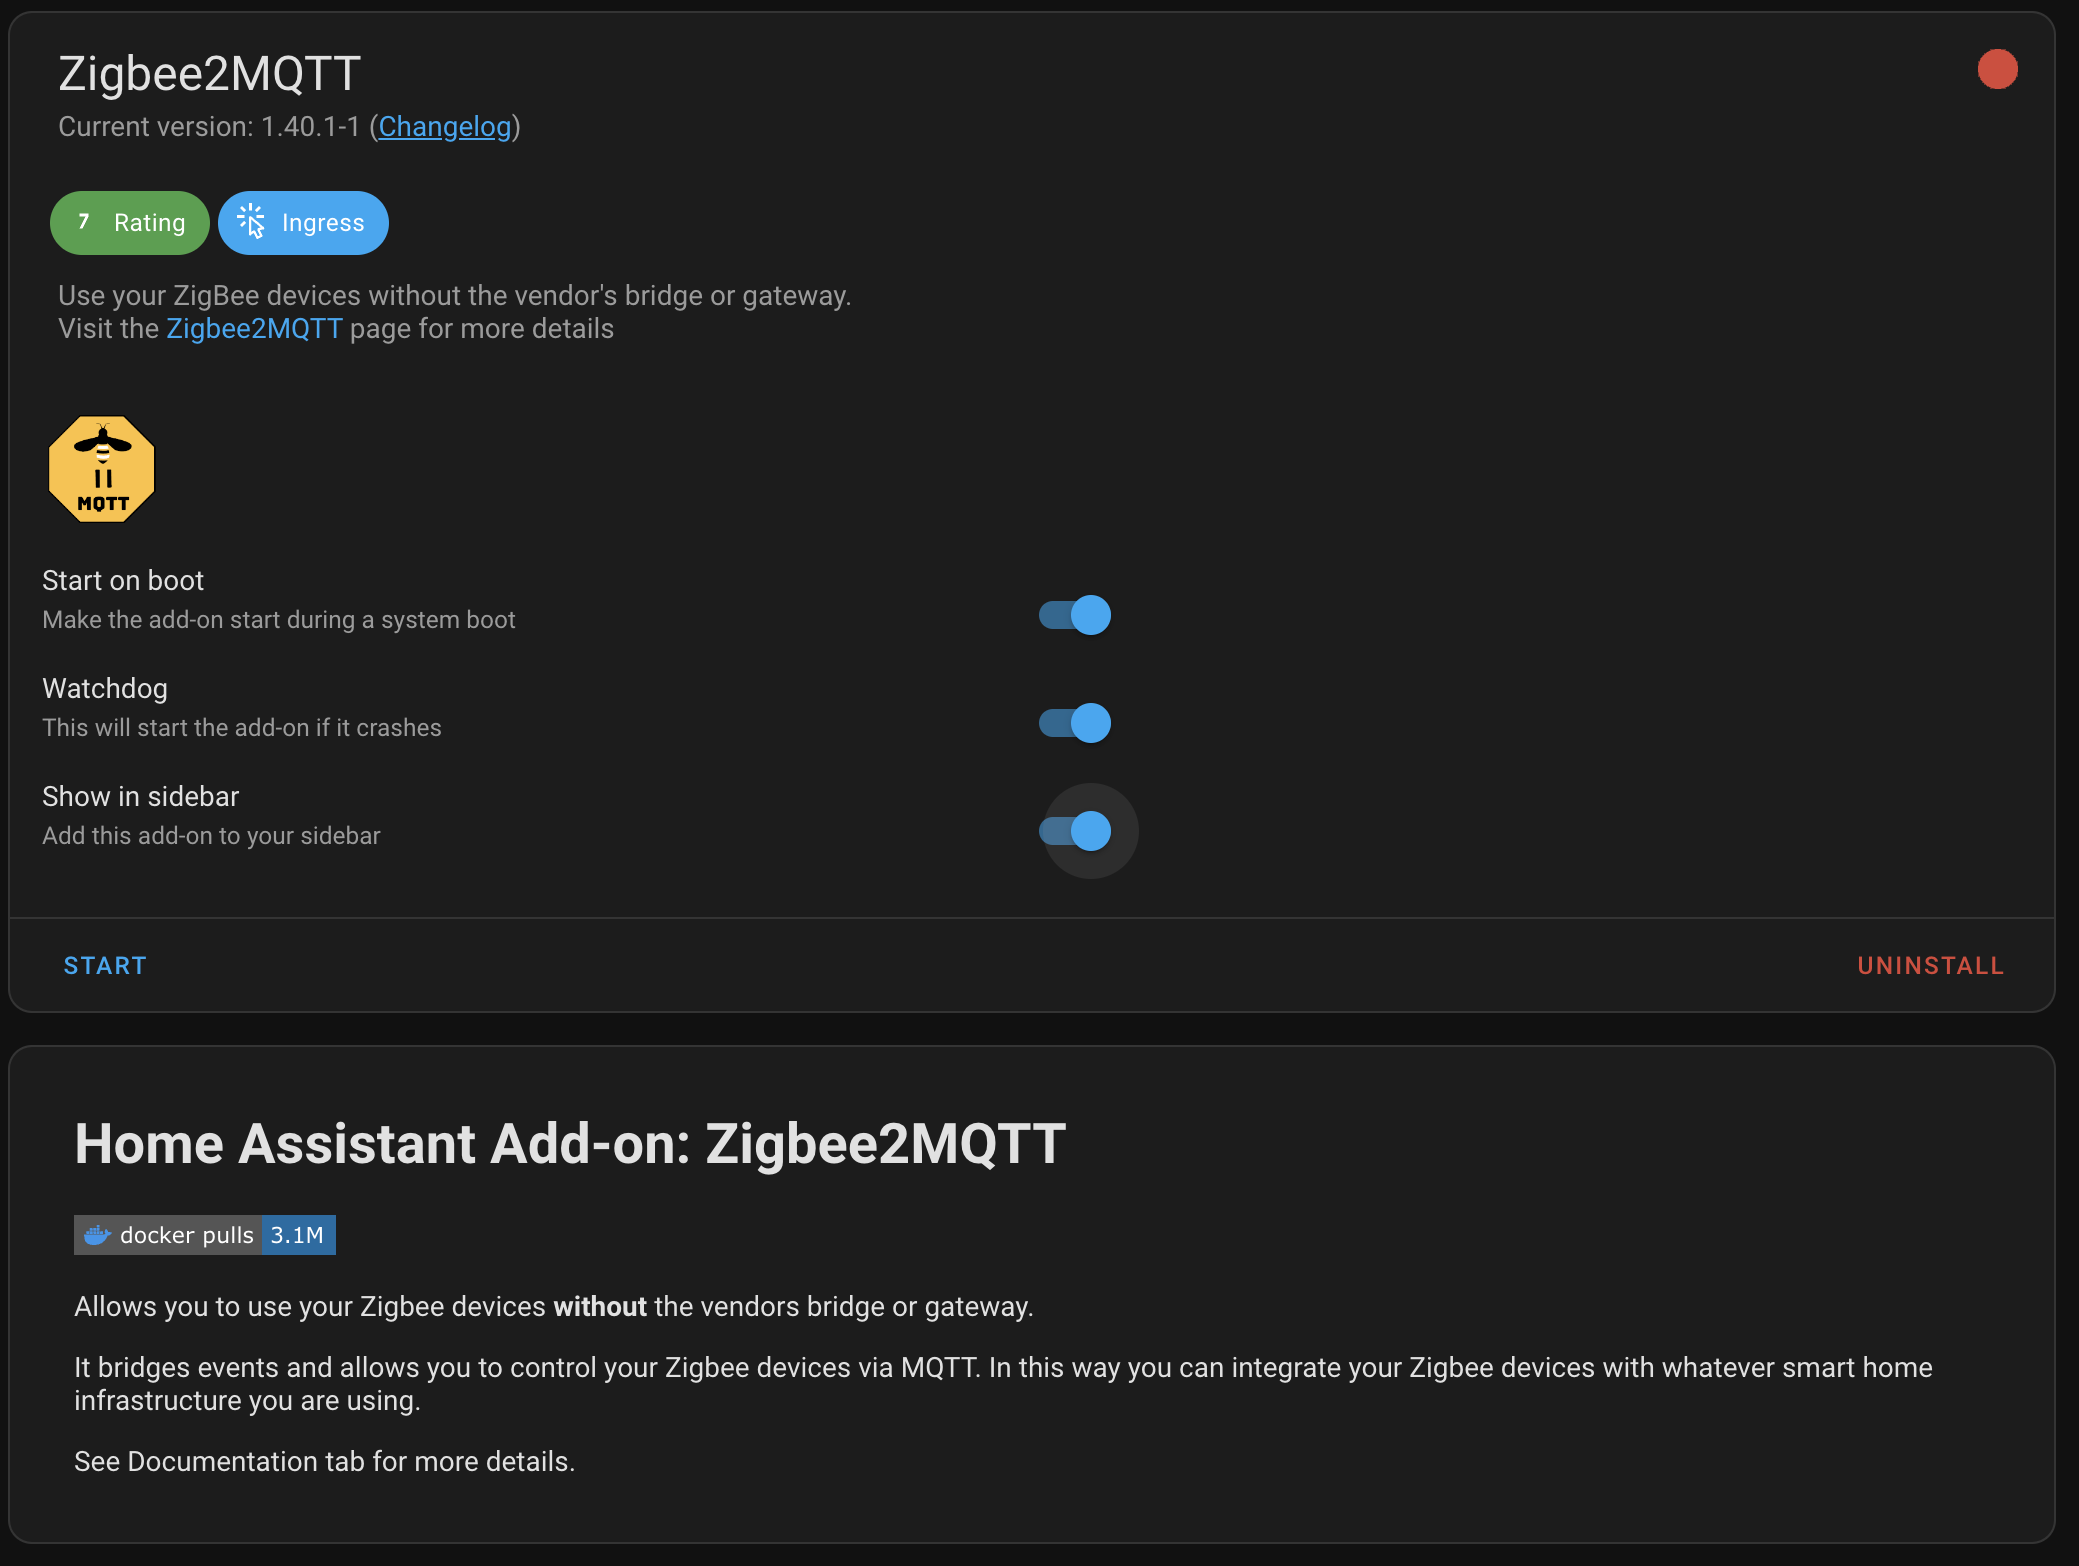
Click and install Zigbee2MQTT add-on. Make sure to enable all the options.
Configure Zigbee2MQTT
We need to perform some basic configuration to make our solution work. You will need the user credentials and devlink of the USB Bridge from previous steps.
Still being in the add-on menu, click Configuration tab. I prefer to edit entire YAML file and so I recommend to you as well. Click the three dot button and choose Edit in YAML.
You can paste the configuration from here, but please change user credential and serial port.
data_path: /config/zigbee2mqtt
socat:
  enabled: false
  master: pty,raw,echo=0,link=/tmp/ttyZ2M,mode=777
  slave: tcp-listen:8485,keepalive,nodelay,reuseaddr,keepidle=1,keepintvl=1,keepcnt=5
  options: "-d -d"
  log: false
mqtt:
  server: mqtt://core-mosquitto:1883
  user: mqtt-service
  password: password
serial:
  port: >-
    /dev/serial/by-id/usb-Itead_Sonoff_Zigbee_3.0_USB_Dongle_Plus_V2_421c3f29cc12ef1185d16db8bf9df066-if00-port0
  adapter: ezsp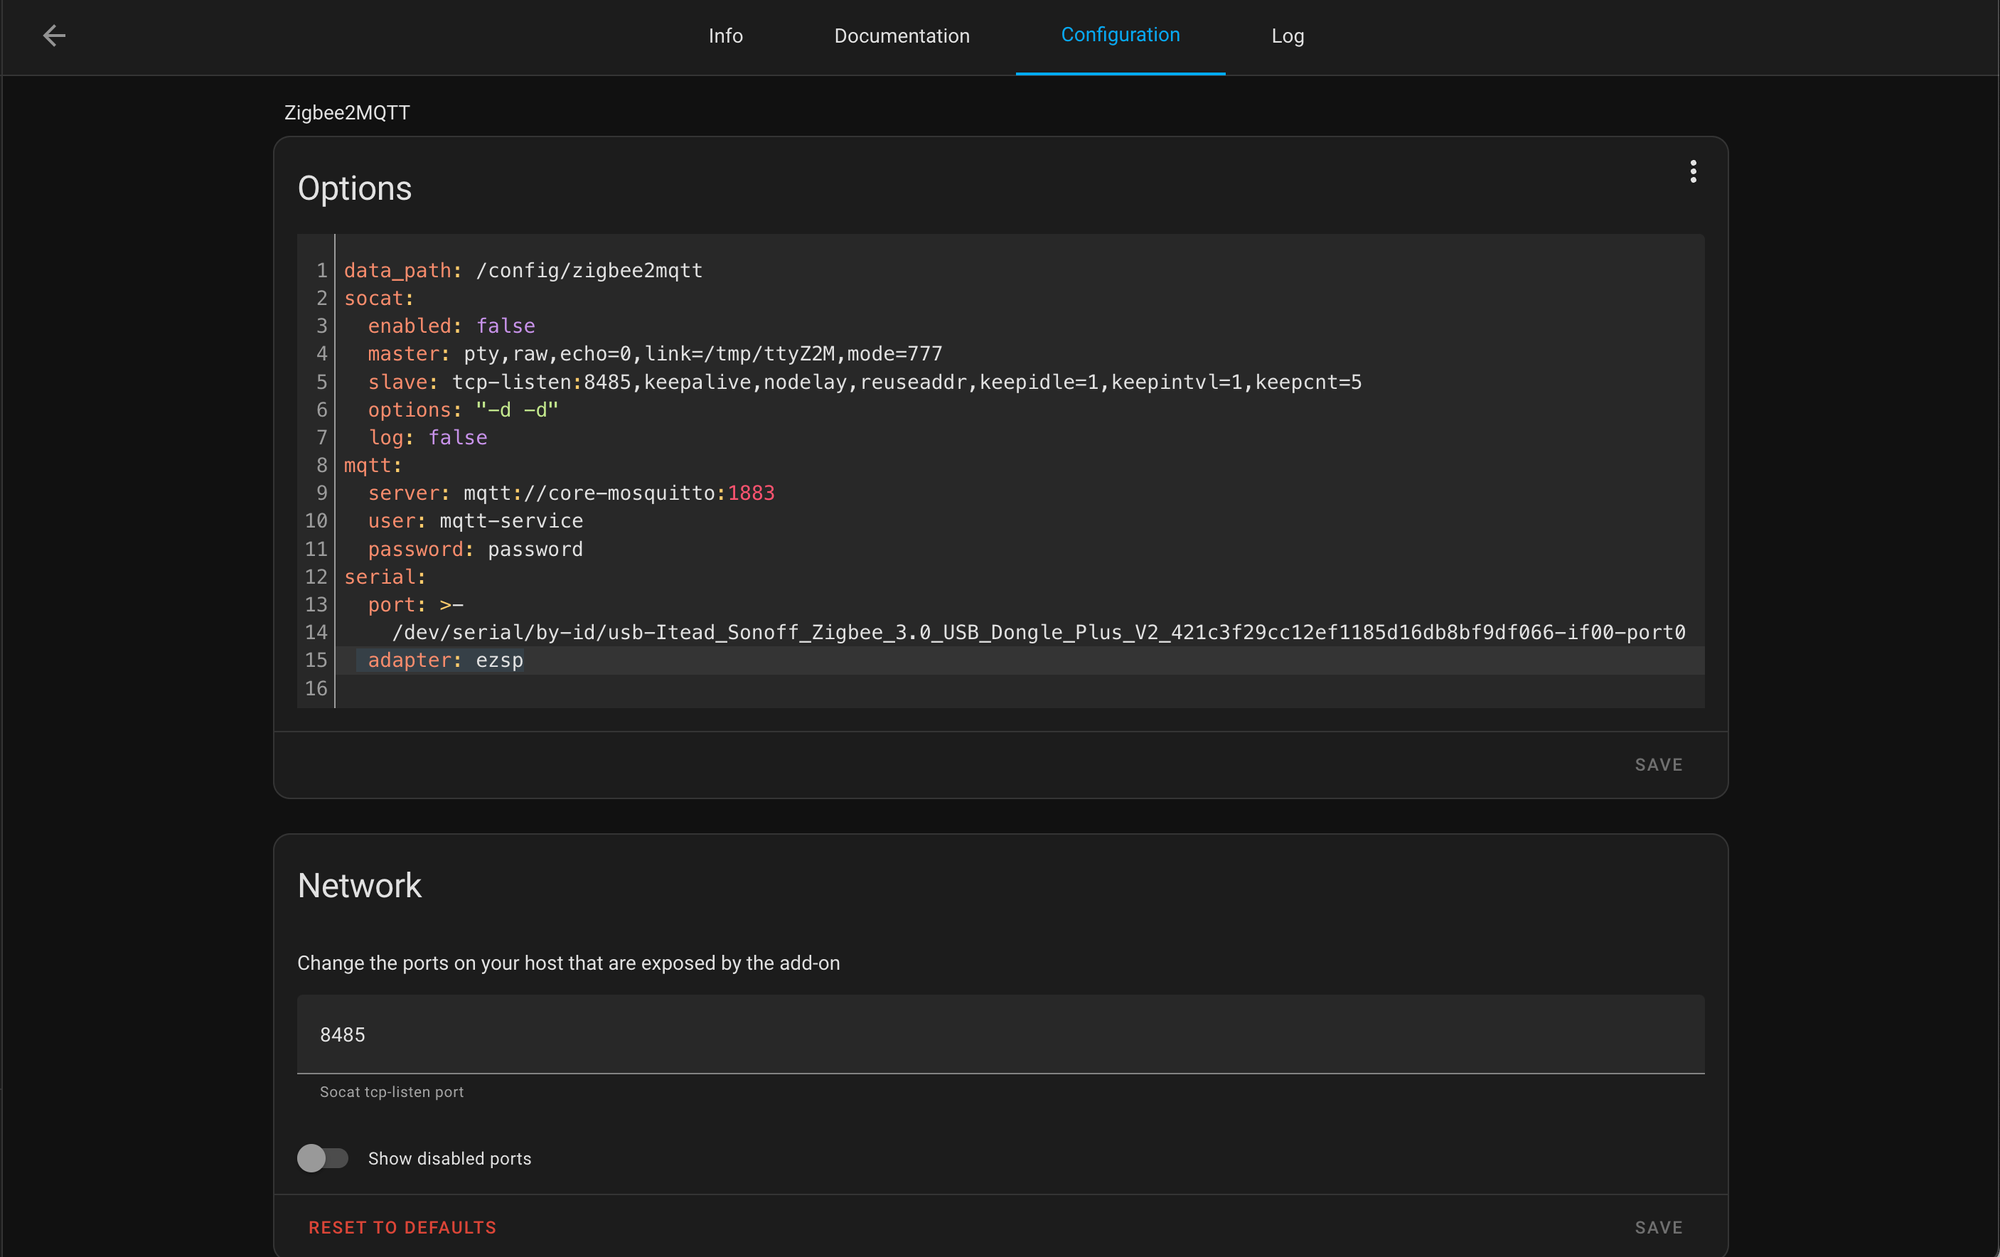
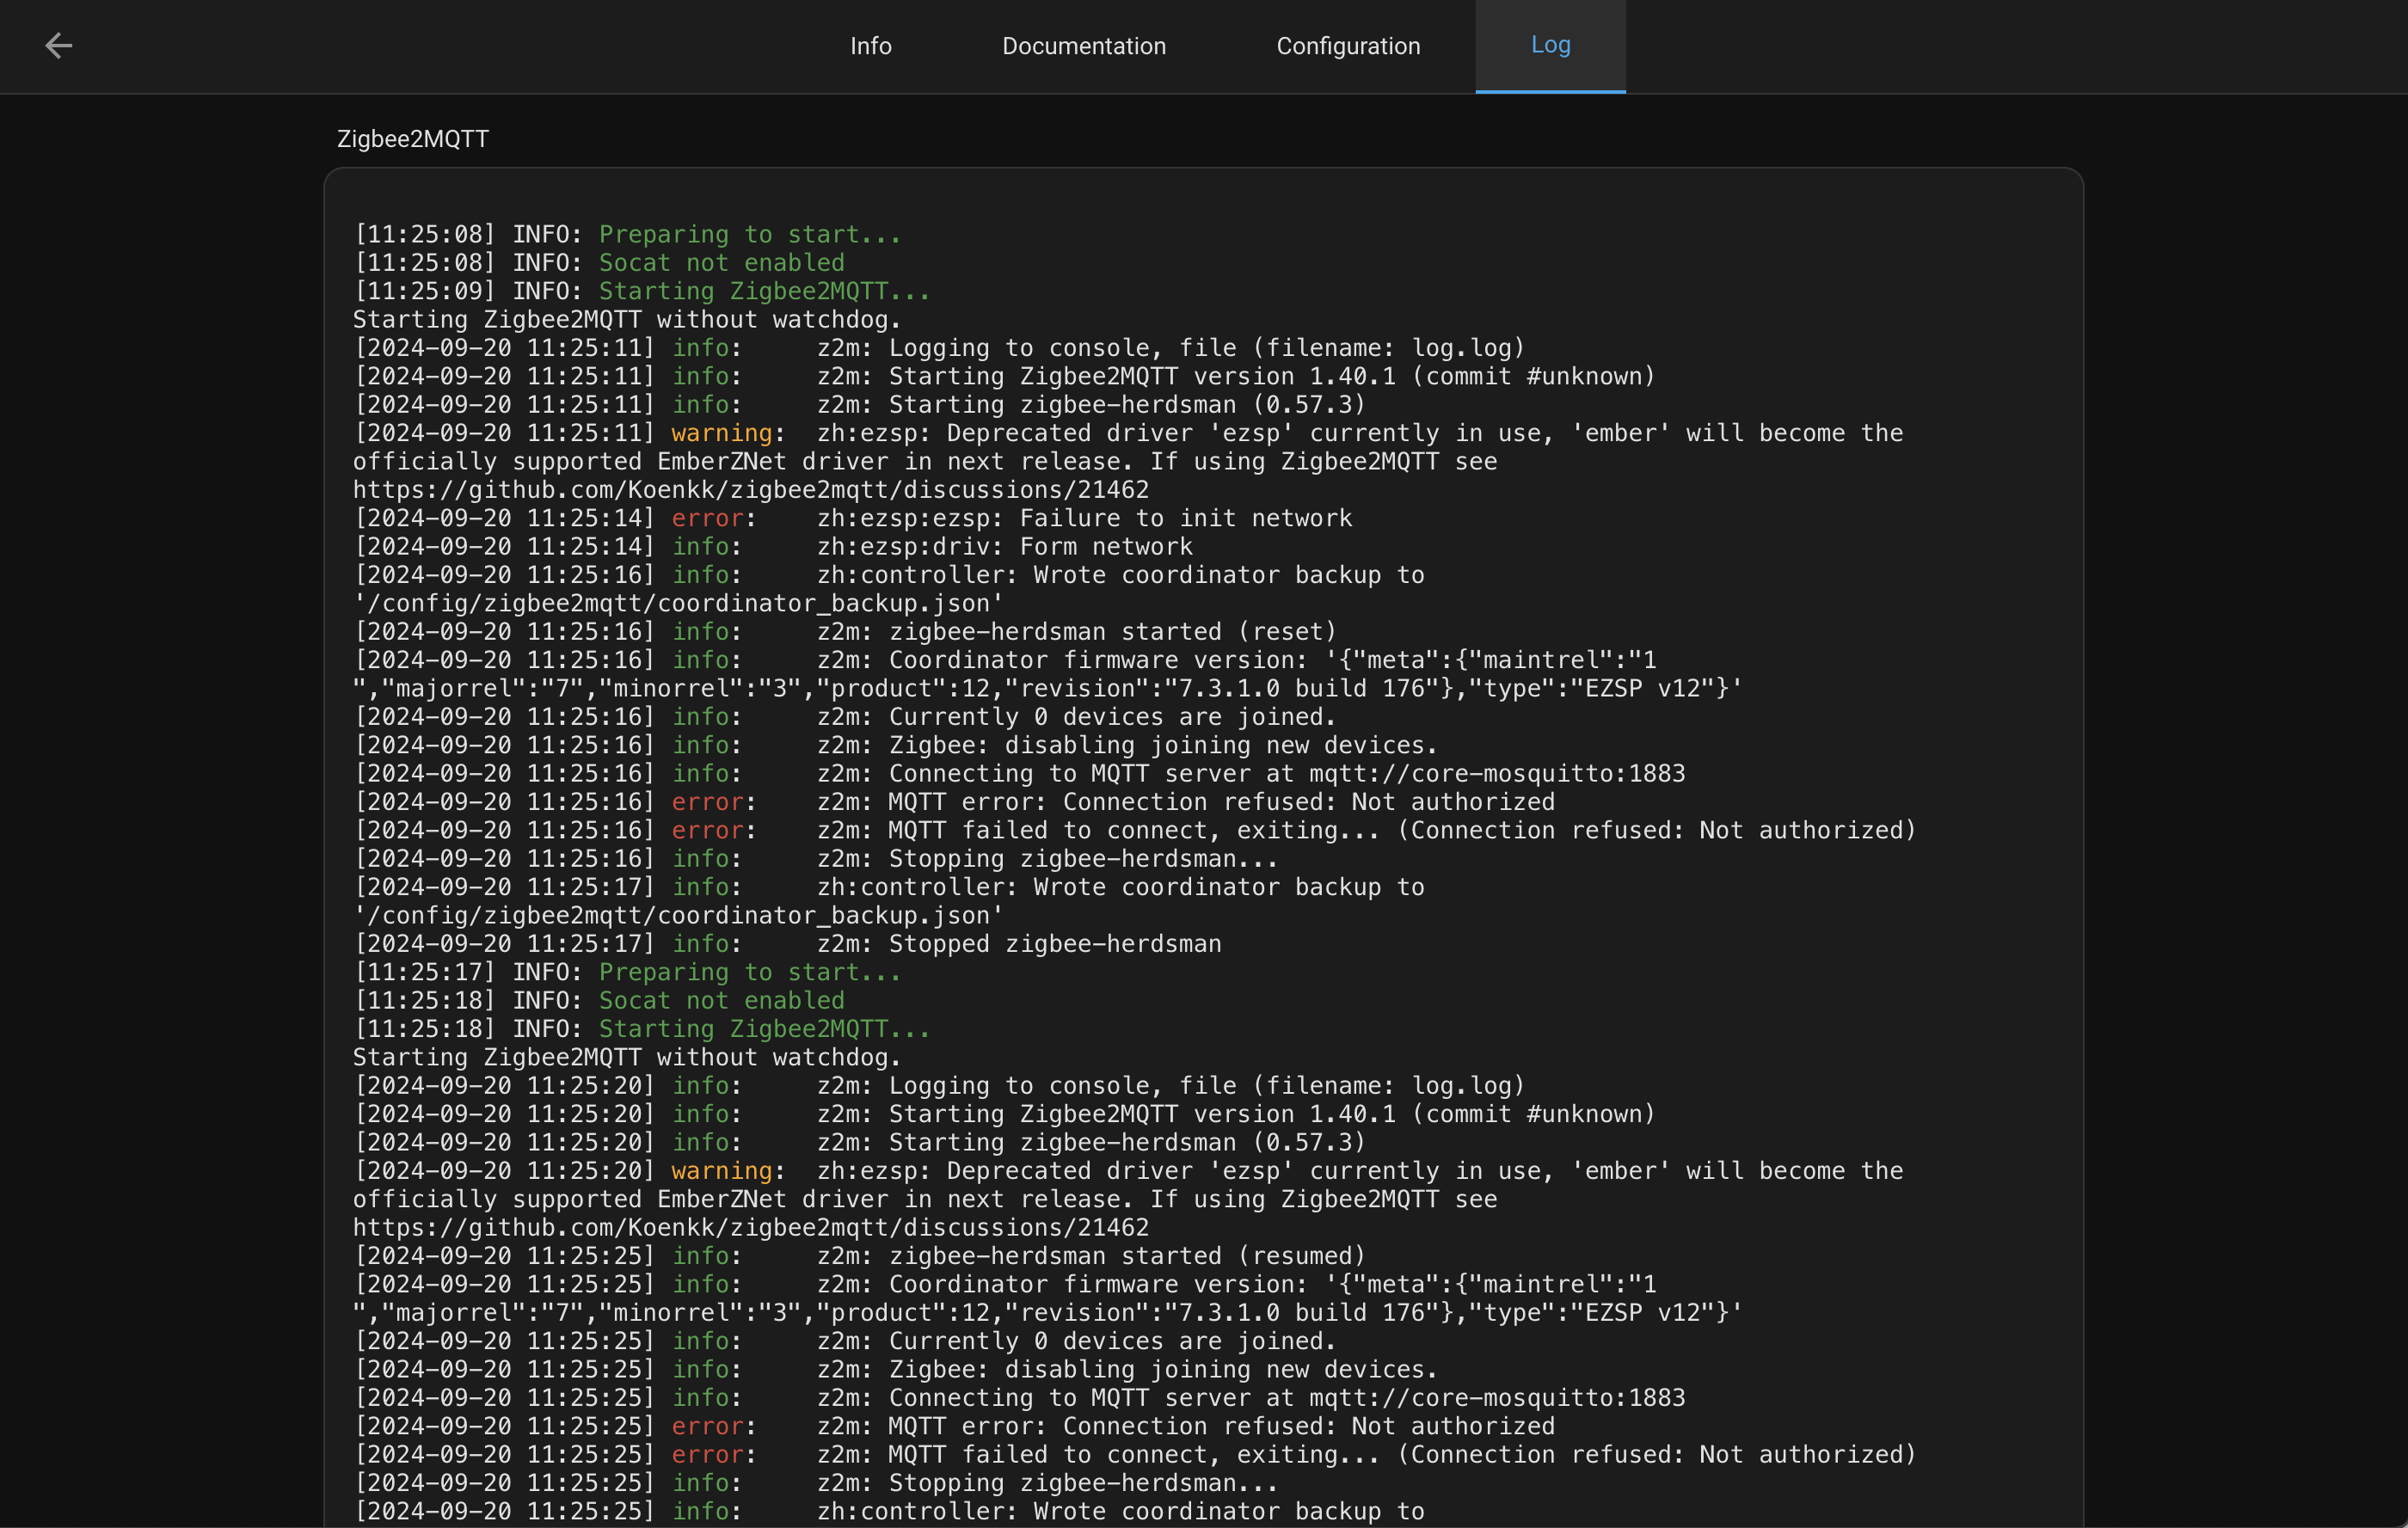
Leave the rest as default, and save the changes. We can now start the add-on. In the log tab you should see that Zigbee2MQTT is up and running.
Pair Aqara device with Home Assistant
Only one last step is ahead of us! Go to Zigbee2MQTT in the sidebar. You should see a page containing connected devices. Obviously now it’s empty.
To start the pairing, click Permit join (ALL) option in the top bar. This is a state in which any device can connect to our zigbee network for limited time. At the same time, on your device press the pairing button. In my case - Aqara Temperature Sensor pairing button is on the top and I had to press it for 5 seconds until blue LED appeared. Once paired, your device should be visible in the list.

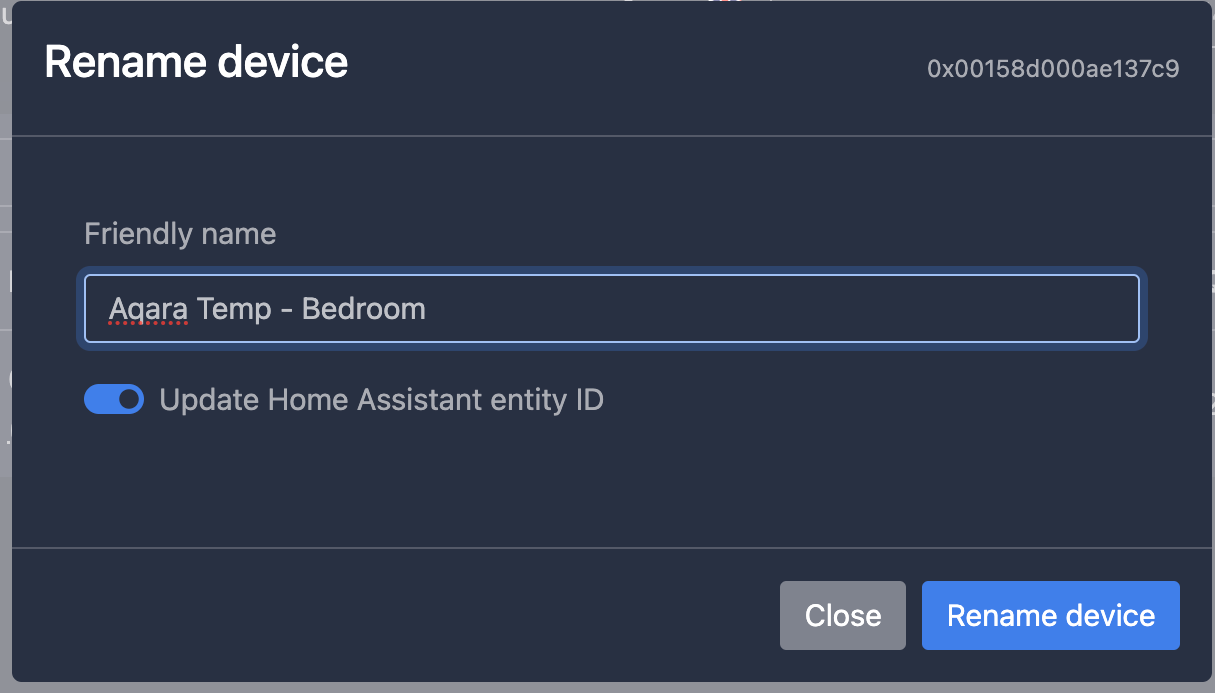
Now you can proceed with adding new devices, or just disable join. The very last step that I recommend you doing is to name your device with something more friendly. Just click the blue button on the right and rename it accordingly. In my case it is Bedroom.
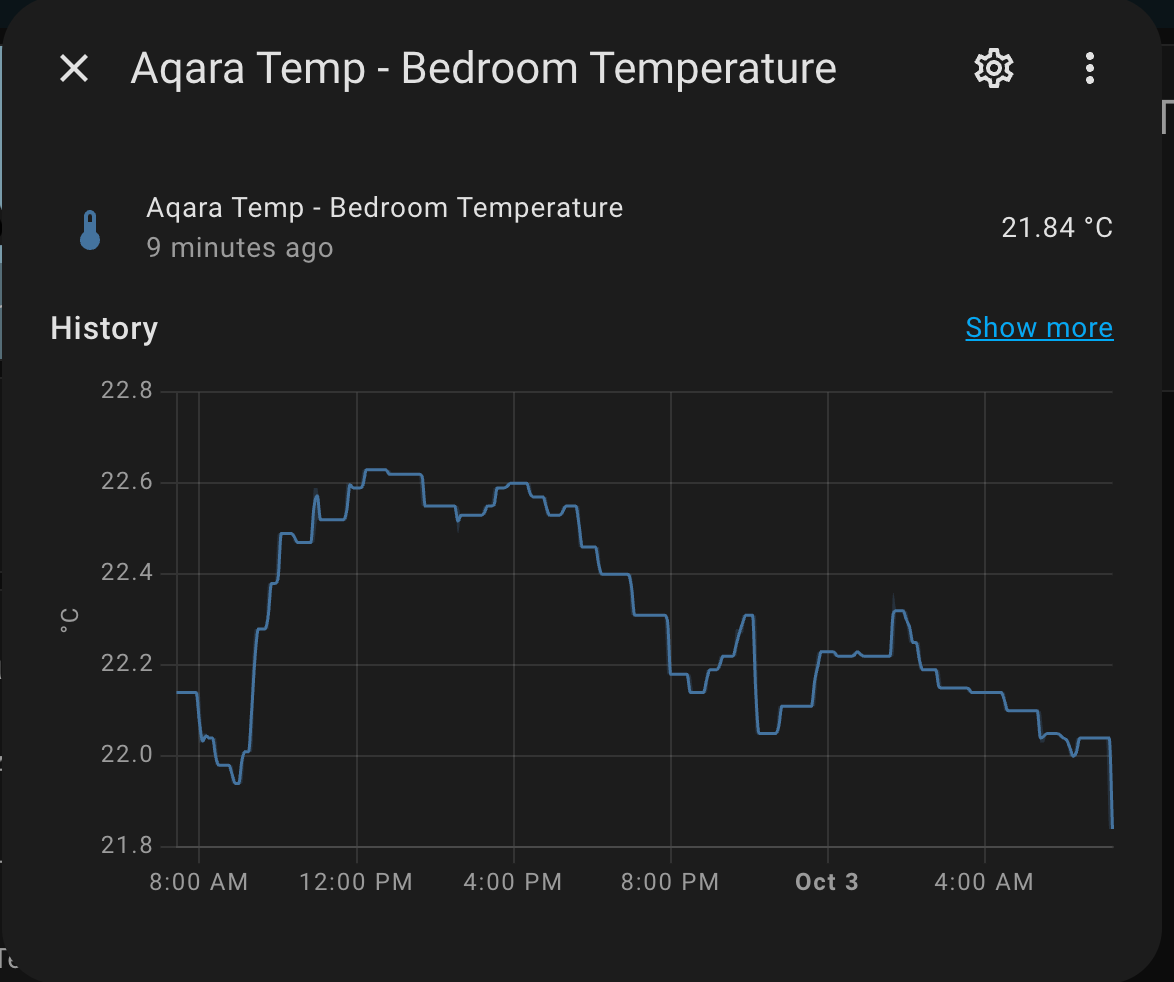
And that’s it! You should now see the temperature values in your room.
Conclusion
In this tutorial I described the entire process of connecting new Aqara sensor to Home Assistant. Try it now yourself!
If you found this article helpful, consider buying me a coffee. This helps me continue writing these articles for you!
References:
https://github.com/zigbee2mqtt/hassio-zigbee2mqtt#installation
