How to install Home Assistant OS in Proxmox
I have always wanted to have some kind of home automation at my place. Now that I have my homelab, it is the perfect time to build one.
In this article, I will show you how to install Home Assistant OS using a nifty little shell script that I came across some time ago. It's incredibly easy and fun!
Prerequisites:
- Proxmox installed on your machine.
- At least 40GiB of free HDD storage.
HAOS Installation process
Grab the command below and paste it into the Proxmox terminal.
bash -c "$(wget -qLO - https://github.com/tteck/Proxmox/raw/main/misc/post-pve-install.sh)"
It can't get much easier than this. You will be guided in this step-by-step installation process, but there will be some places that we have to make some input.
The first screen that will appear:
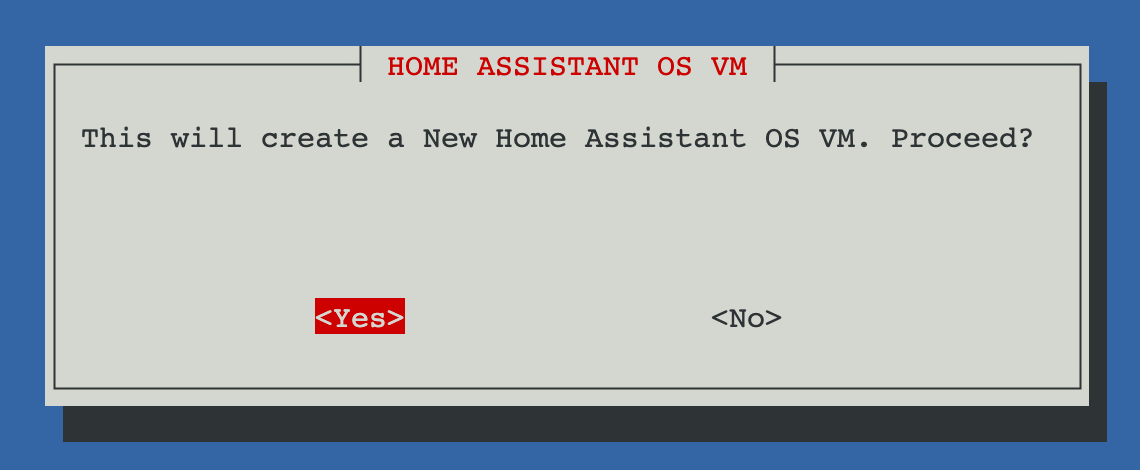
Hit enter.
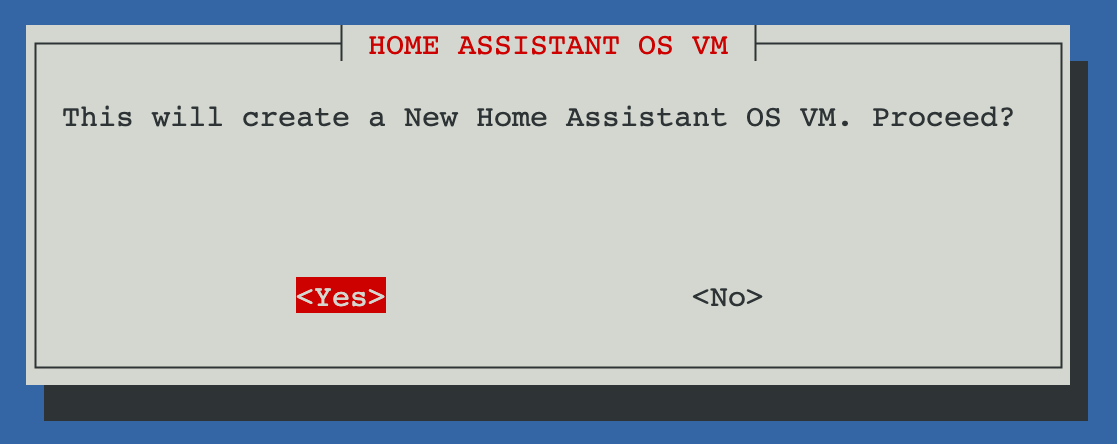
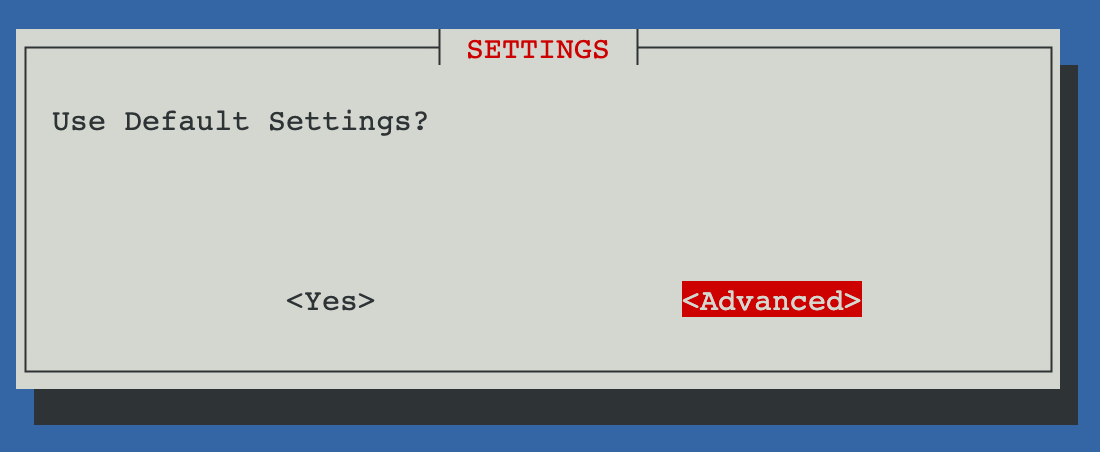
On the next screen, select Yes, and on the following screen, choose Advanced.
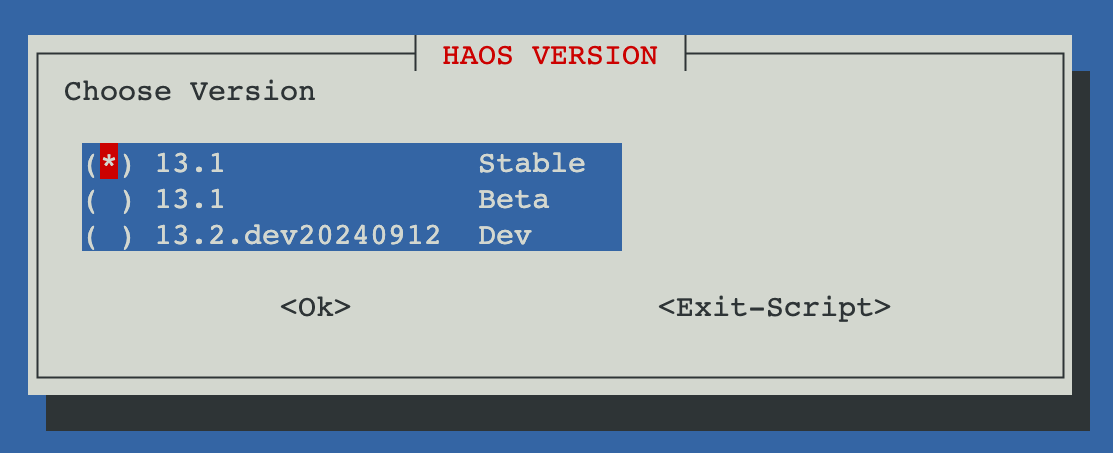
On the version screen, please select the stable version - it is the most reliable.
HINT: to exit selection mode, press `TAB`.
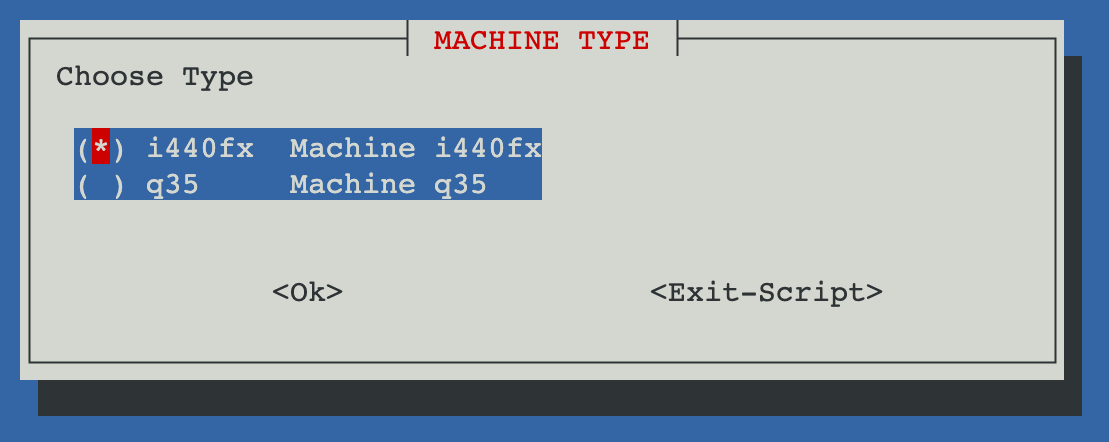
Leave the default Machine Type.
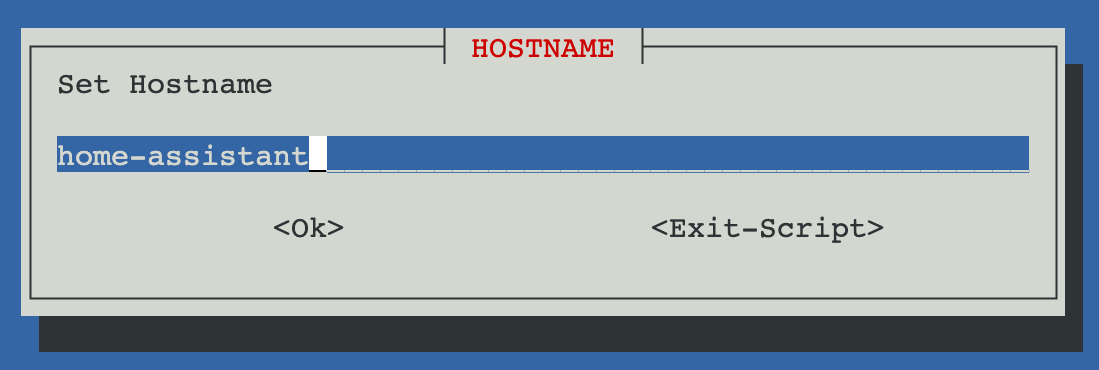
On the next screen, you can choose your hostname. I chose `home-assistant`, but feel free to provide any name.
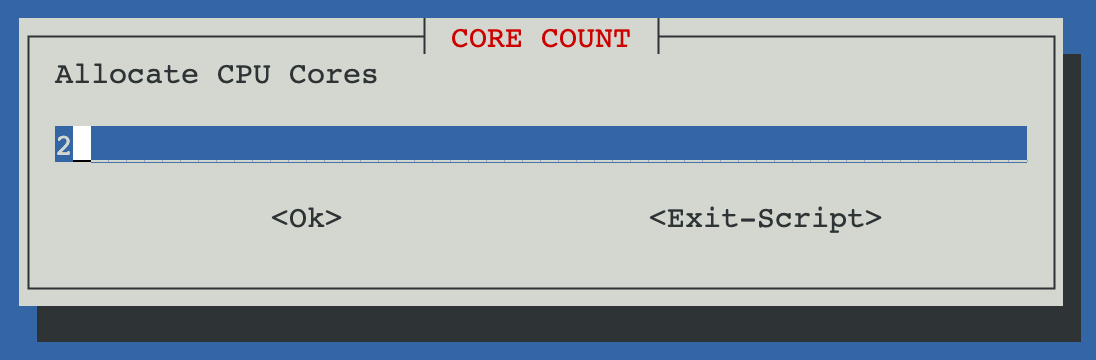
For CPU cores, my recommendation is 2. Two cores will be sufficient for most use cases.
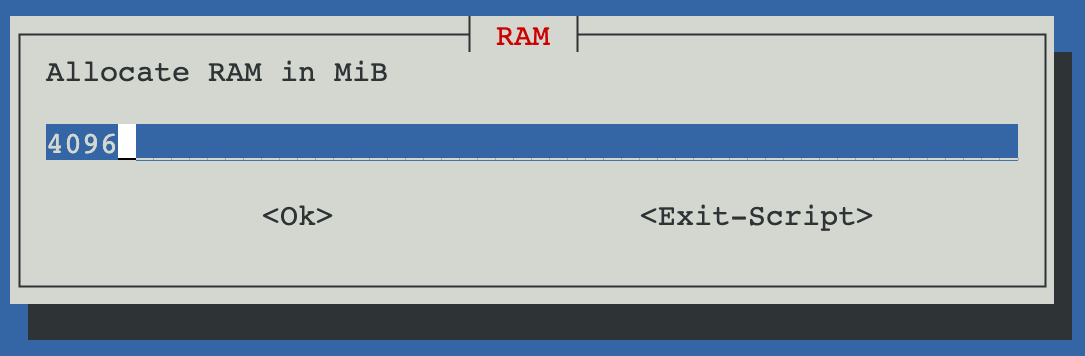
RAM can be left default. I set mine at 4096MiB.
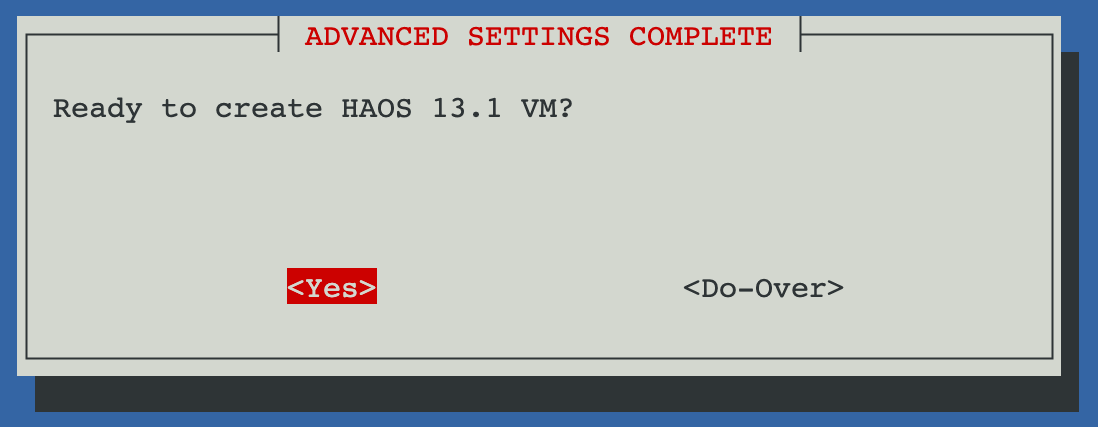
Agree to the last prompts, and we are done with the configuration.
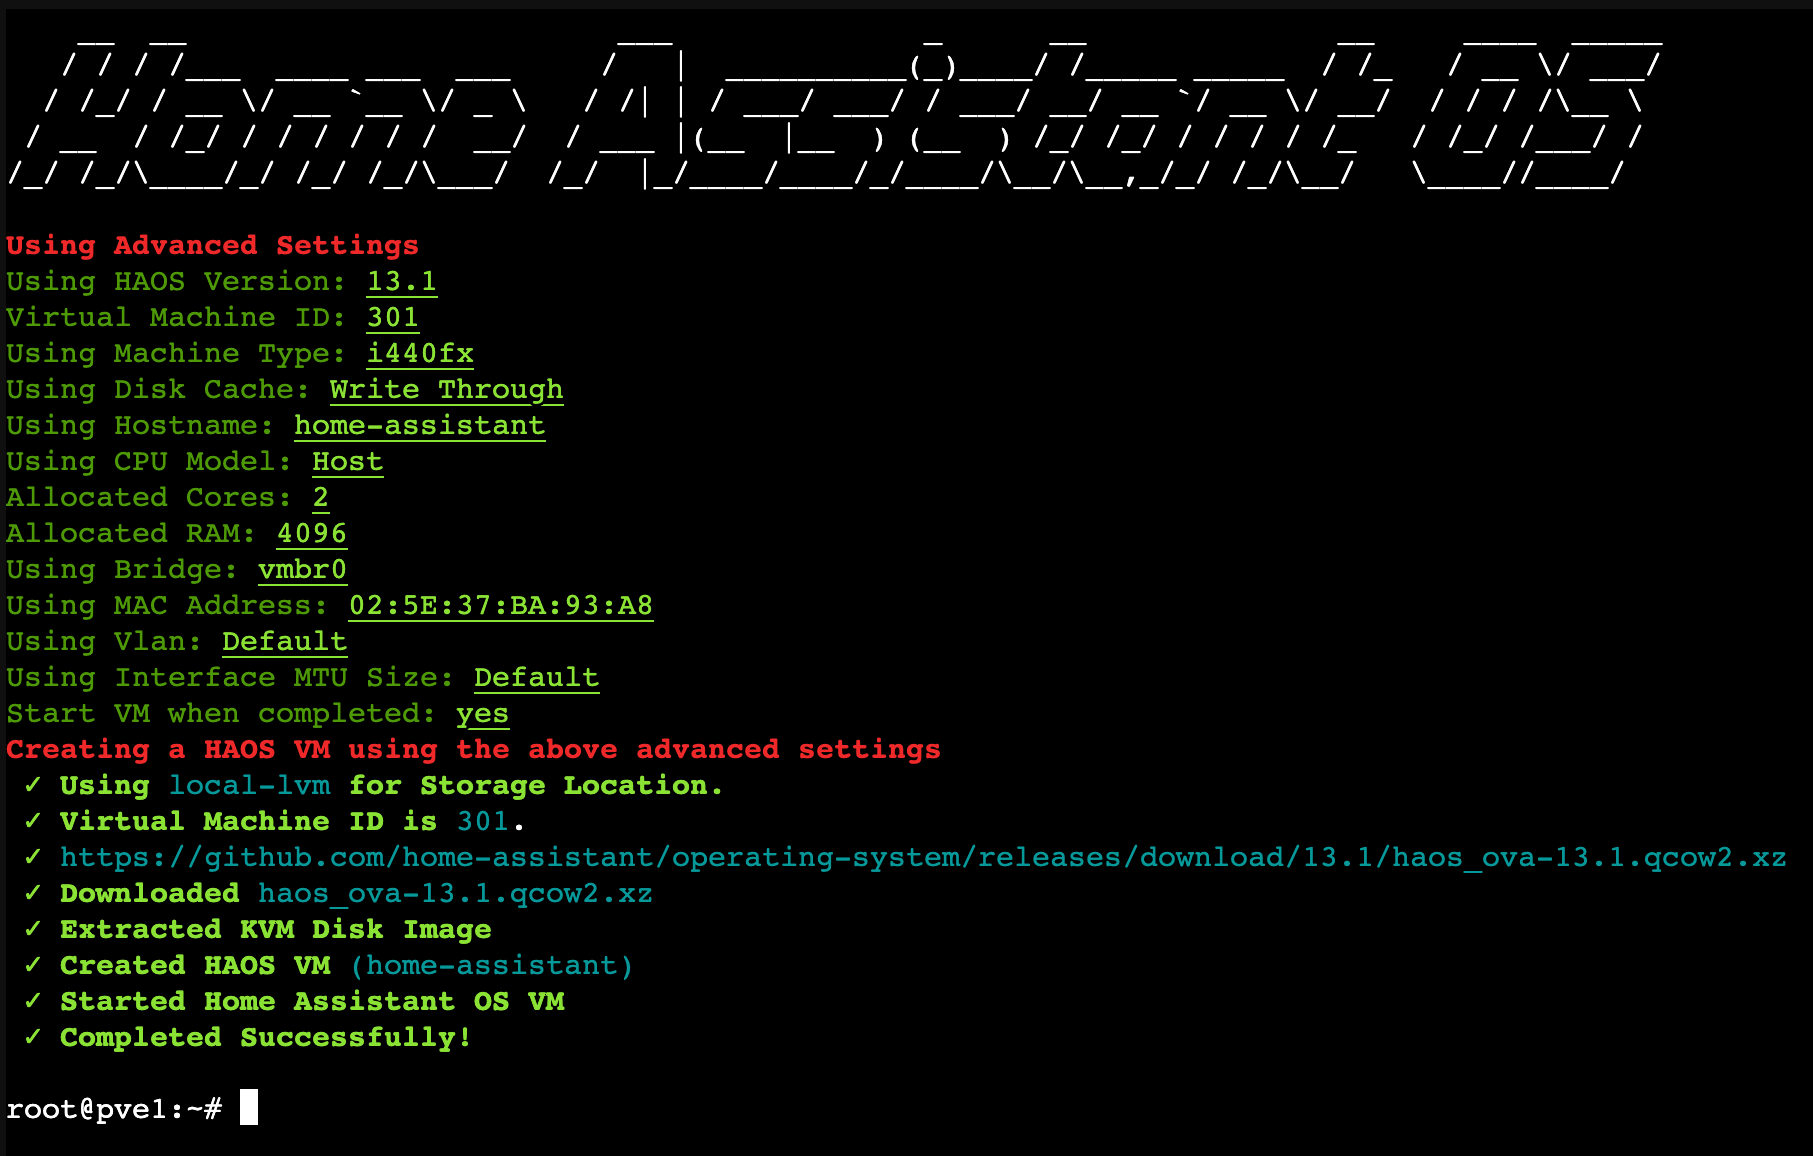
And this is how the installation process looks like:
Home Assistant Initial Setup
Now that we have our new VM installed, let’s connect to our HA instance. Head to your newly created VM shell, and you should see a screen similar to this:
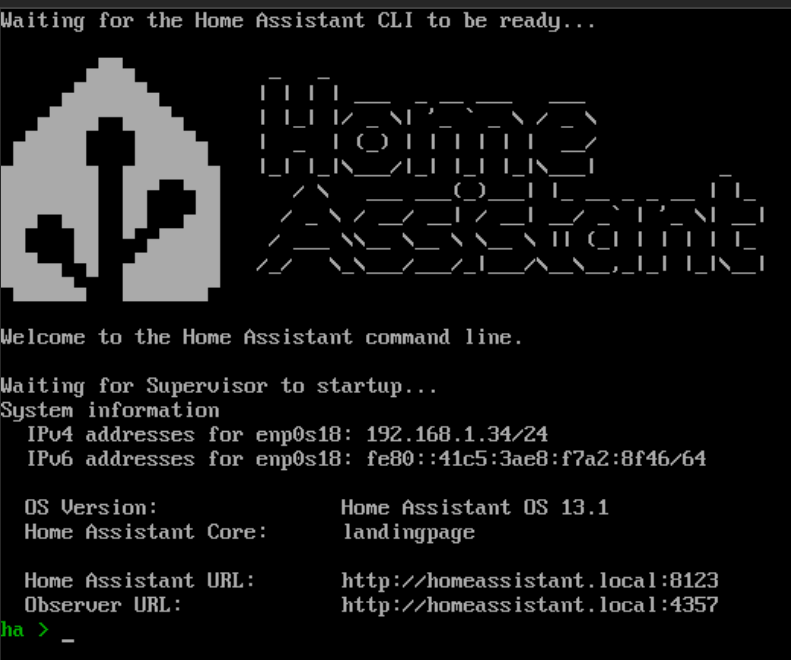
Take note of the IP address of the VM, then head to your browser and paste that address. Don’t forget to add port. In my case the address would be: `192.168.1.34:8123`.
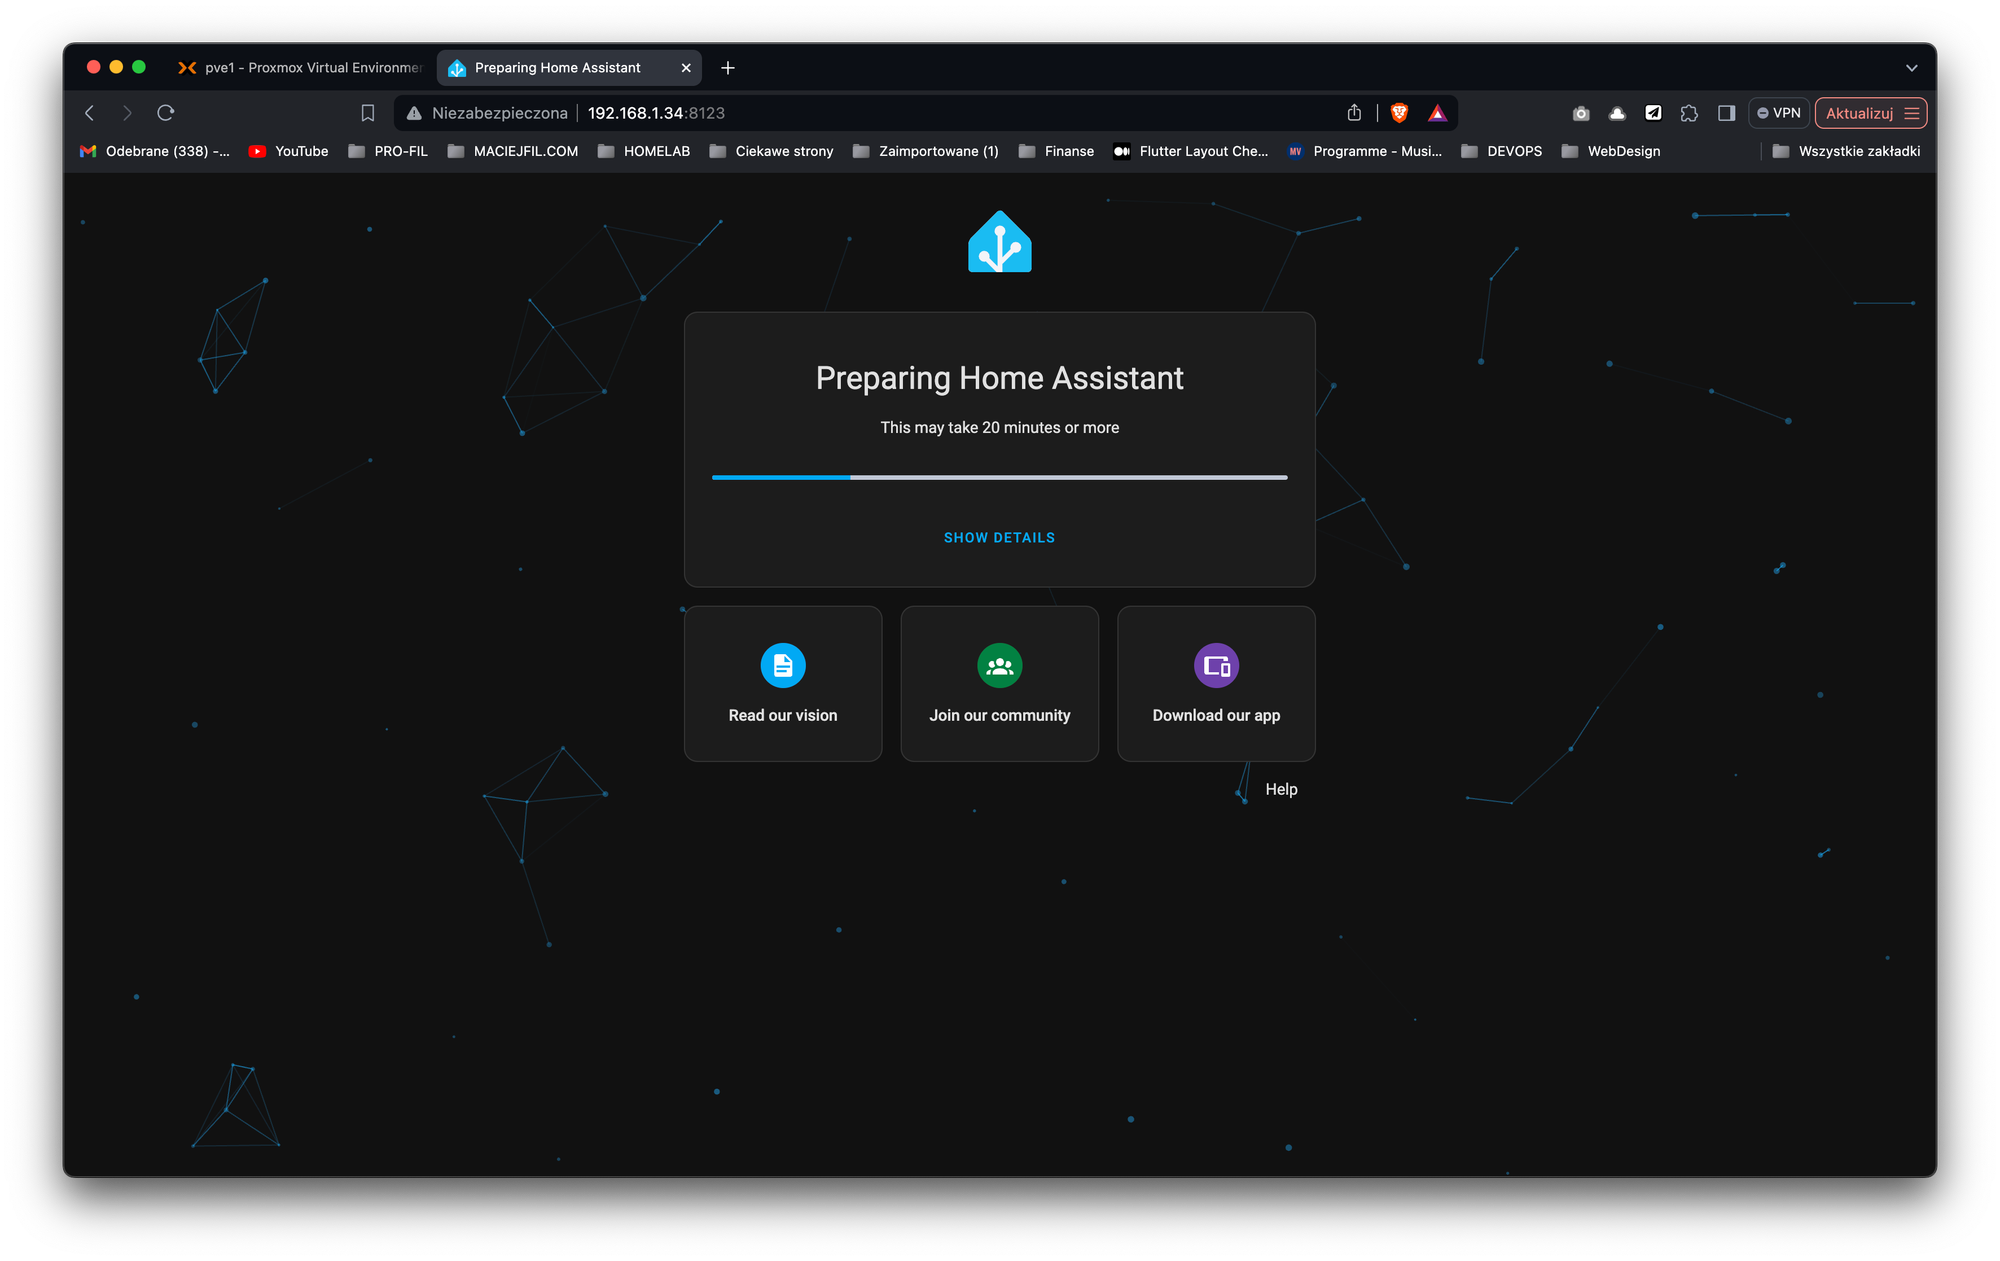
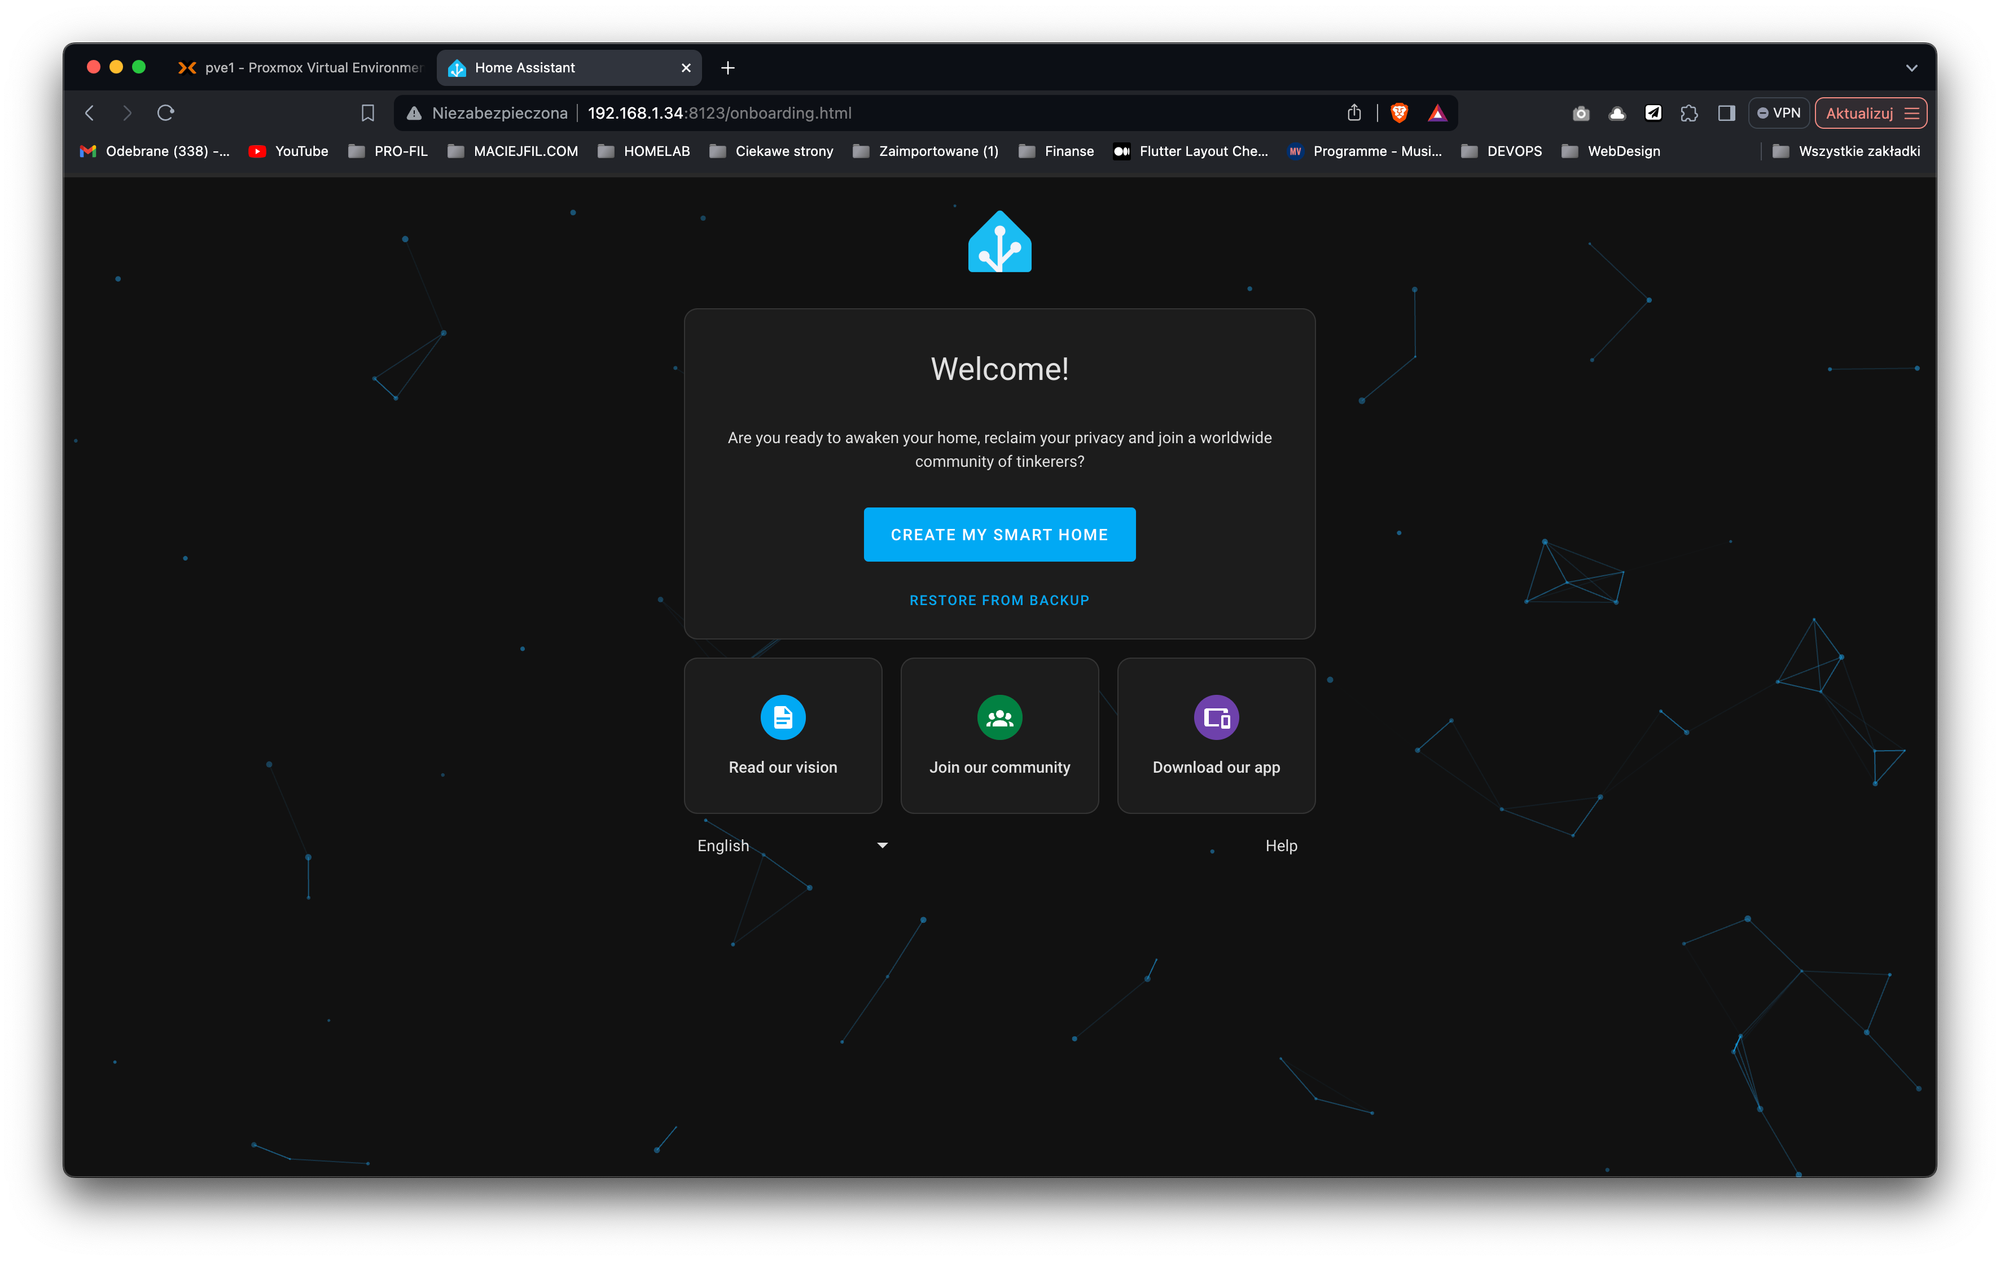
Once you open the website, Home Assistant will take a few moments to configure itself, and then you will see the welcome screen. Two options there - either complete new setup, or recreate instance from backup. Since this is a new installation, I'm choosing 'Create My Smart Home`
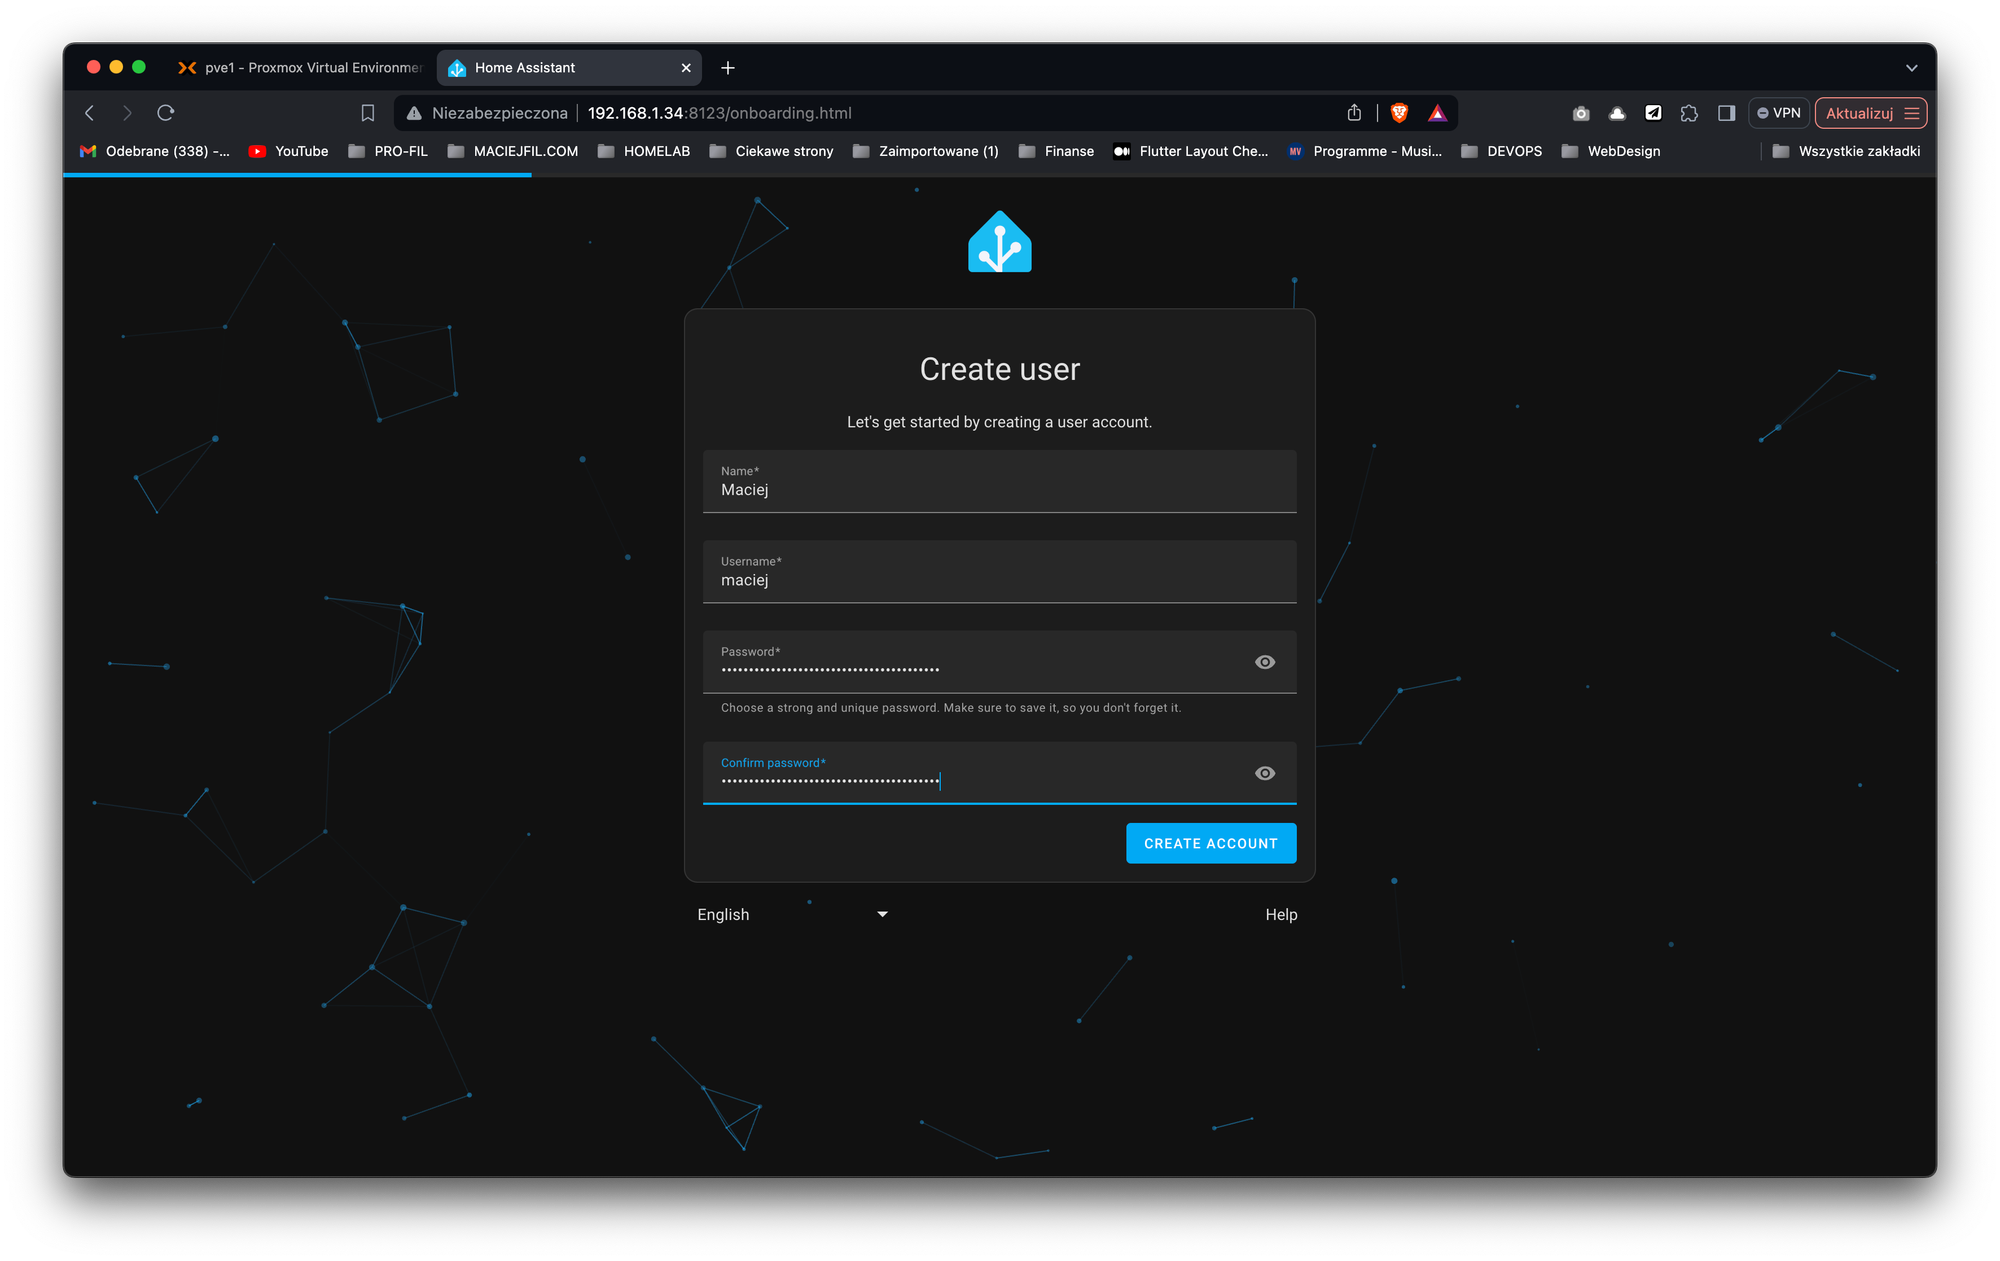
You will be asked to enter your credentials. Remember to use strong password!
Also, in order to present to you the latest weather forecast and also enable some features that use geolocation, select your home address.
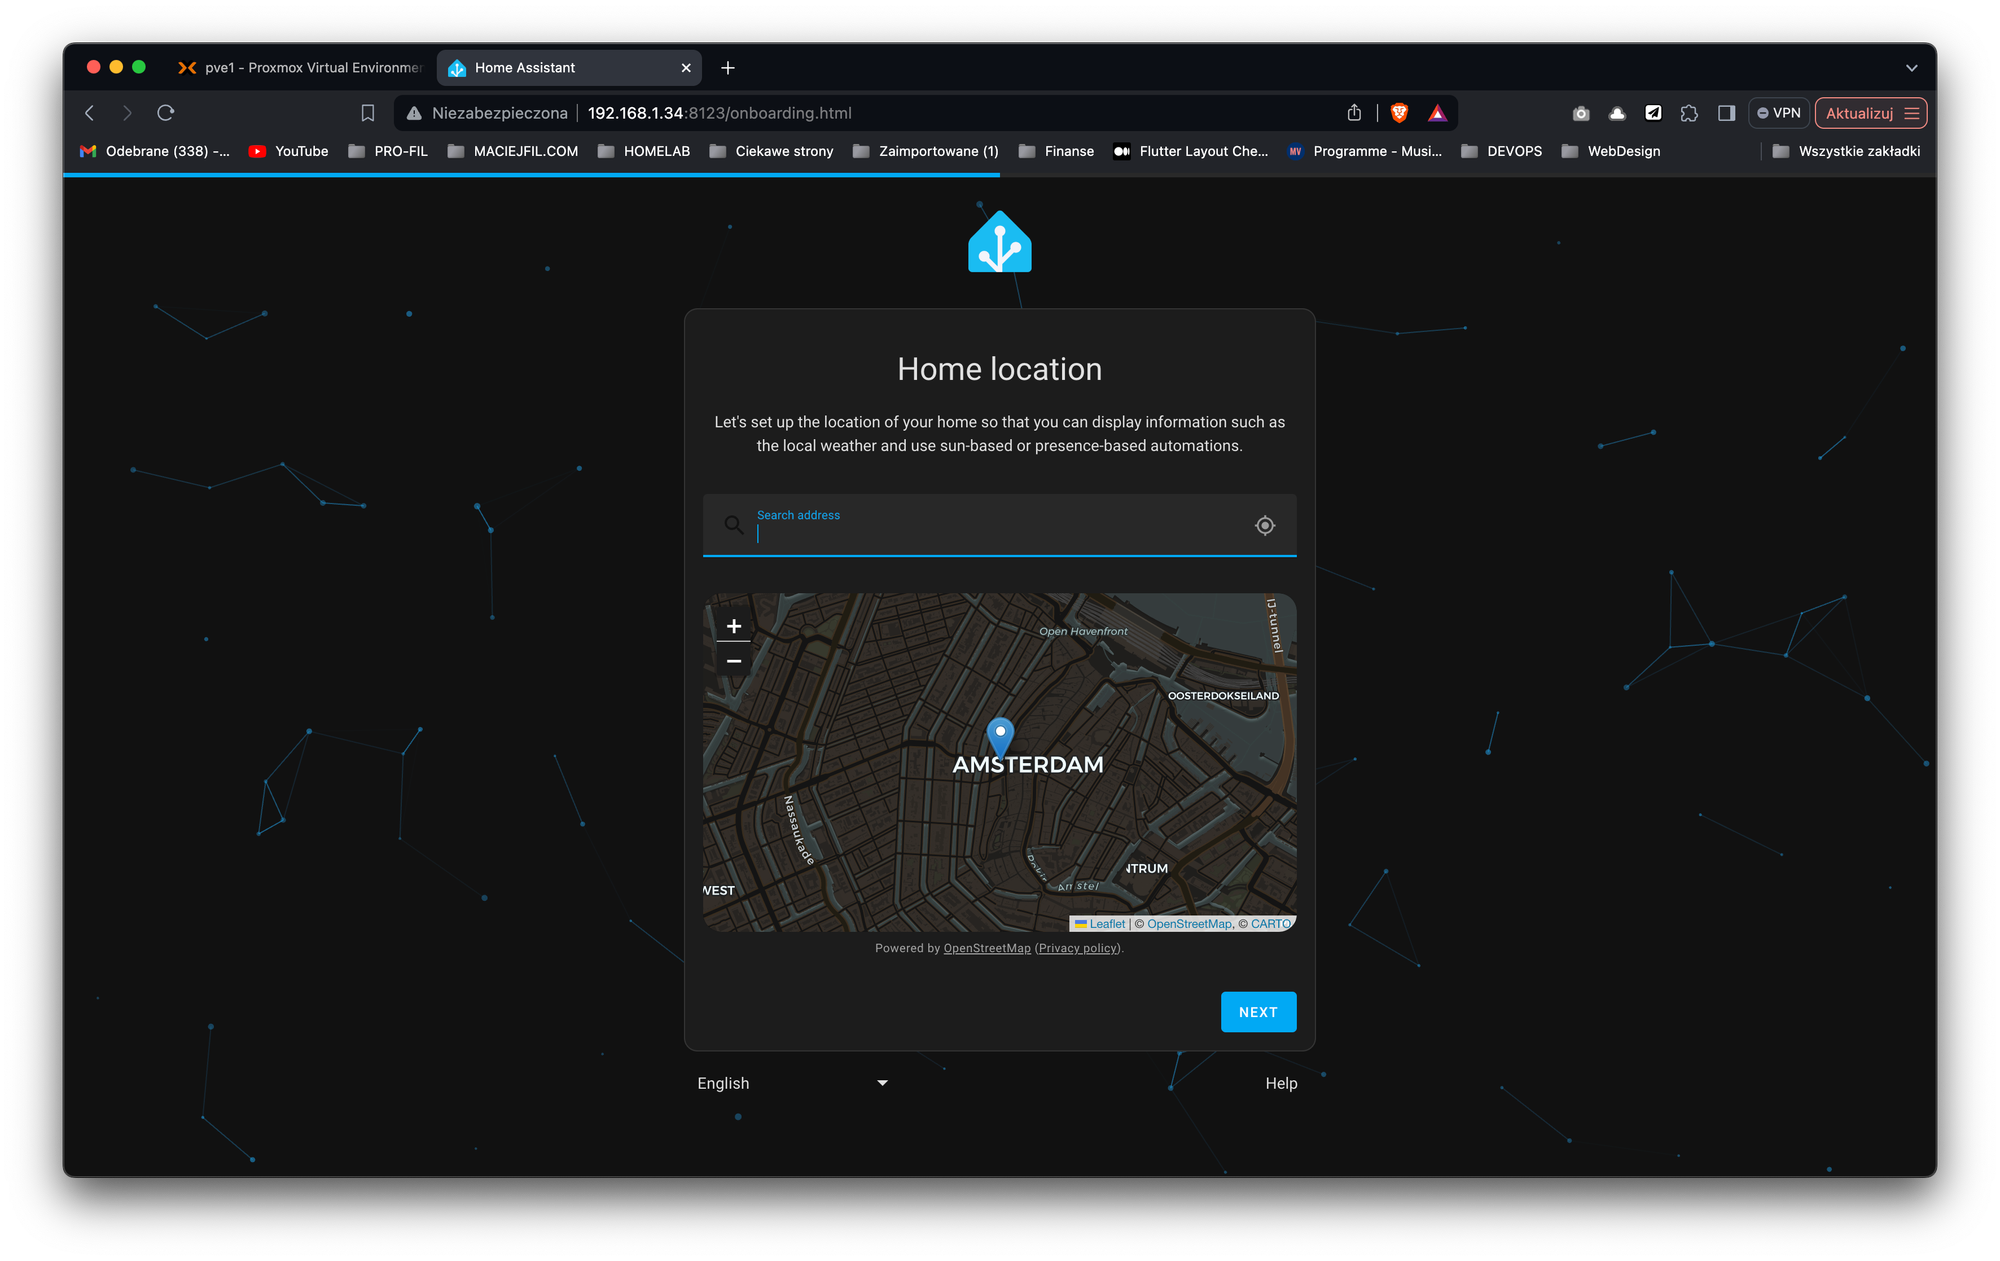
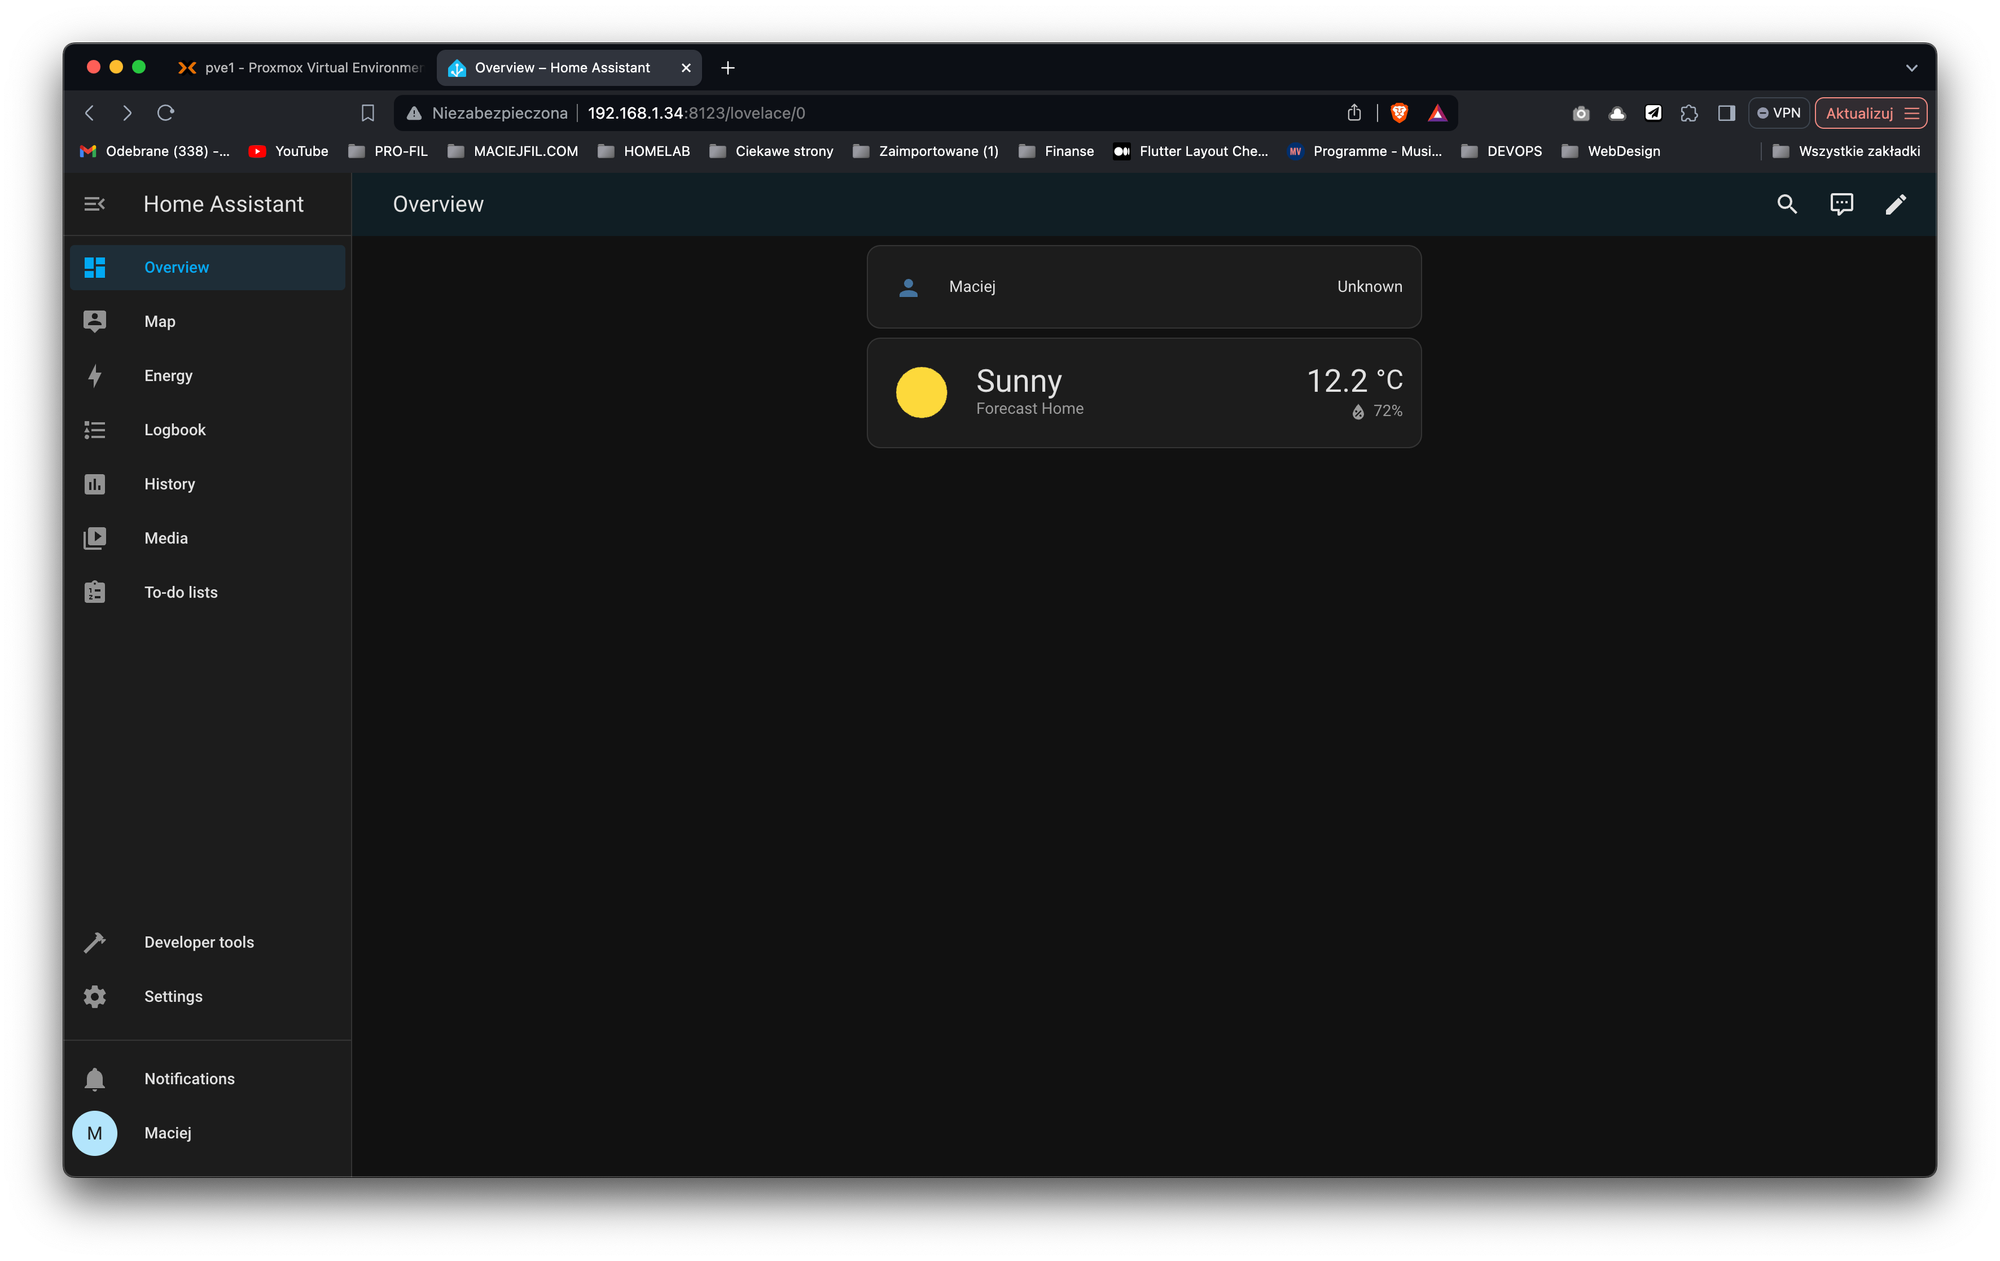
And that’s it. Your Home Assistant is ready!
Conclusion
In this tutorial, I guided you through the entire process of installing Home Assistant OS. Now you are ready to create your own home automation.
If you found this article helpful, consider buying me a coffee. This helps me continue writing these articles for you!

References:
https://www.derekseaman.com/2023/10/home-assistant-proxmox-ve-8-0-quick-start-guide-2.html