How to change Proxmox IP address
Introduction
I moved to a new apartment and I got a new router. The TPLink C64 default DHCP settings are different from my previous one so my entire configuration was corrupted and I lost connection to the Proxmox WebUI. I will describe the steps I took to make it work again.
Goals
- Restore Proxmox Web GUI
Checking TPLink's DHCP IP ranges
To start off, let's first check what is the DHCP ip range. I want my Proxmox to be outside that range. Otherwise, I might risk the IP address changing in the feature. On the TPLink C64 you can view that information under Advanced -> Network -> DHCP server.
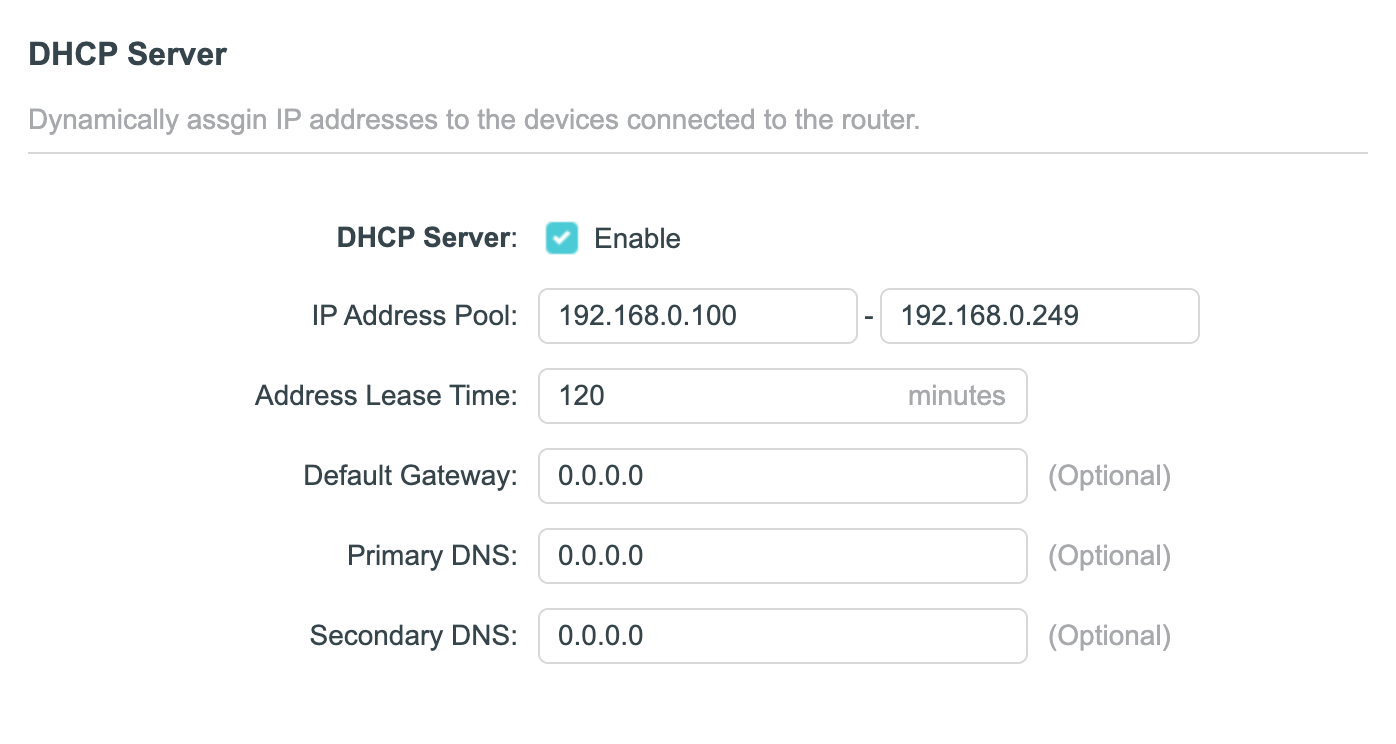
In my case, the default range is between 192.168.0.100 and 192.168.0.249.
How to configure IP address for Proxmox
Let's change the configuration. Since I could not access the Proxmox WebUI, I had to connect a screen to Proxmox host with an HDMI cable.
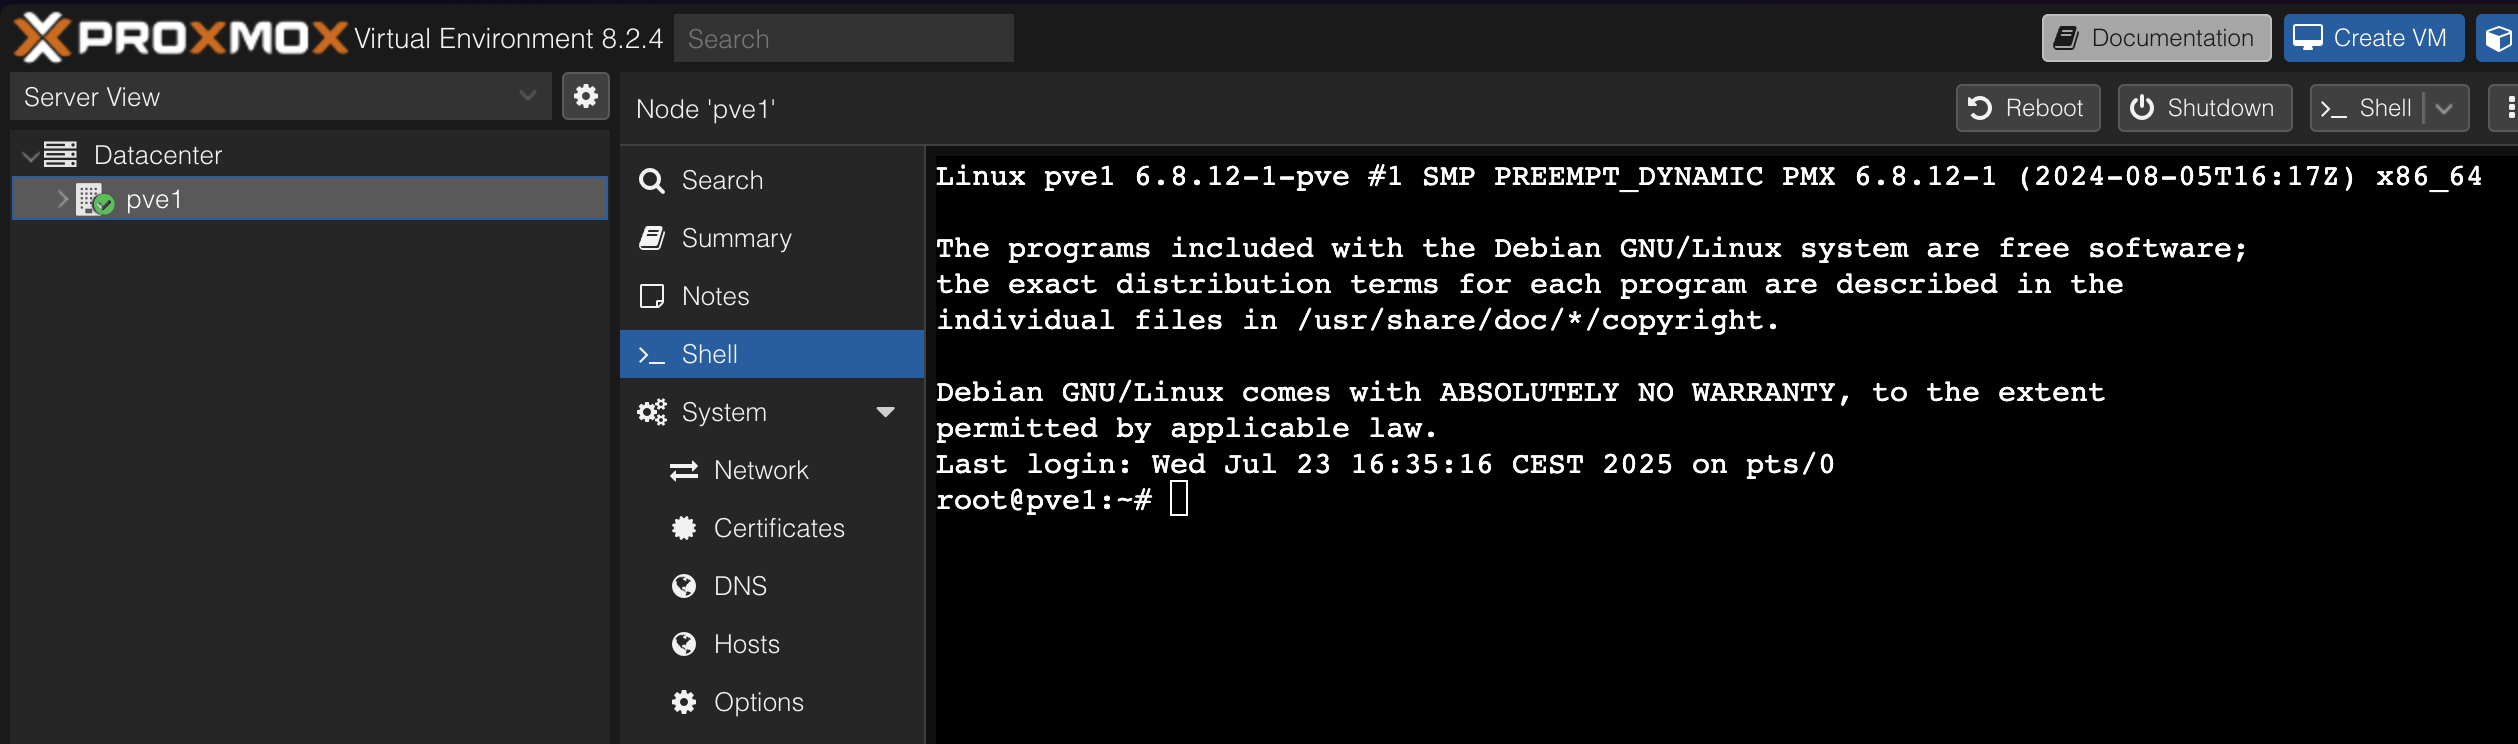
You should see the login screen. Log in as root.
Next, we need to edit interfaces file. Run nano /etc/network/interfaces
Below you can find my configuration. I set my address to 192.168.0.90/24.
auto lo
iface lo inet loopback

iface enp0s31f6 inet manual

auto vmbr0
iface vmbr0 inet static
        address 192.168.0.90/24 # change to desired ip
        gateway 192.168.0.1     # change gateway ip
        bridge-ports enp0s31f6
        bridge-stp off
        bridge-fd 0


source /etc/network/interfaces.d/*
Once configuration is changed, restart the networking service. To do that, enter:
systemctl restart networking
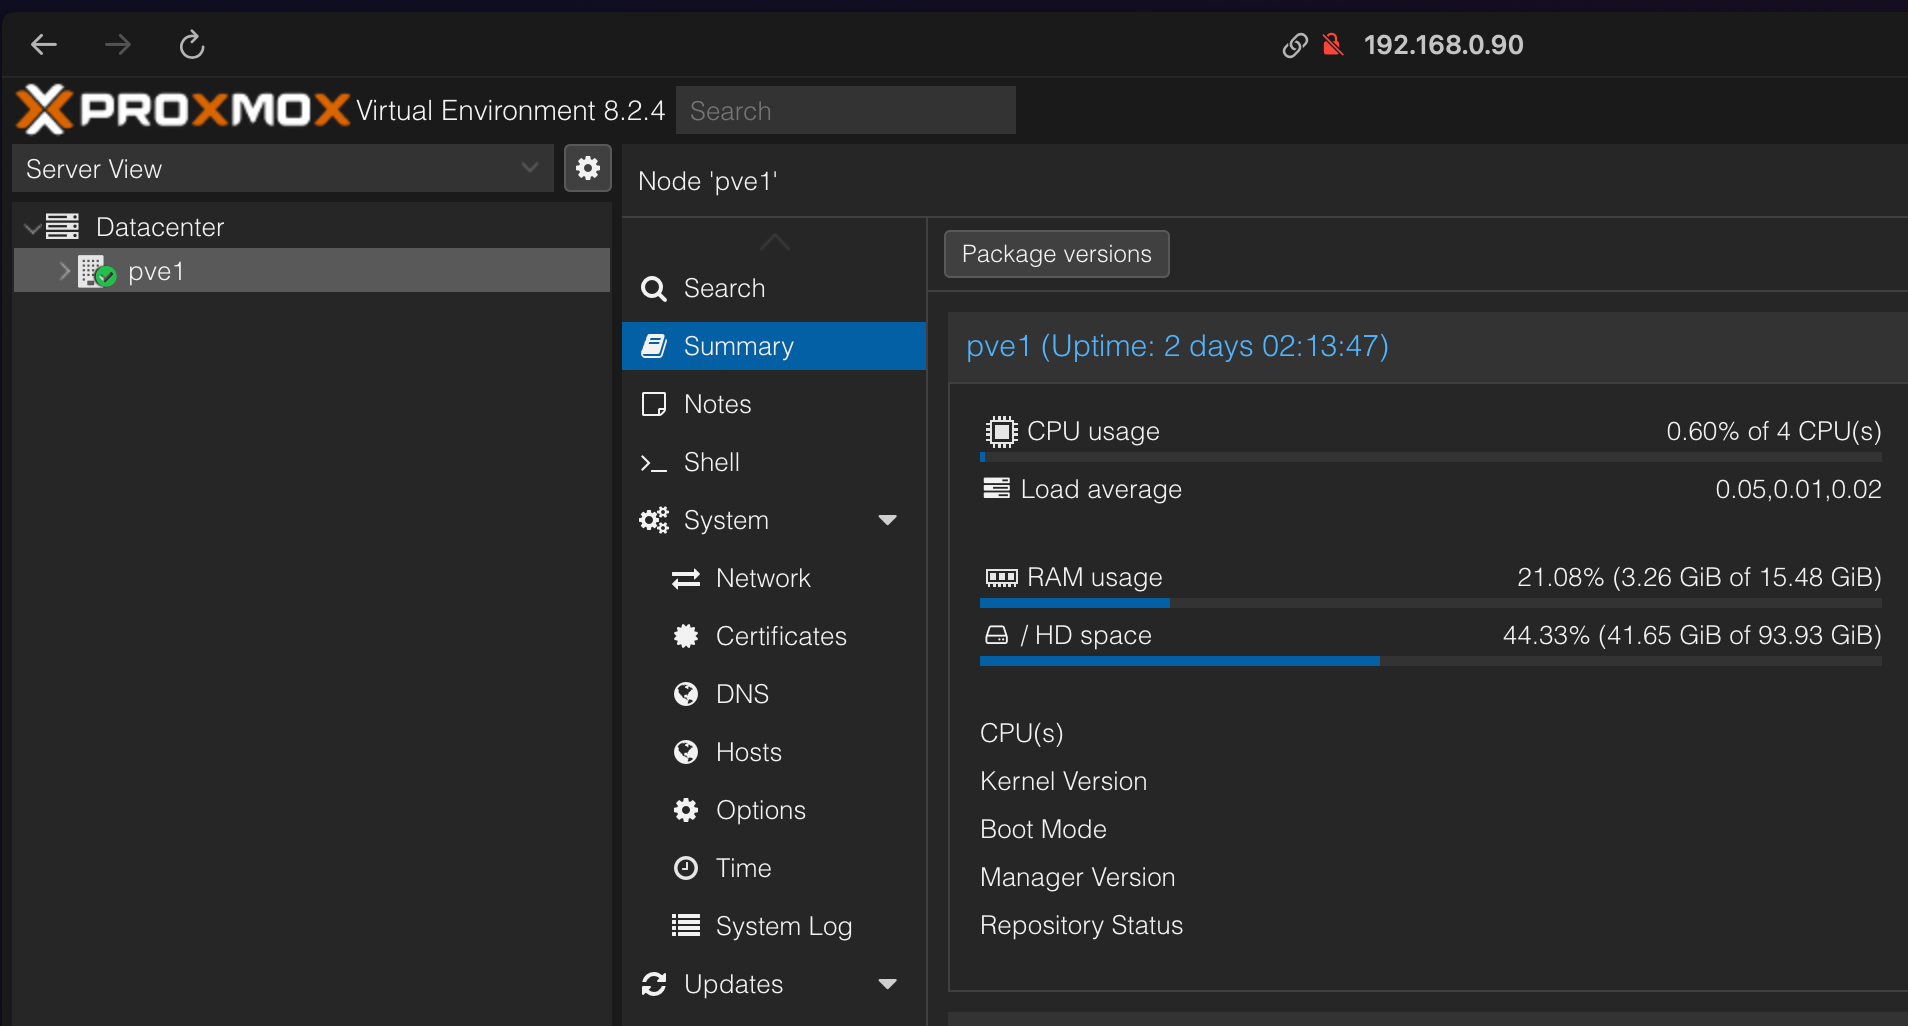
Now it is time to verify whether the changes actually worked. Enter the IP address in your browser:
https://192.168.0.90:8006
Summary
In this short tutorial you learned how to regain access to Proxmox WebUI after changing network environment. I covered how to check router's DHCP IP range, configure static IP address in Proxmox, and restarting the network service.