How to backup linux data - guide
Introduction
I cannot emphasize how important is to backup your files. It is said that people are divided into those who are performing backups and those who will. Today I would like to show you a great little tool that can be used to perform backups of your precious data.
rsnapshot is a powerful tool that utilizes rsync. It performs incremental backups based on the provided configuration.
#1 rsnapshot installation
I will be using Ubuntu Server 22.04 version to guide you through the process.
First of all, we need to update our libraries.
sudo apt update
sudo apt install rsnapshot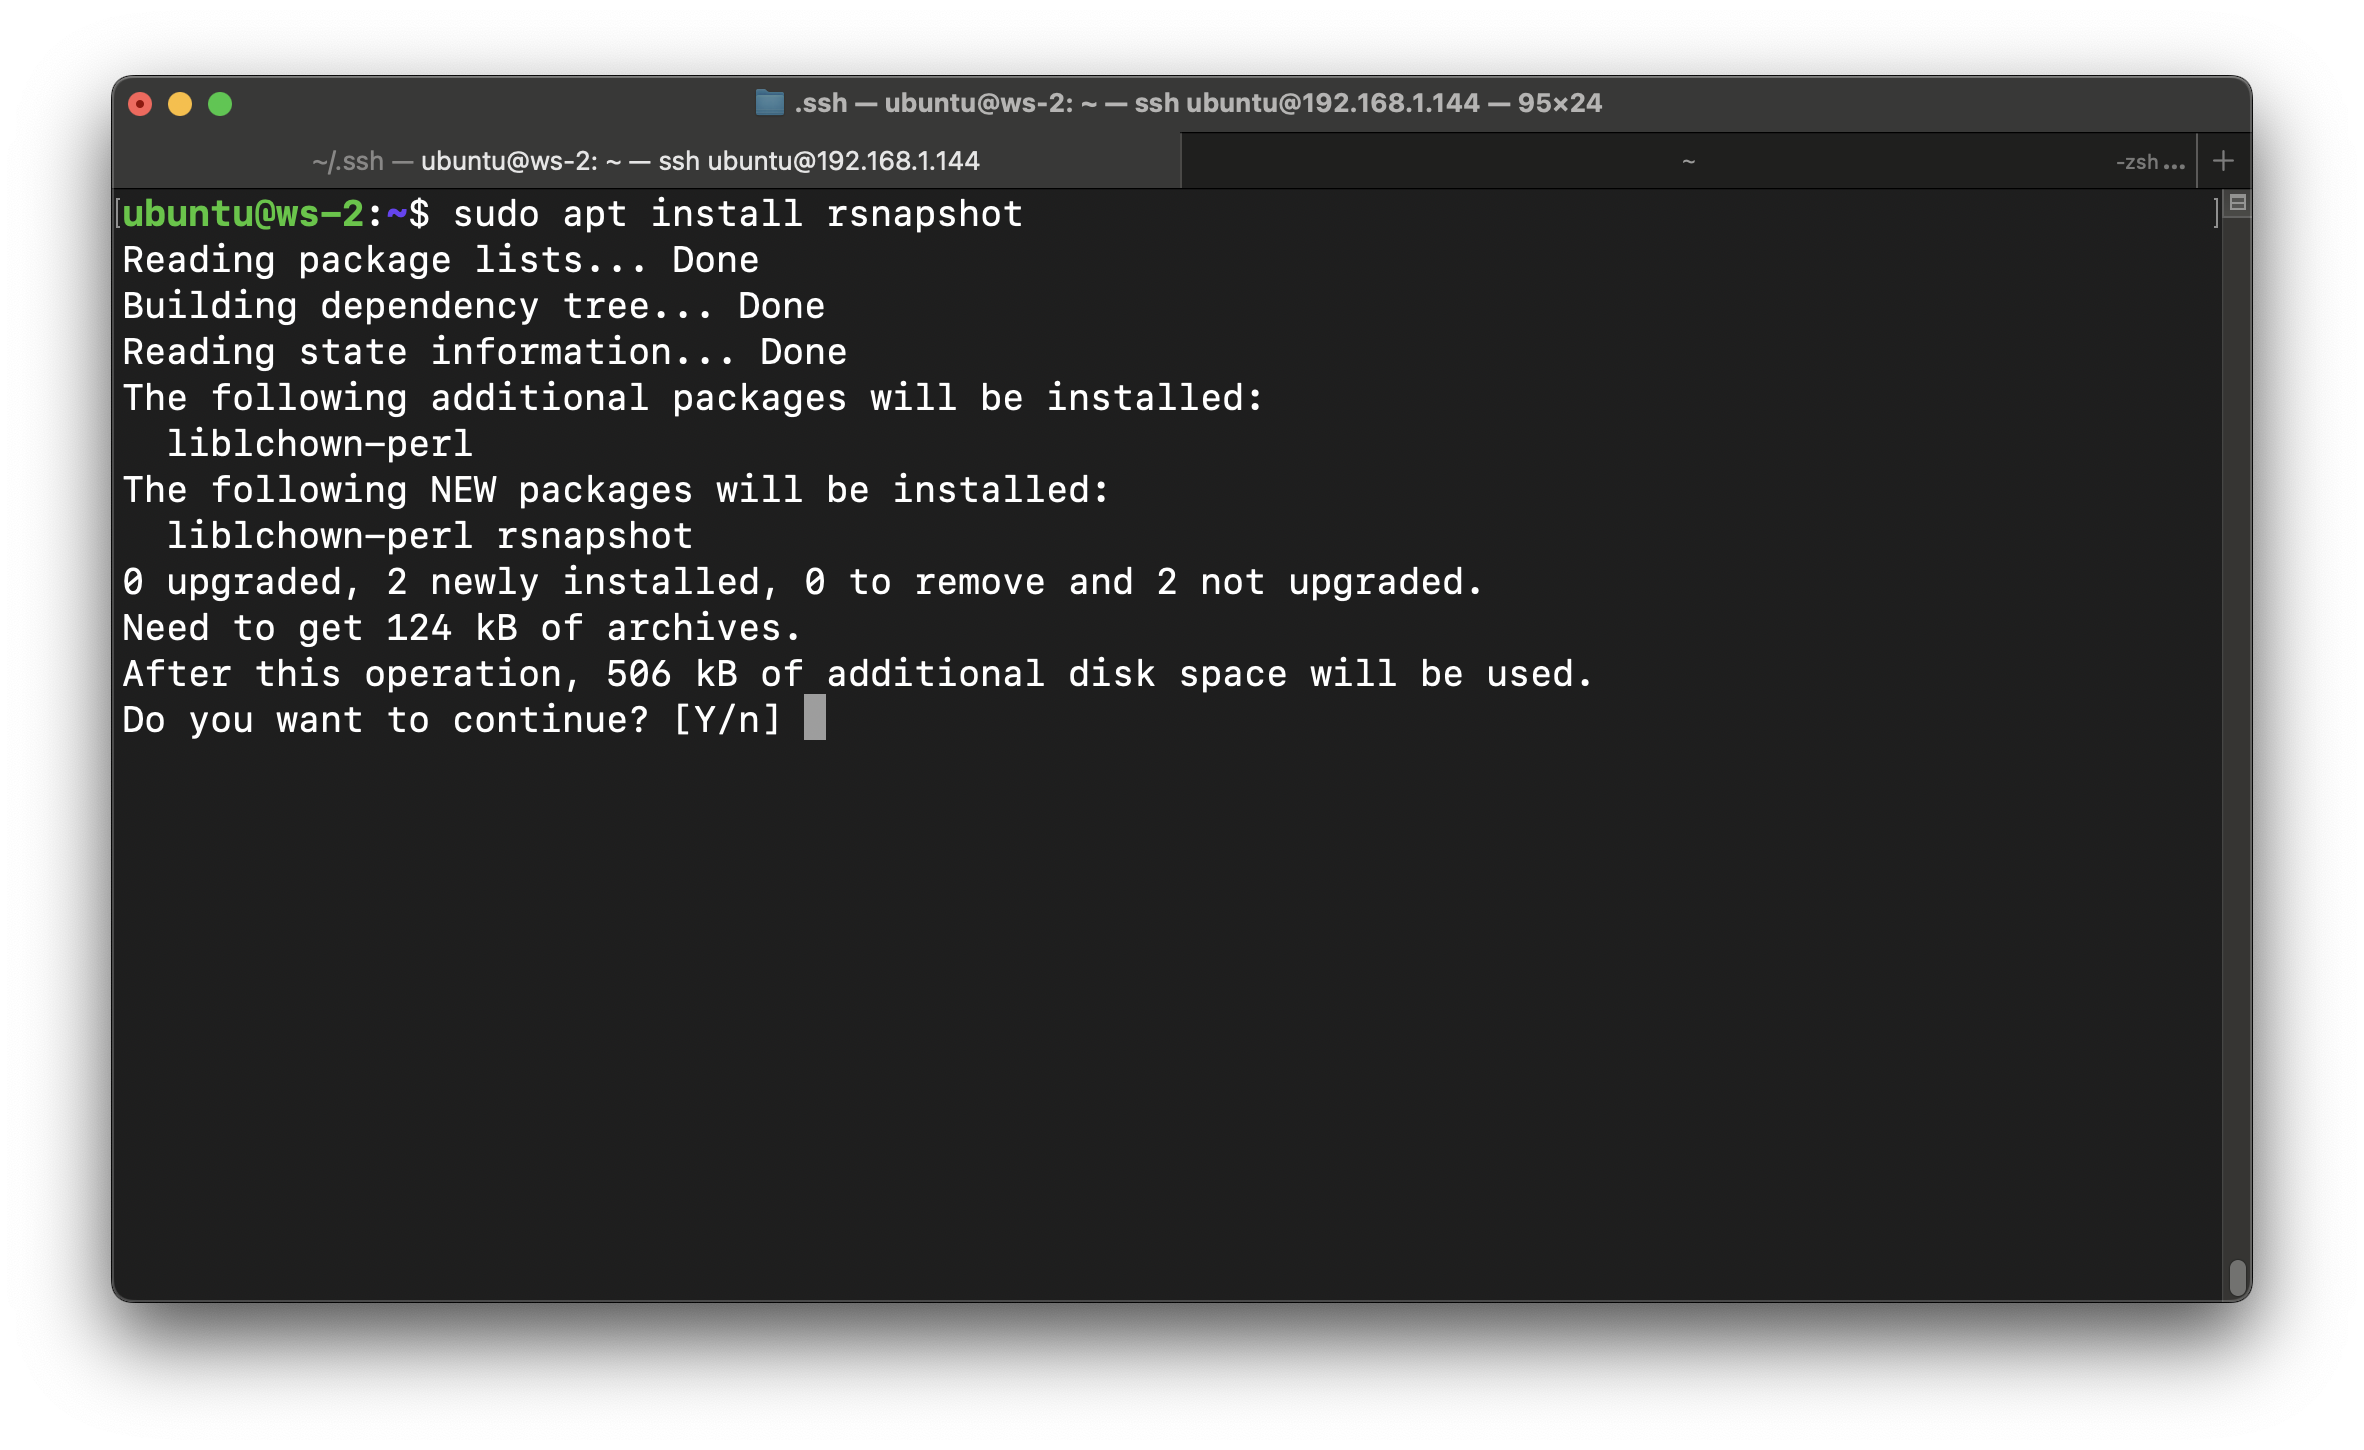
#2 Basic configuration
Installing rsnapshot is not enough. We have to configure it. I will show you basic configuration that will back up /etc/ folder. The one in which configuration files are stored - some pretty important things!
Before we get started, I always make a copy of the configuration file—in case something goes wrong:
sudo cp /etc/rsnapshot.conf /etc/rsnapshot.conf.defaultNow, navigate to /etc folder and open rsnapshot.conf file in your favorite text editor. I am using nano.
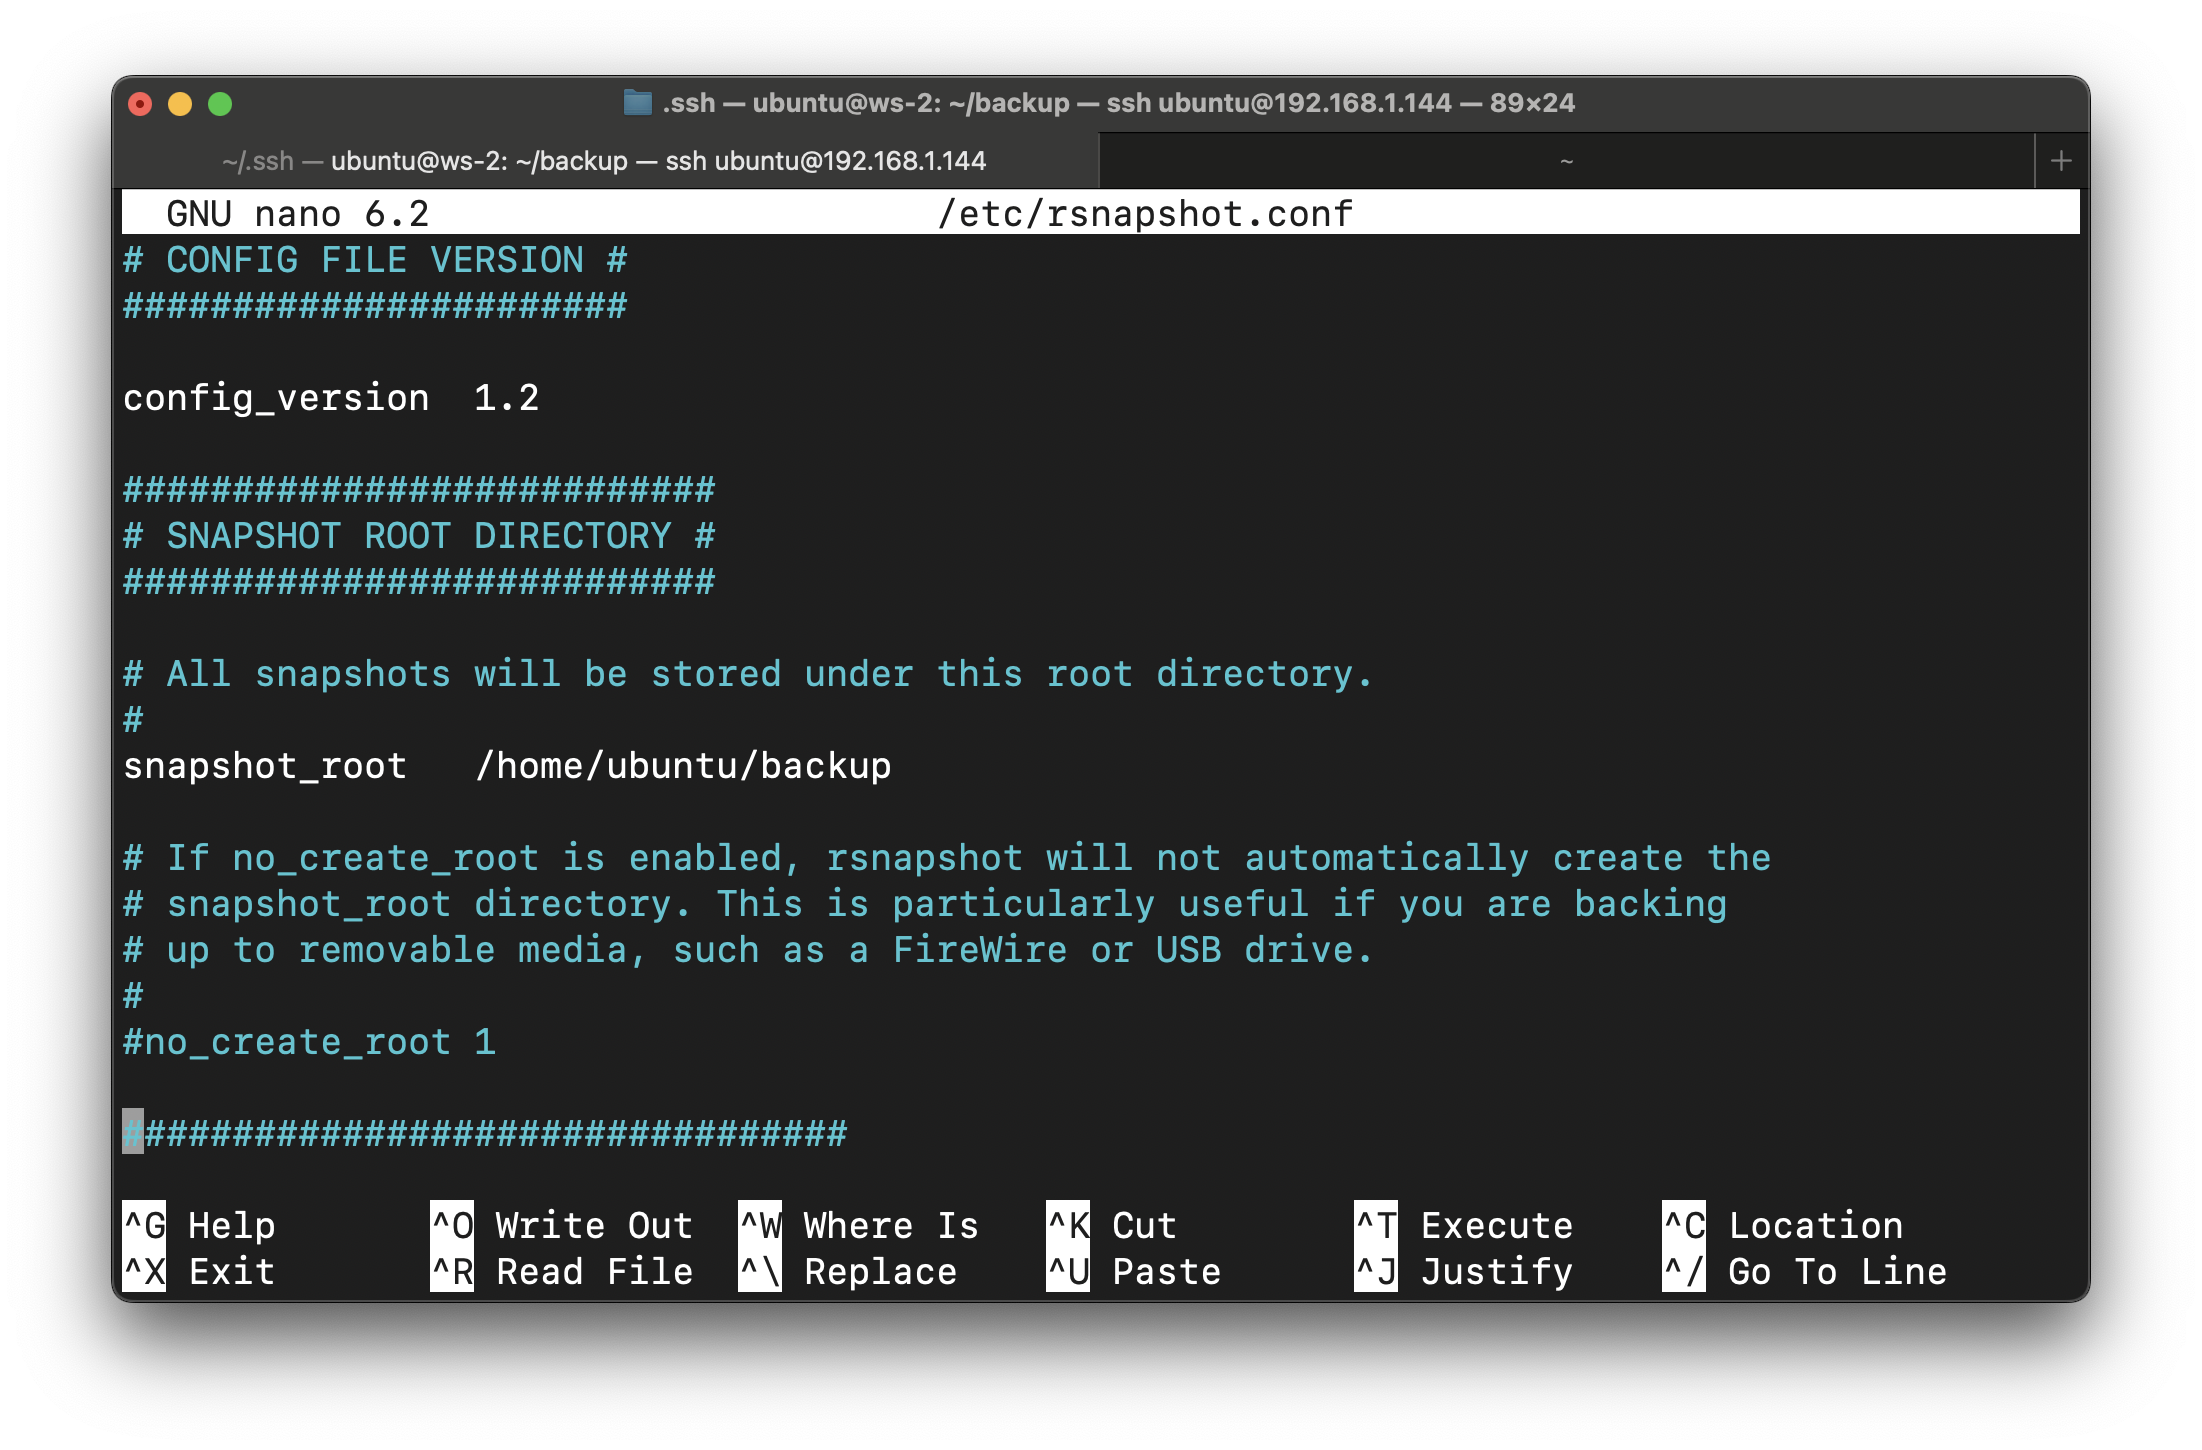
sudo nano /etc/rsnapshot.confWe will change a couple of things there.
Firstly we need to change snapshot_root . For the sake of this tutorial I've created in my home directory home/ubuntu/backup . Later, that folder will be referred to as localhost .
Next up find a line that starts with retain keyword. This is the place where we will name procedures and also specify how many backups should be retained. I would suggest the following scheme:
retain  daily   7
retain  weekly    4
retain  monthly   3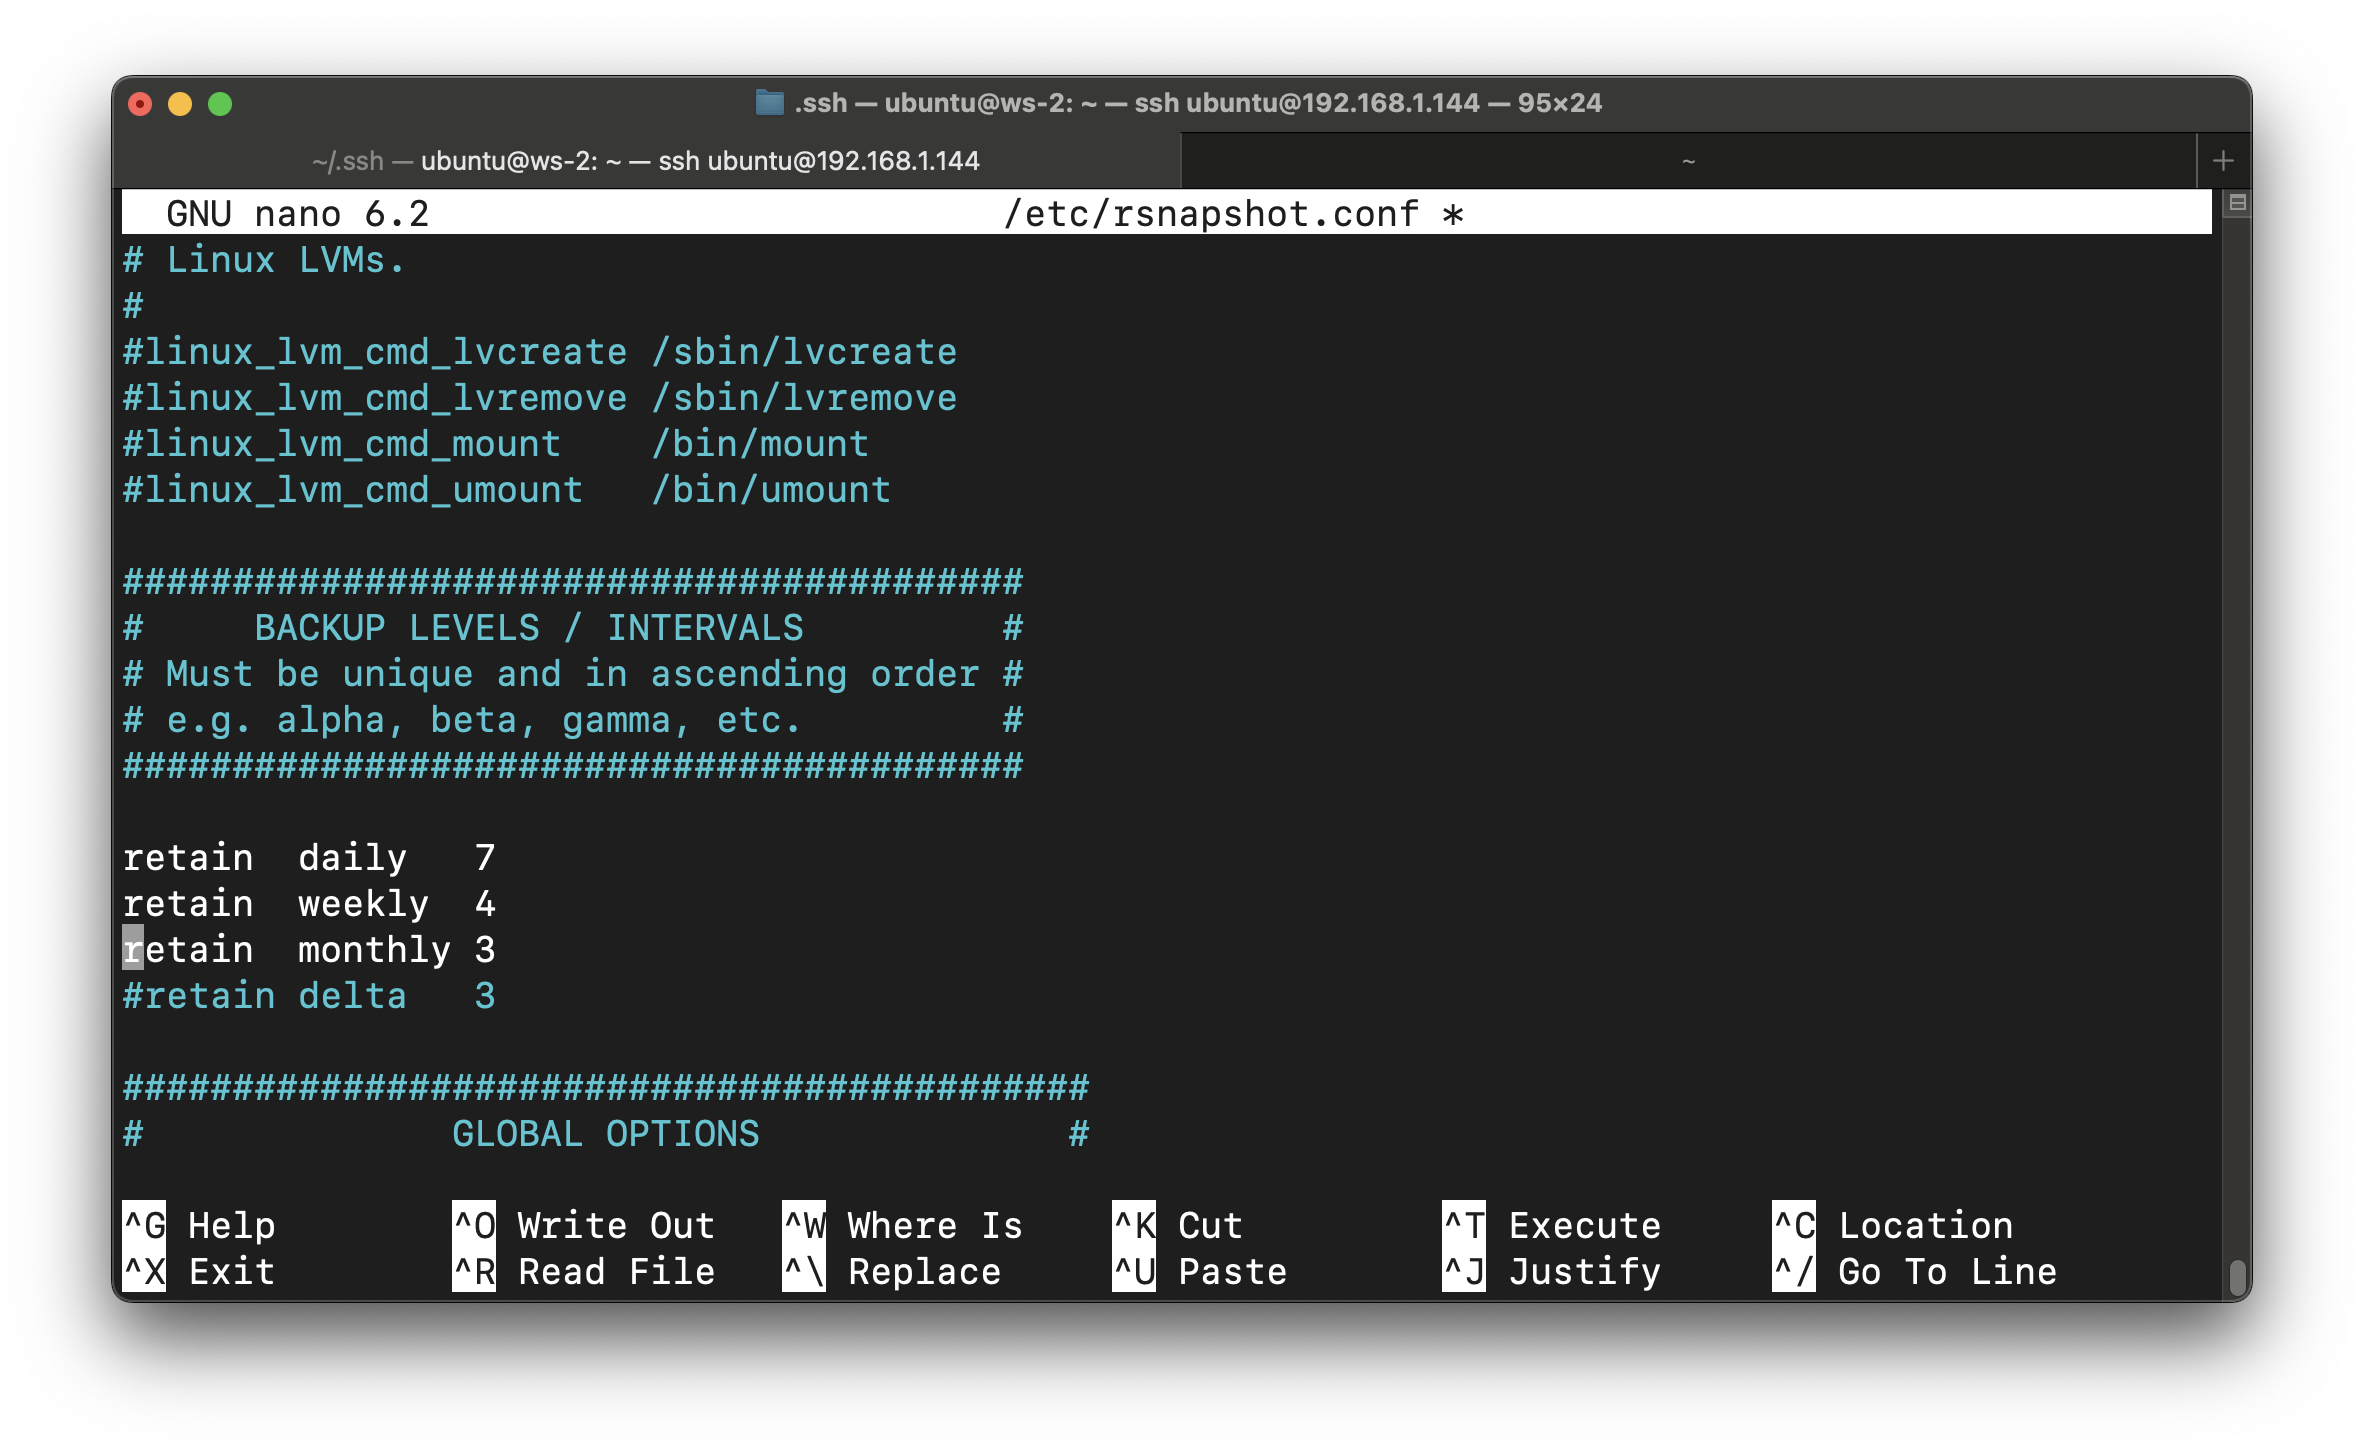
That means we keep 7 backups of daily procedures, 4 weekly, and 3 monthly.
Next up find backup. This is the place where we will specify what to back up and where. As I wrote earlier, let's configure our backup to secure /etc directory.
One note before making the change - make sure to create /backup/etc directory in your home directory.
Under Backup points/scripts add the following line:
backup /etc/ localhost/Of course you can choose whatever directory you want. I would strongly recommend creating configuration for each directory individually.
Save by hitting Ctrl+O, and exit nano with Ctrl+X.
Now that initial configuration is in place - let's run those backups!
#3 Performing a back up
Before running rsnapshot it is a good practice to test your configuration. You can check it by running sudo rsnapshot -t daily .
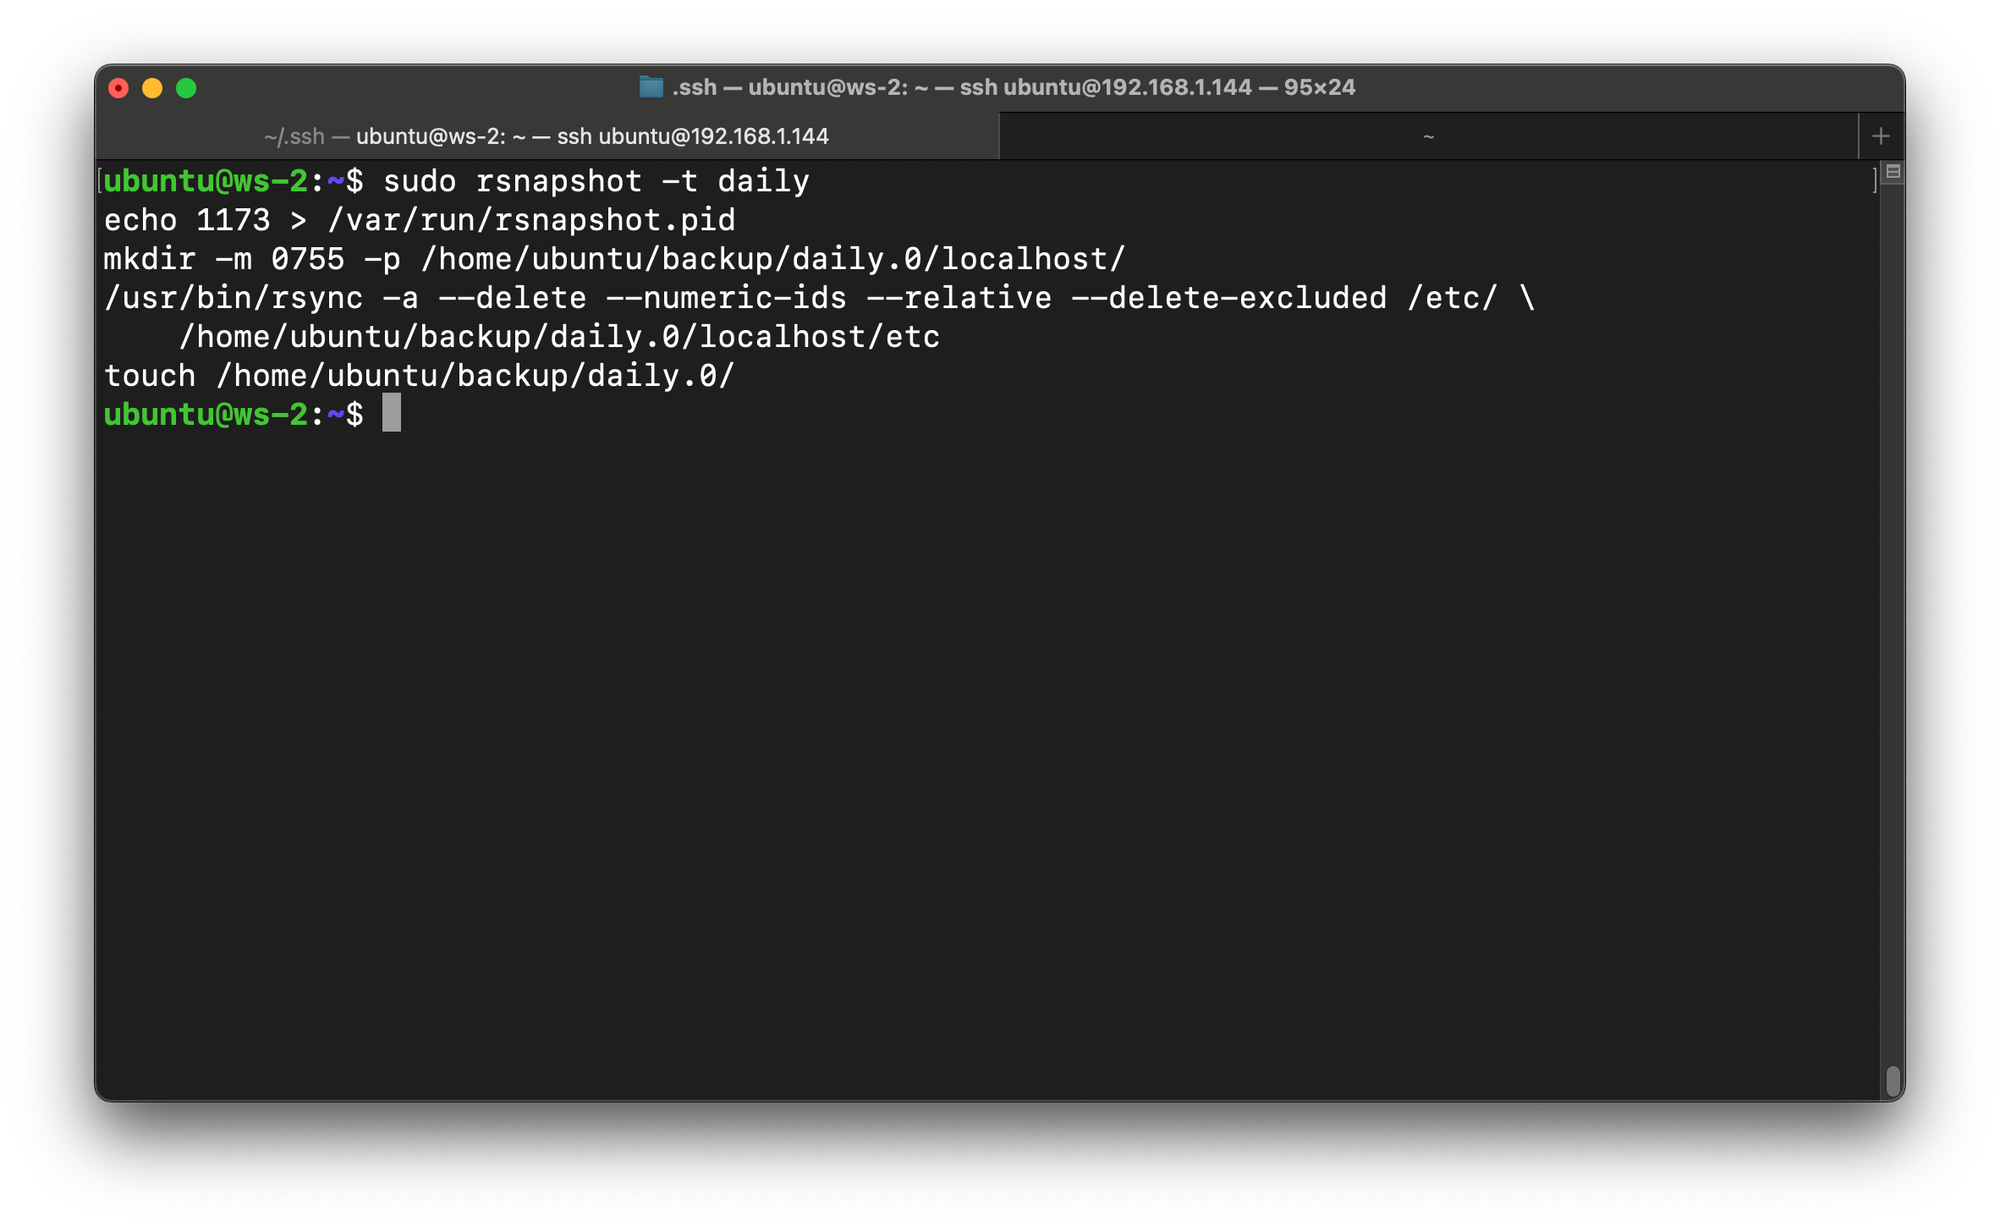
Now that the configuration is ok, we let's run our job by entering the following command:
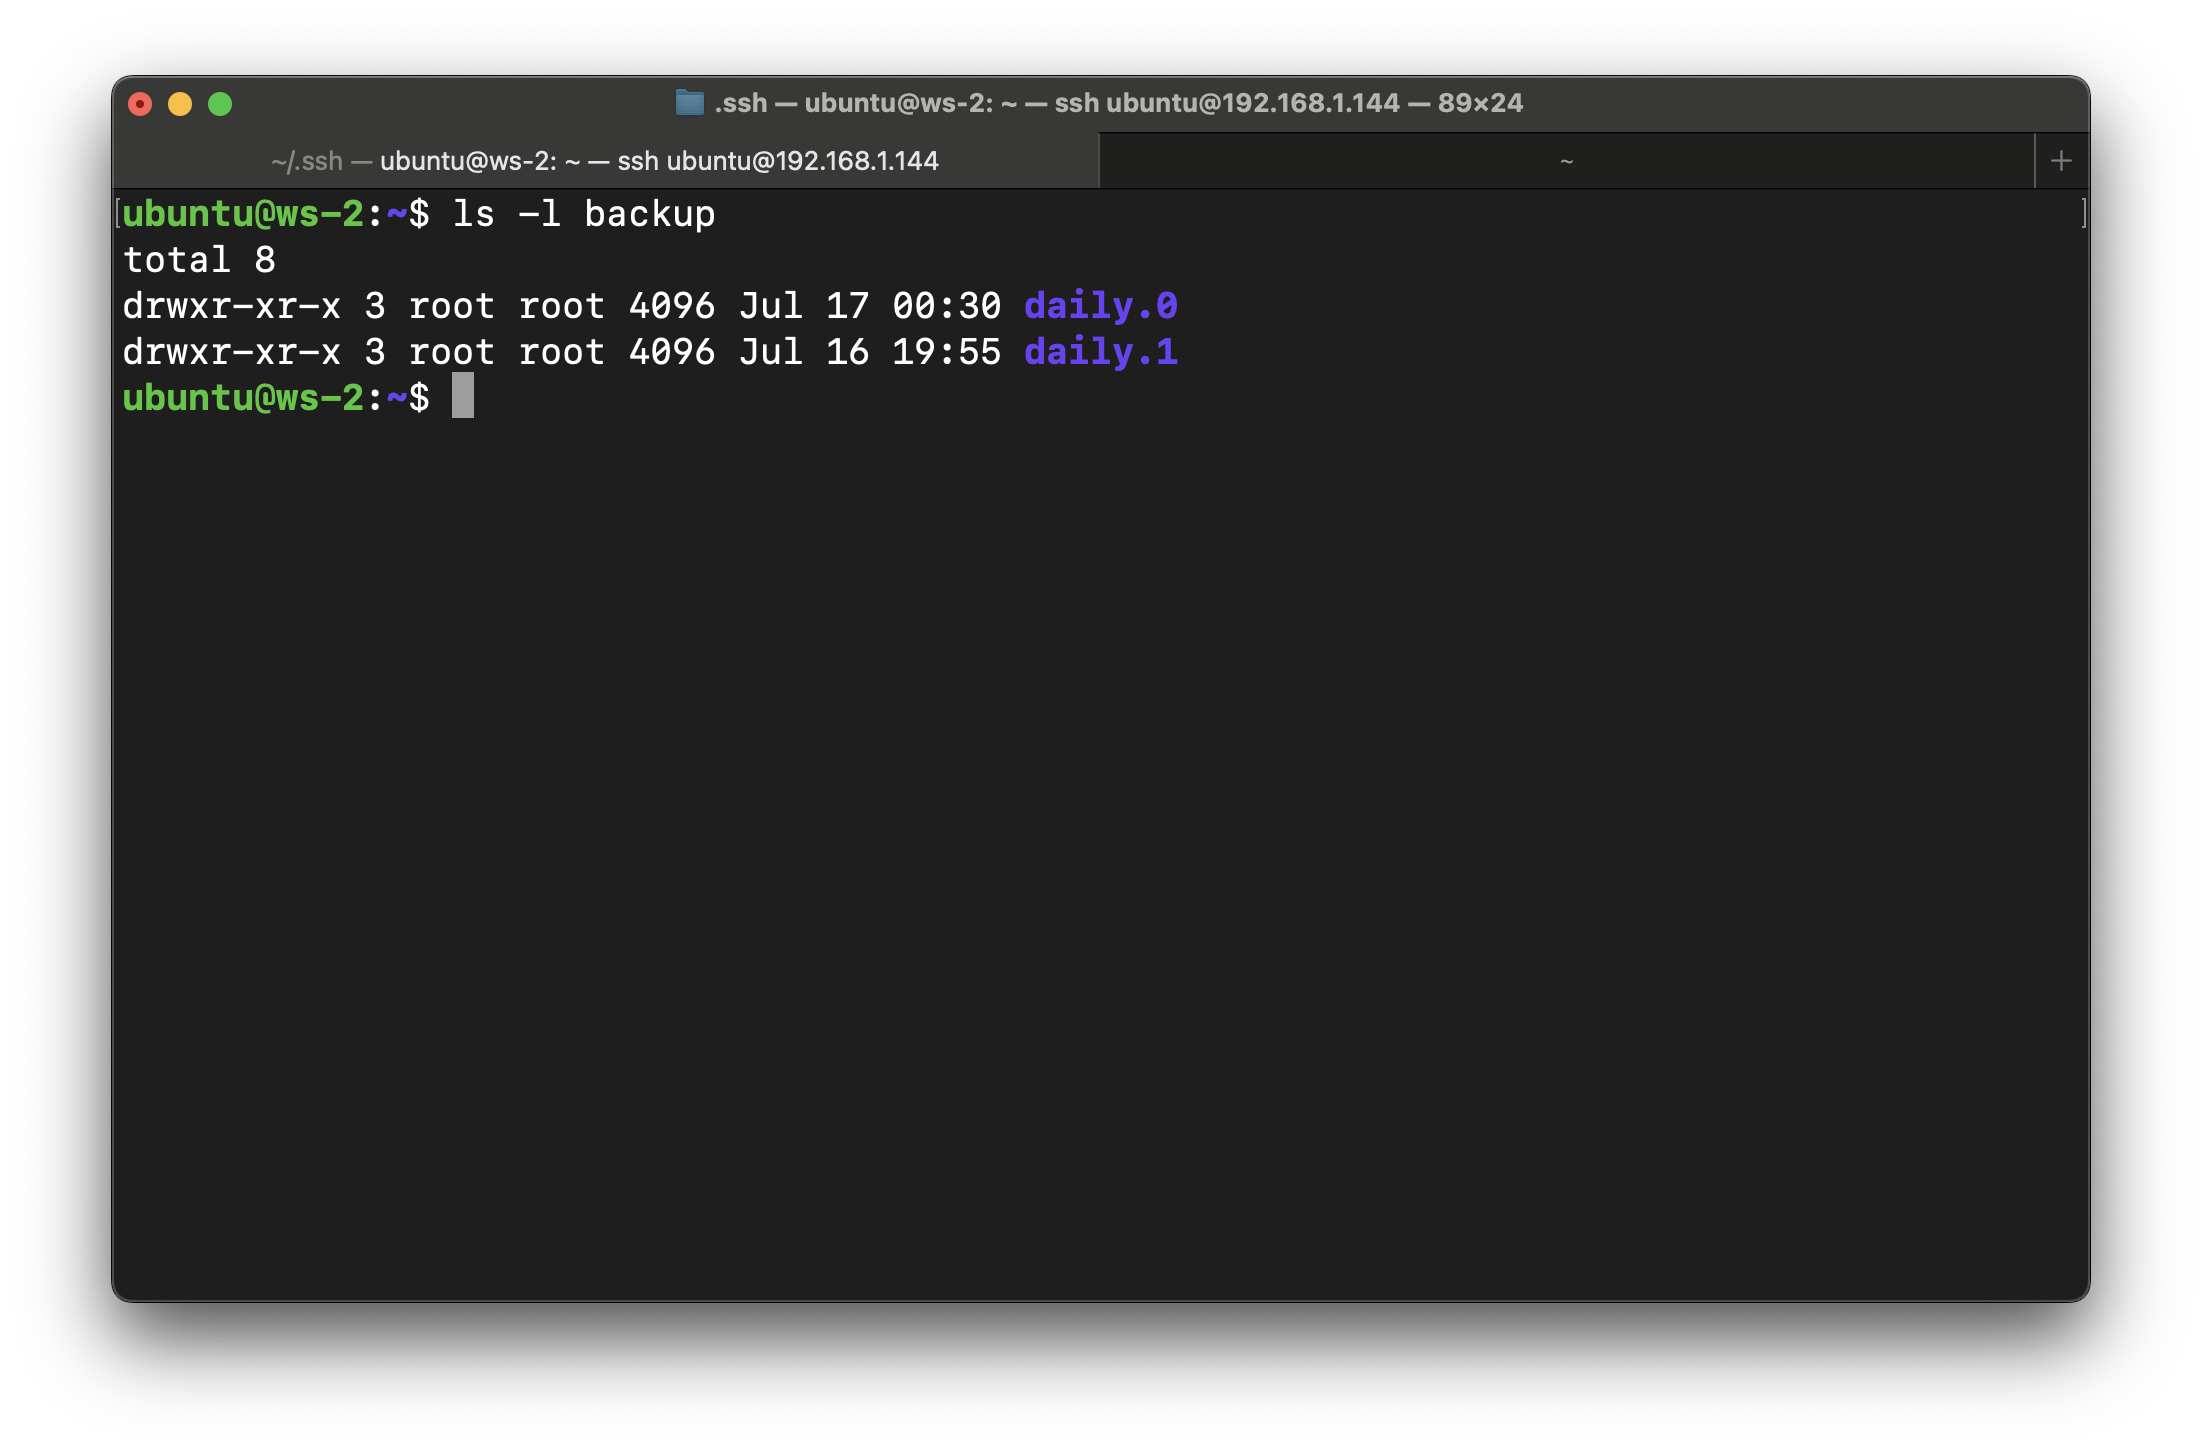
sudo rsnapshot dailyIf no error, it means we are good. Let's check the backup directory, to make sure that everything is in place.
#4 Automating stuff with cron
We can use cron to schedule automatic backup runs.
sudo nano /etc/cron.d/rsnapshotUncomment second line, and apply some changes as stated below:
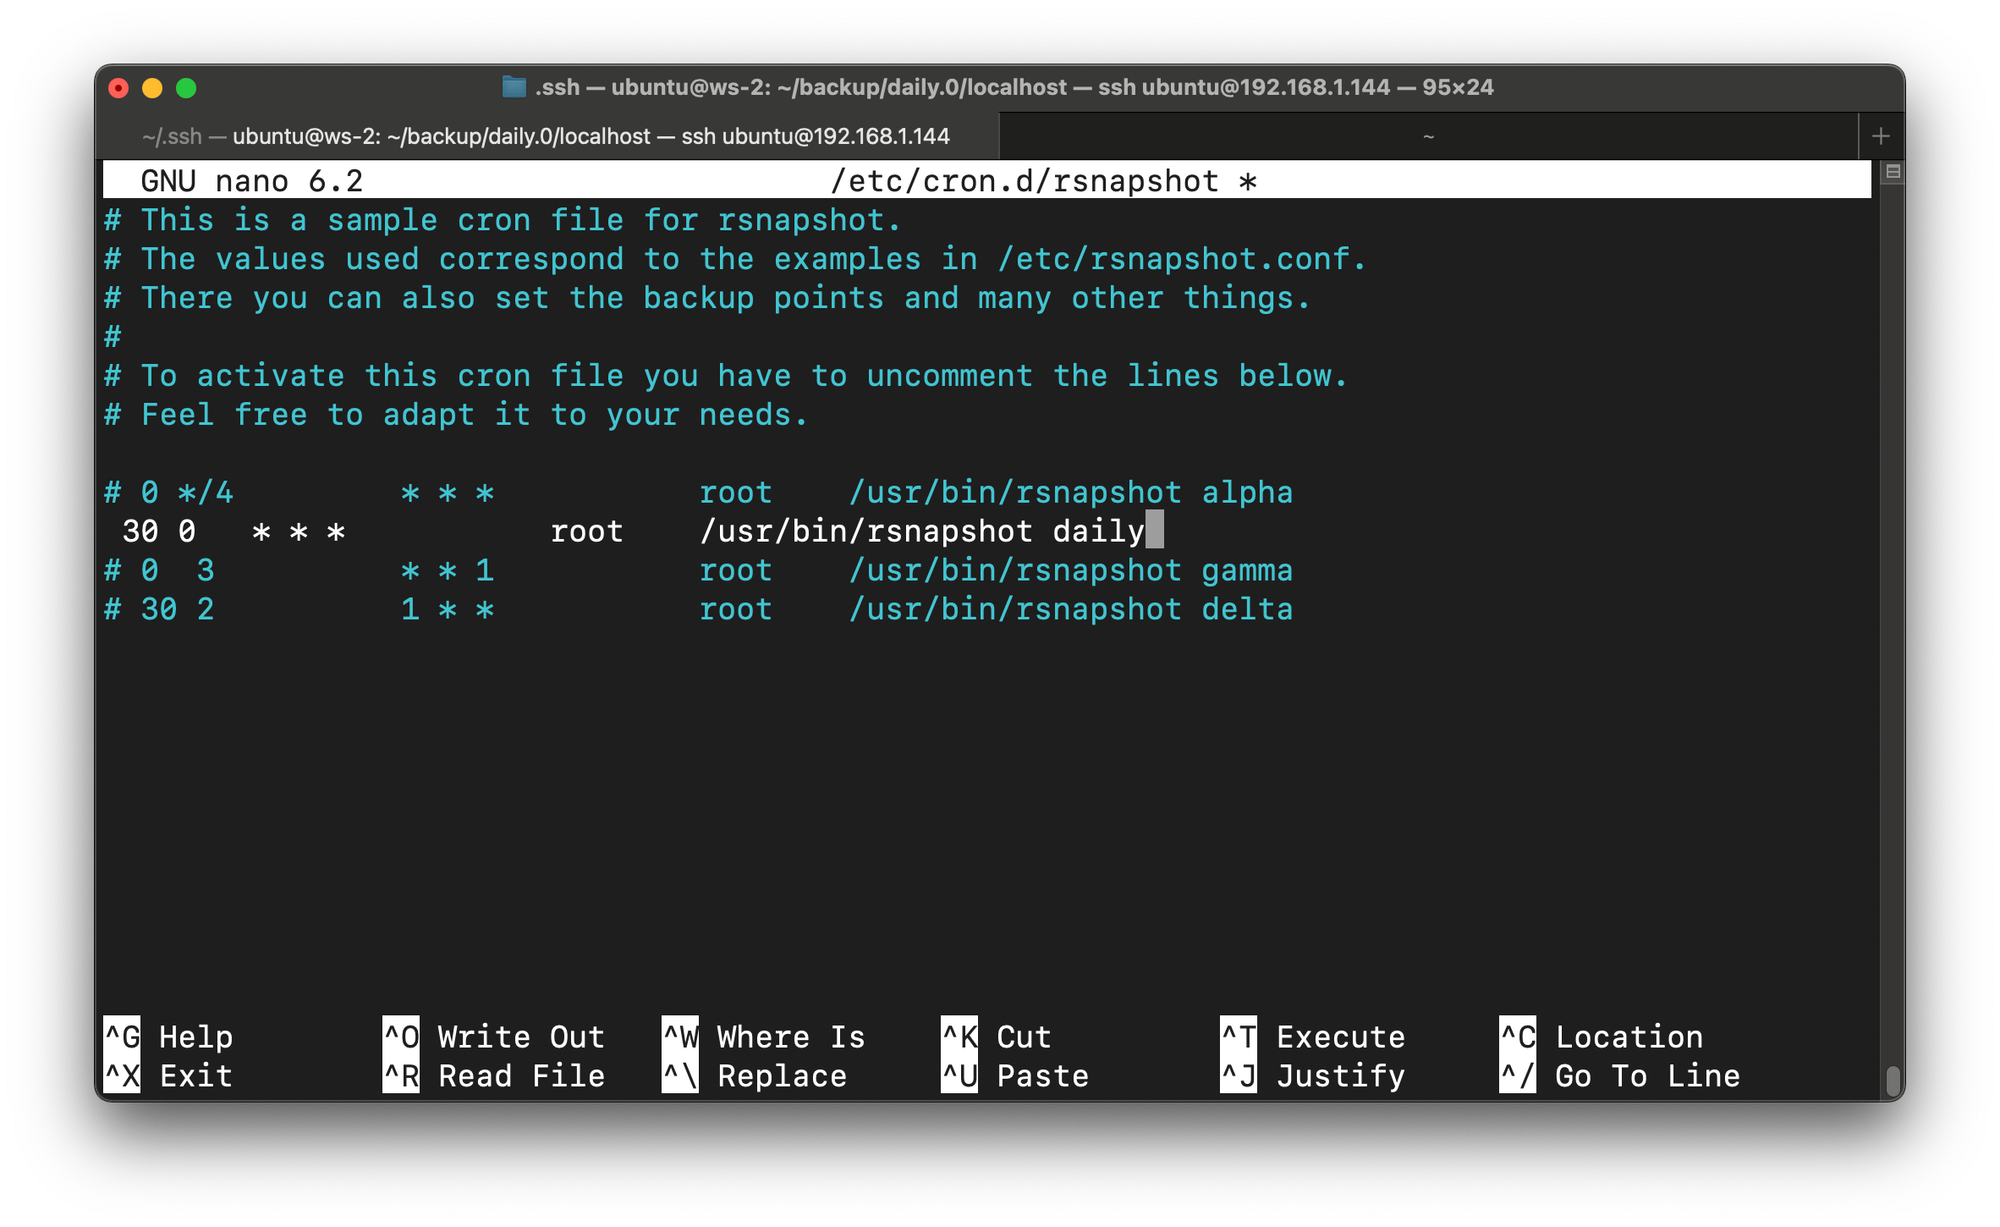
That configuration will schedule execution of daily backup every day at 0.30am.
Feel free to add your own cron schedule!
Conclusion
In this tutorial, I've shown you how to create a basic rsnapshot setup and scheduling backup with cron. You can now create your own backup plan.