Configure CloudFlare Tunnel for Home Assistant
In this article, I will be exposing Home Assistant installed in my homelab to the internet. Currently, I can only check the state of sensors installed in my home via WiFi. With Cloudflare Tunnel service, you can access your Home Assistant from anywhere, even if your ISP doesn’t provide a static IP address. And it’s a completely no-cost solution! Well… besides buying a domain.
Prerequisites
- You need to have your own domain.
- The domain should be added to Cloudflare (DNS pointing to CF).
- A running Home Assistant instance (https://maciejfil.com/how-to-install-home-assistant-os-in-proxmox/)
Set up CloudFlare Tunnel for Home Assistant
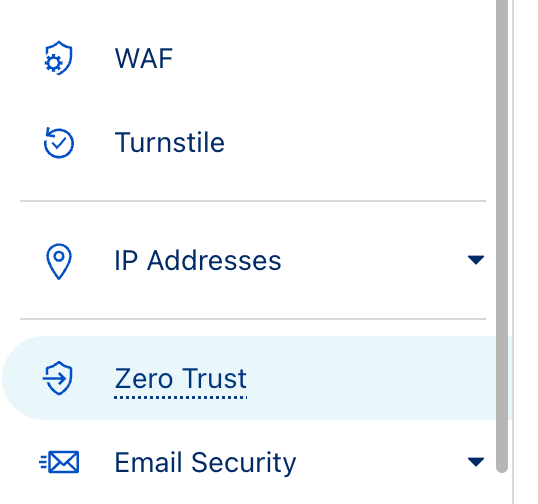
Let’s start by logging into Cloudflare. On your homepage, navigate to Zero Trust, and then Networks/Tunnels. Click Add a tunnel.
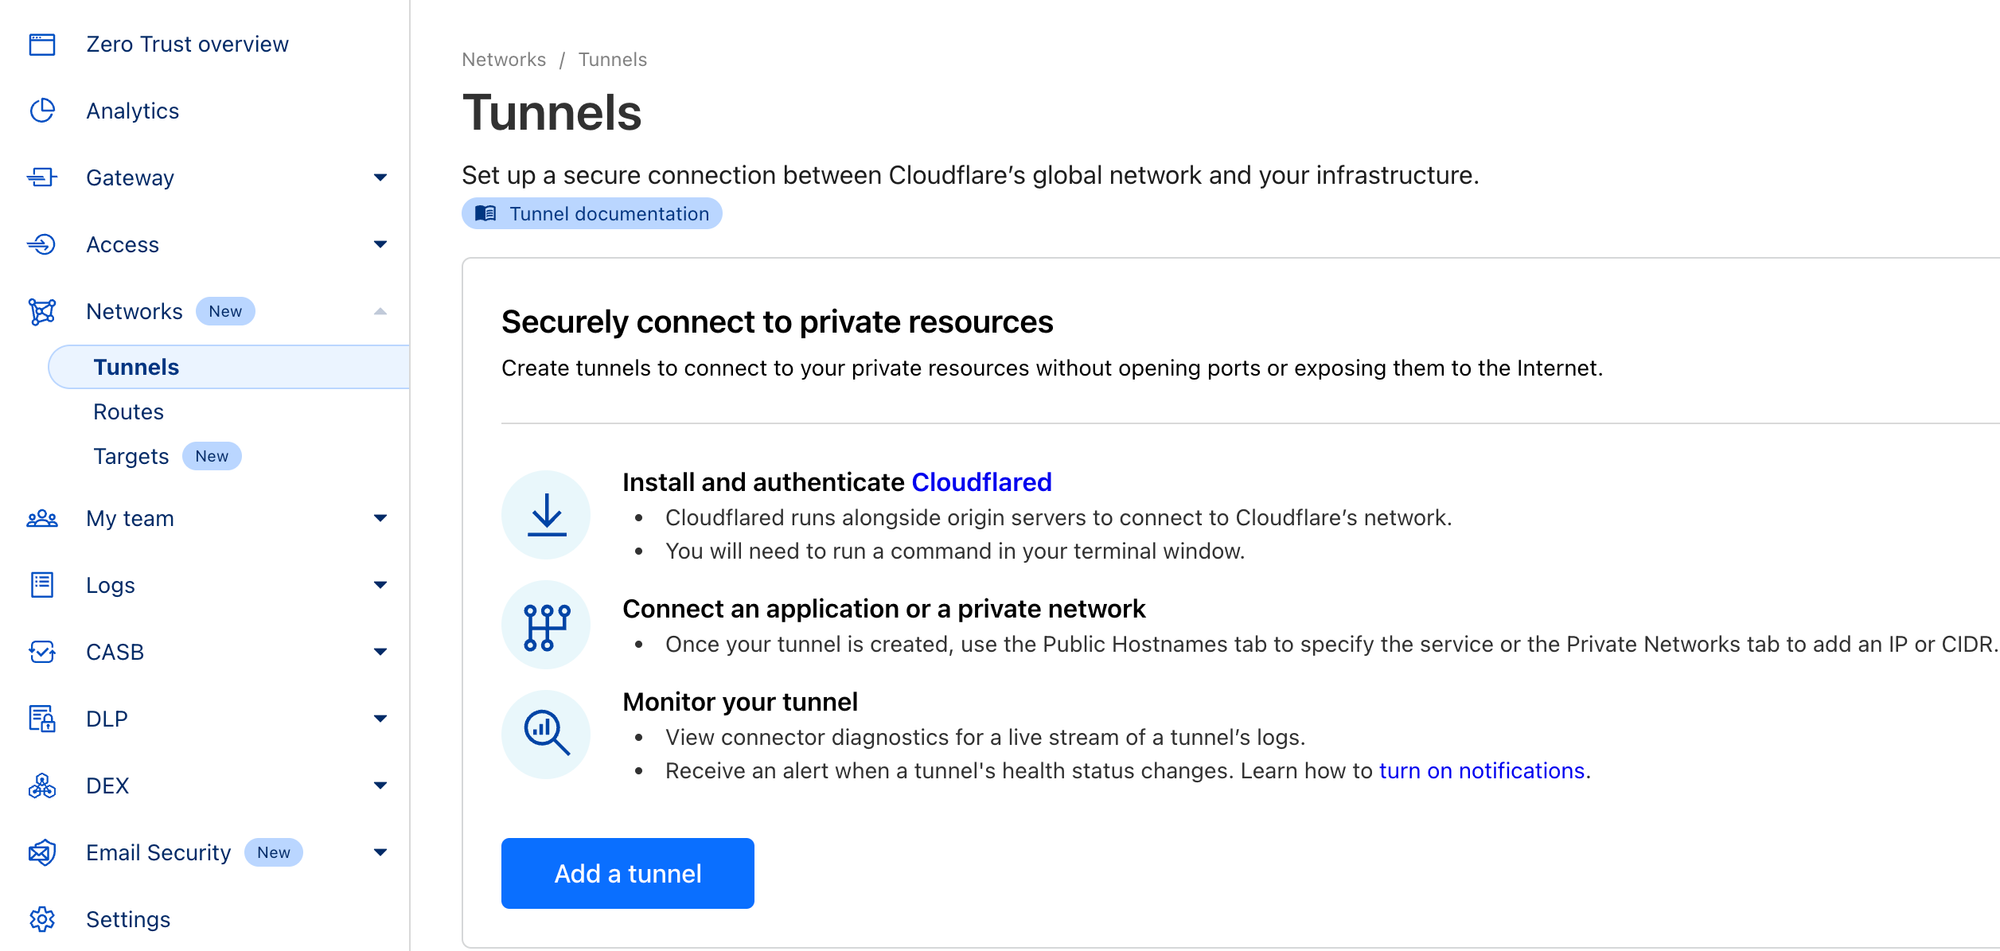
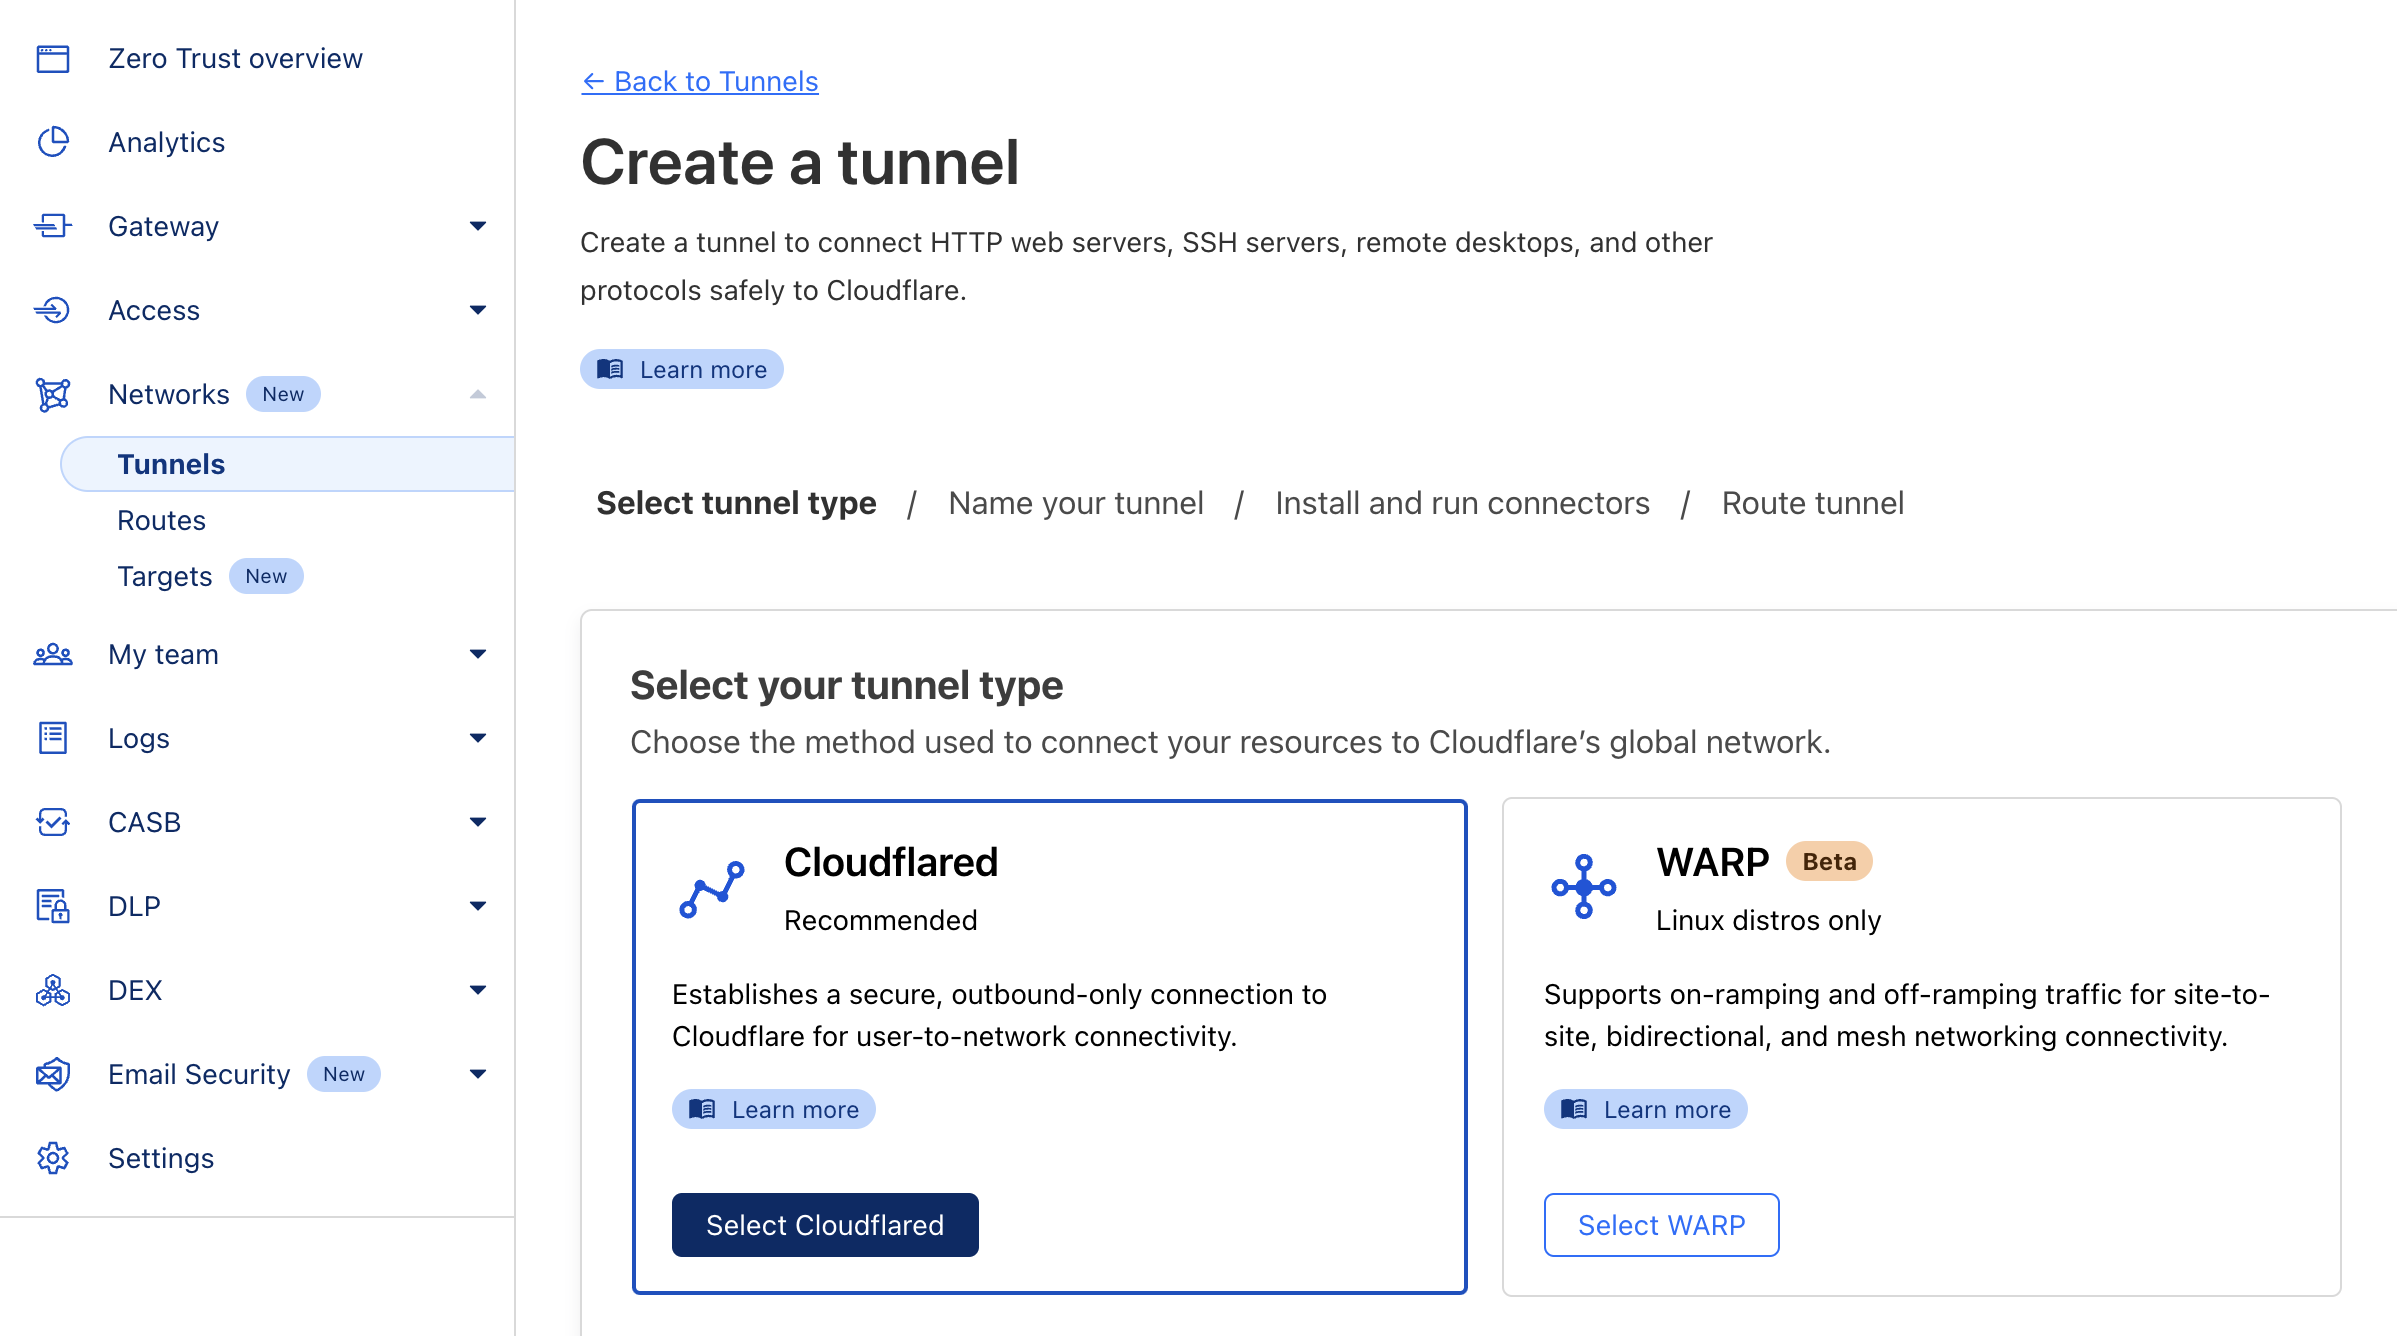
On next page, choose Cloudflared and hit Next.
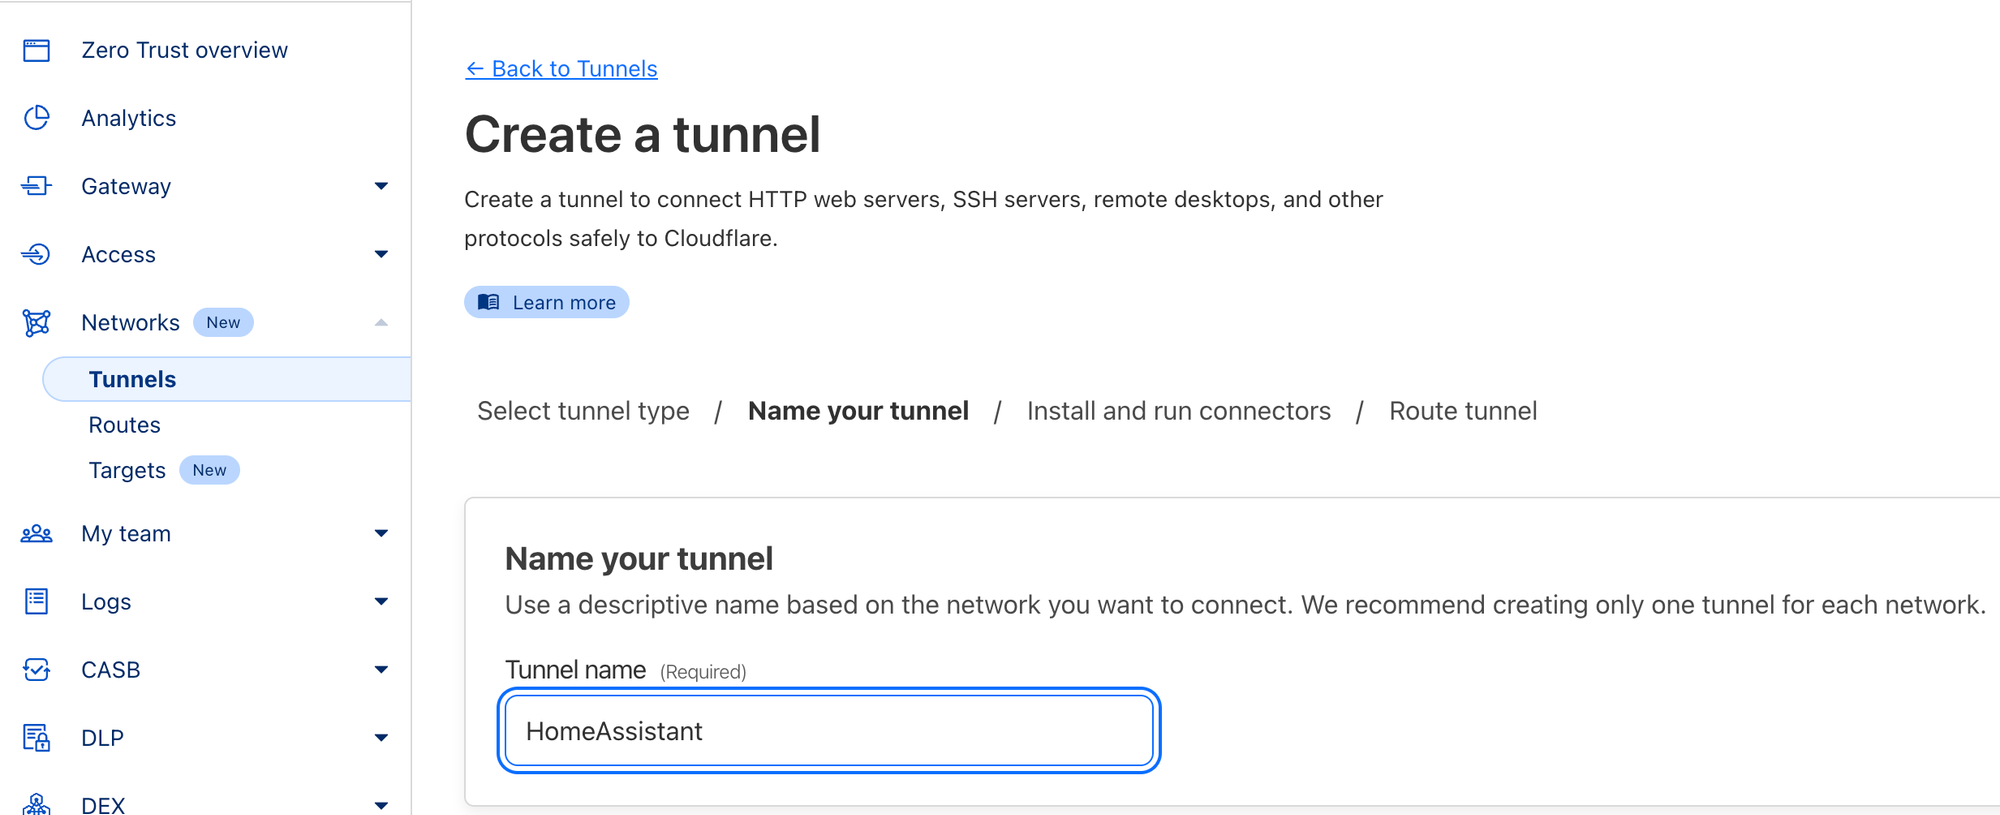
Choose a name for your tunnel. I’ve chosen HomeAssistant.
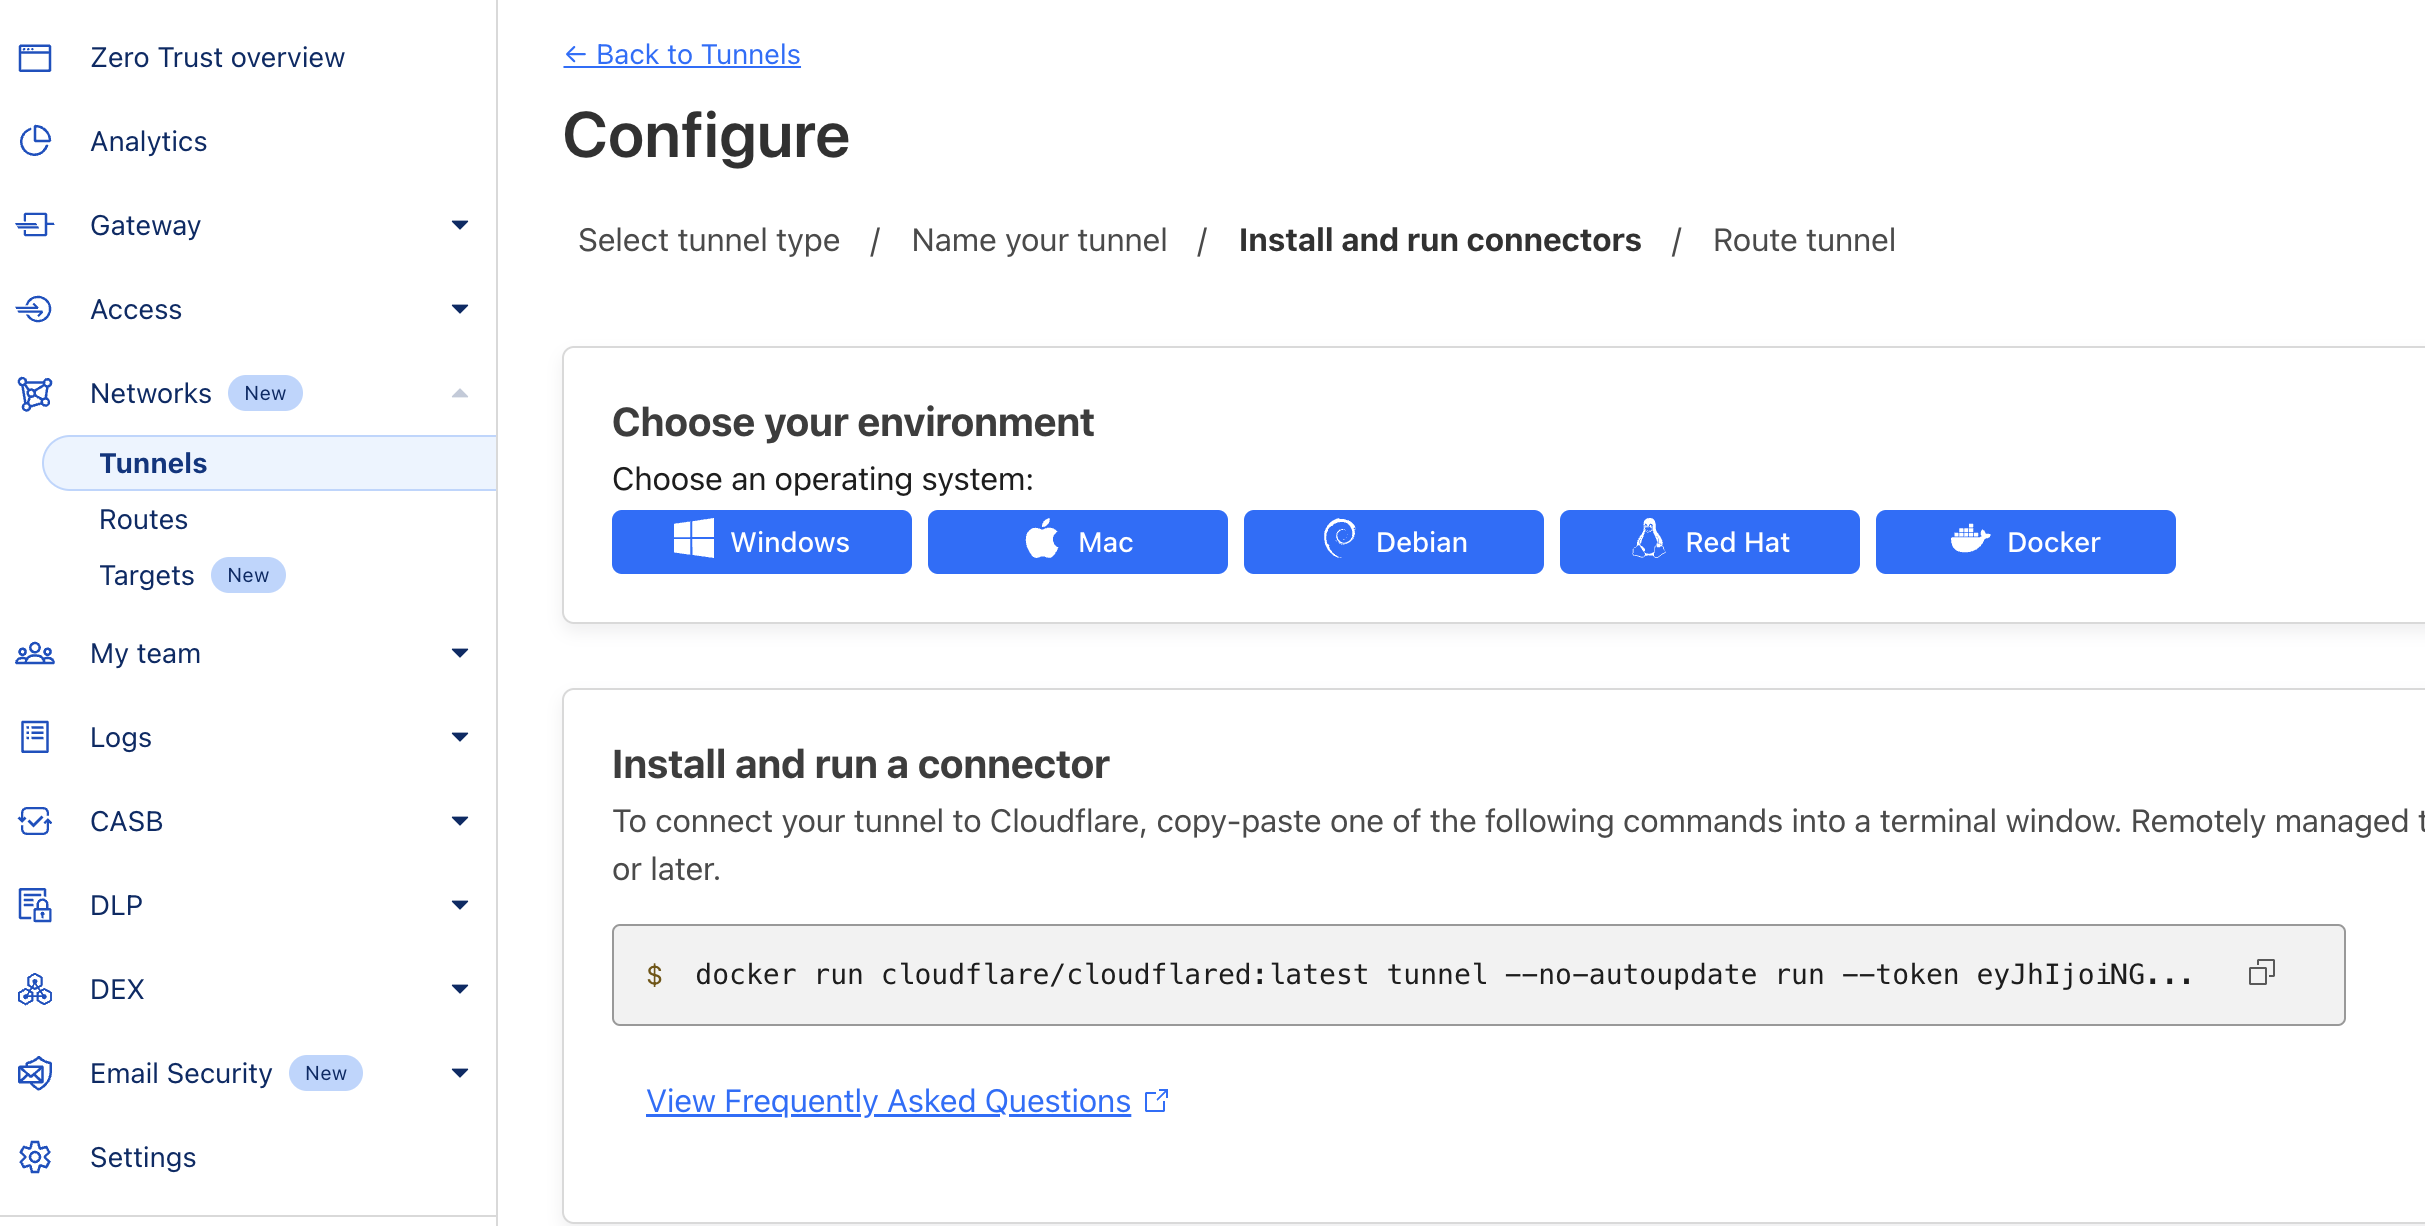
On the next page, you will have a chance to select your preferred way to install the Cloudflared connector. To make things easy, I’ve chosen Docker. Copy the entire command line. We will use the token value later in this tutorial (the value after —token).
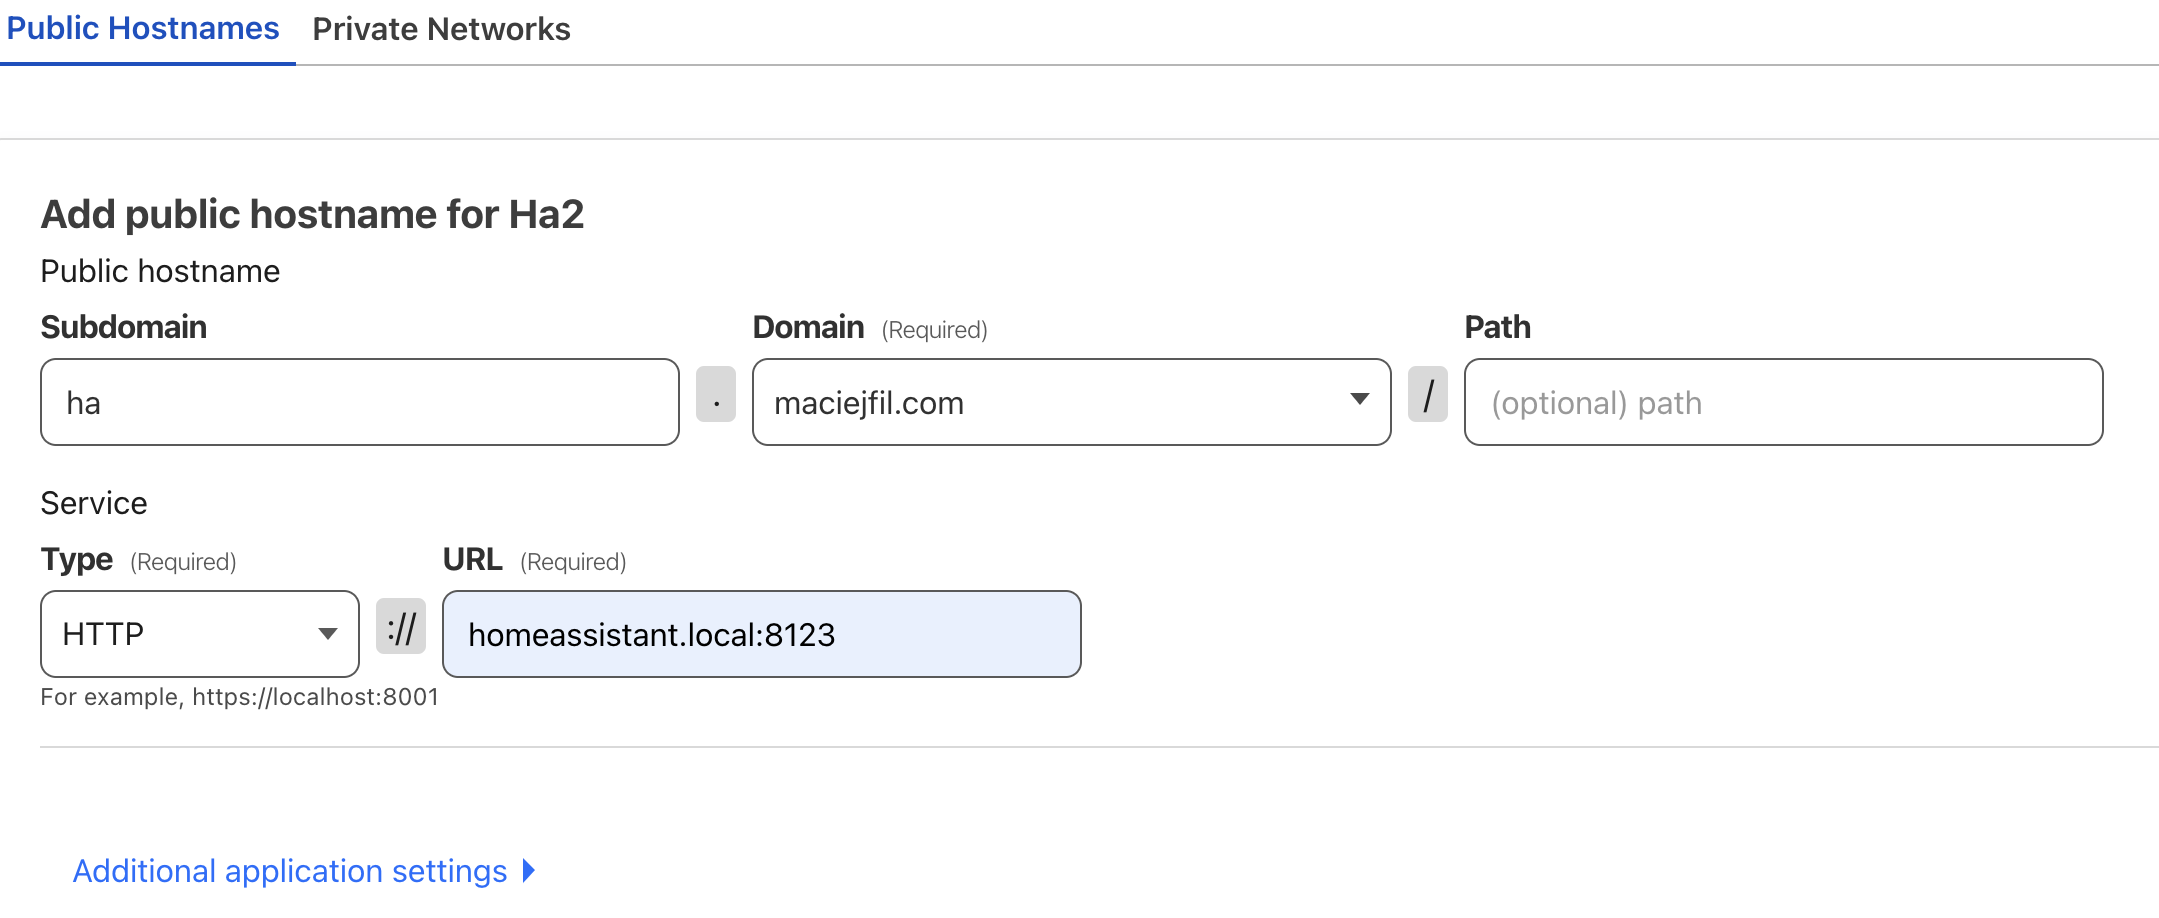
On the next page, we need to configure the actual address that we want to use. For my setup, I will use ha.maciejfil.com. Under Service Type, choose HTTP, and set the URL to homeassistant.local:8123. Don’t worry about HTTP. That only means communication inside the HA virtual machine will not be encrypted, but from client to the machine itself, it will be fully encrypted. You are safe.
Now, let’s jump to Home Assistant. Go to Settings -> Add-ons -> Add-on Store.
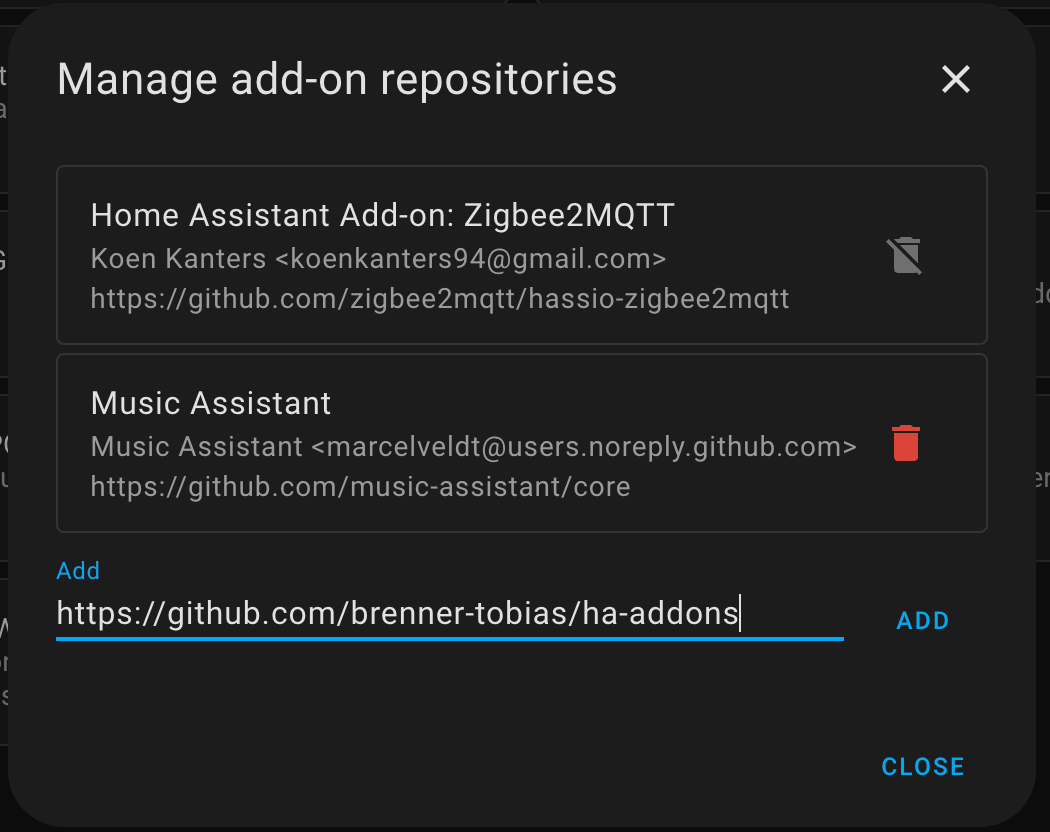
Here, we need to add a new repository (three-dot menu). Paste the following link, click Add, and refresh the page: https://github.com/brenner-tobias/ha-addons.
Now, you should see Cloudflared. Click on it and Install.
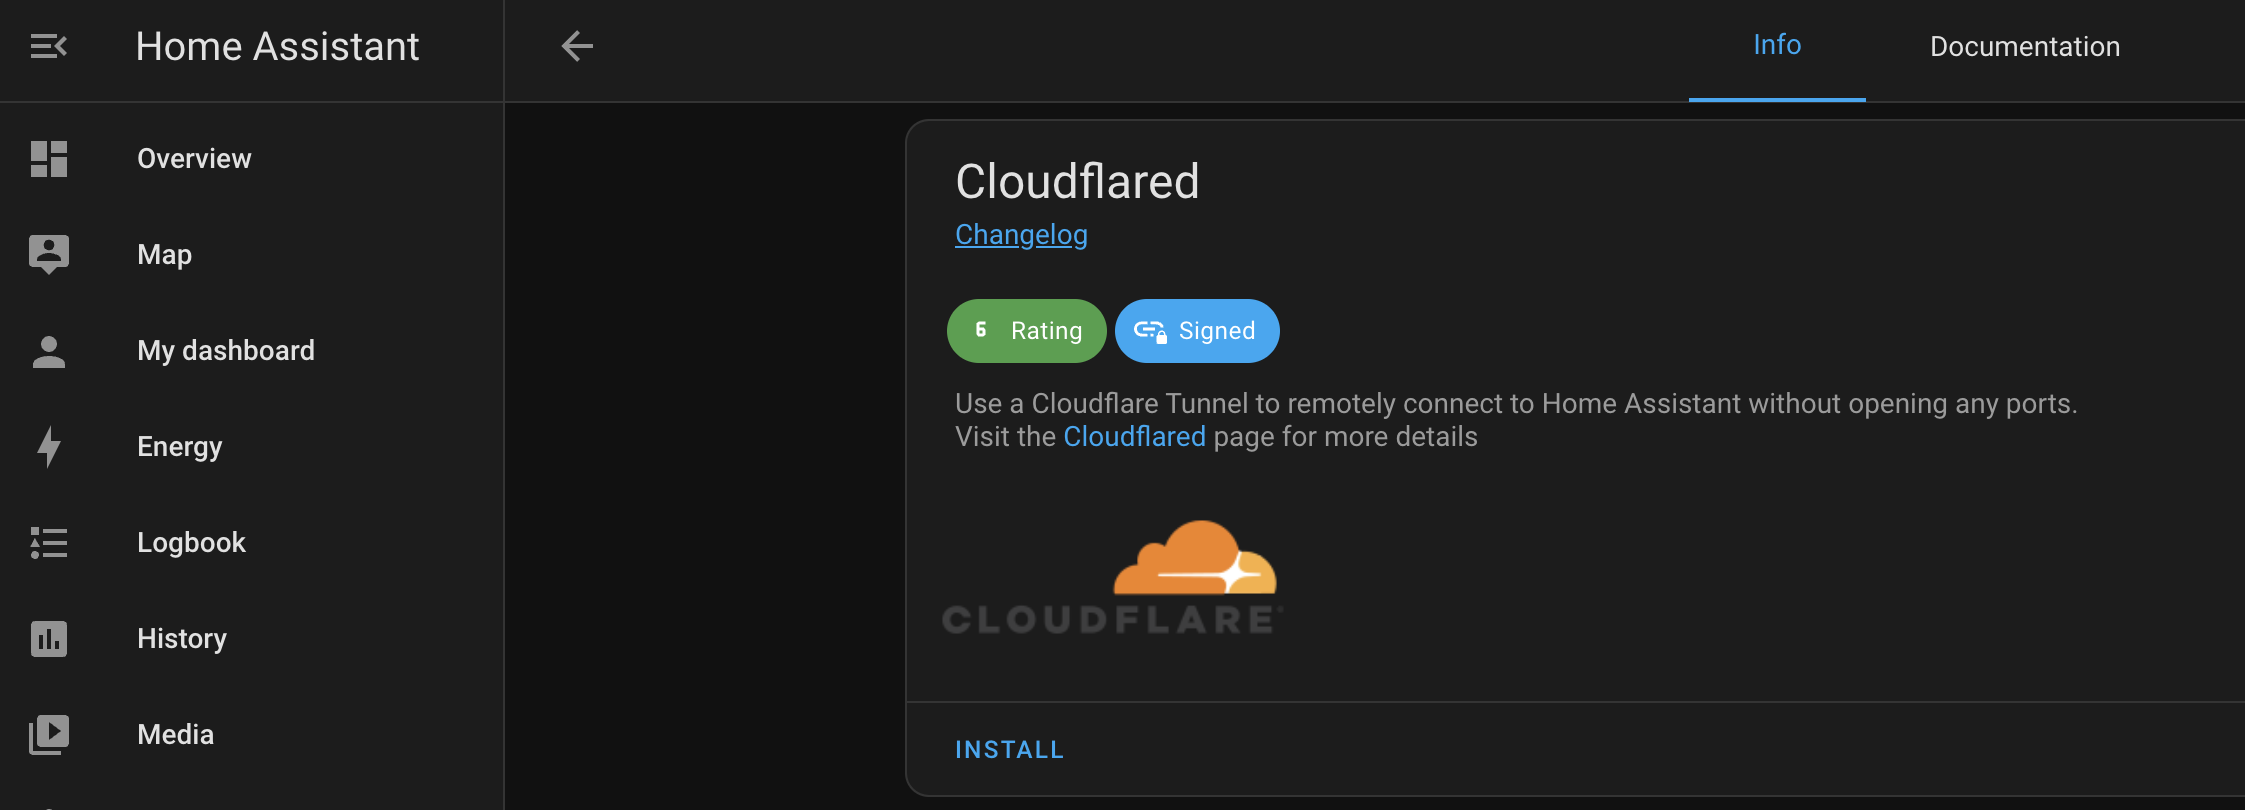
Now, in the upper menu, go to Configuration. Click on the little Advanced switch and find Cloudflare Tunnel Token. Paste the token that we saved a few steps earlier.

Click Save. You will be prompted to restart the service, so agree to it.
The last step is to add additional configuration to the configuration.yaml file. If you haven’t installed File Editor, you can do that from the Add-On Store. It’s available by default.
Go to File Editor and from the Directory icon, find and open the configuration.yaml file.
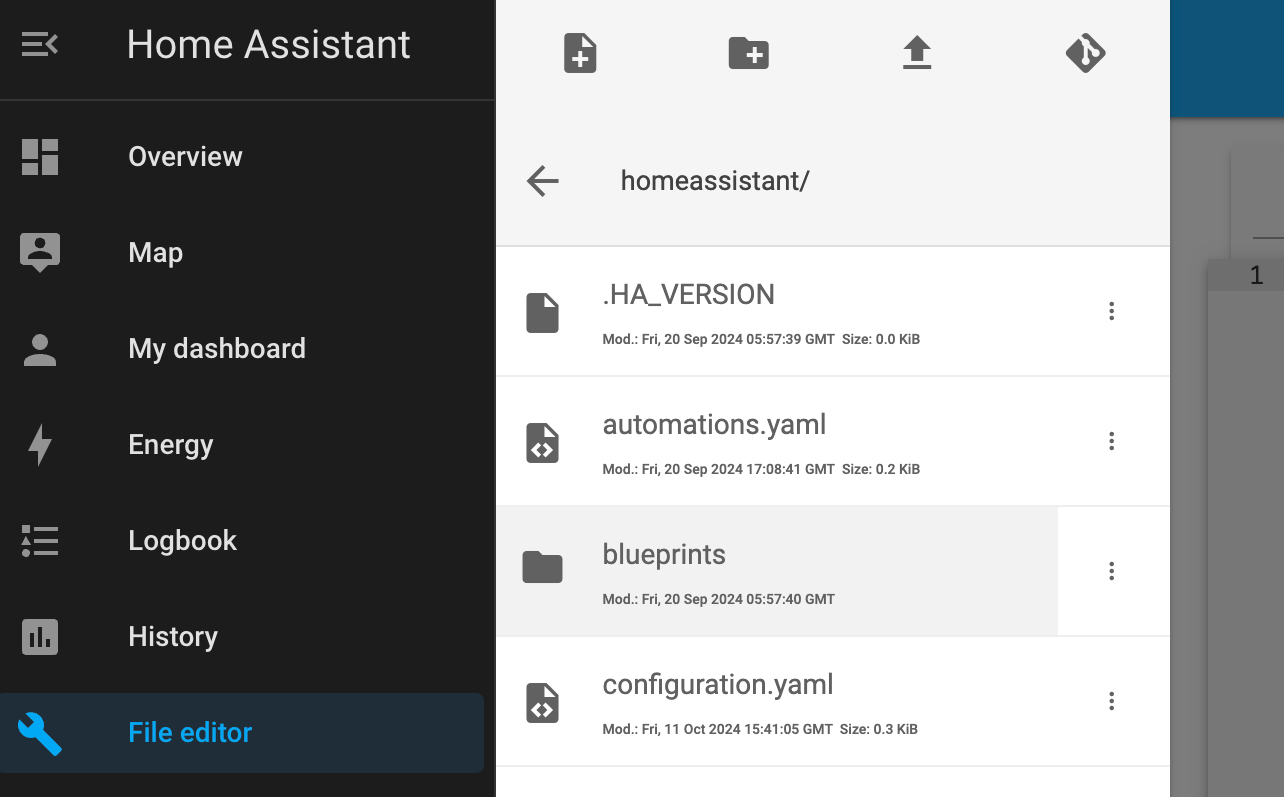
In the file, copy and paste the following lines:
# Cloudflared conf
http:
  use_x_forwarded_for: true
  trusted_proxies: 172.30.33.0/24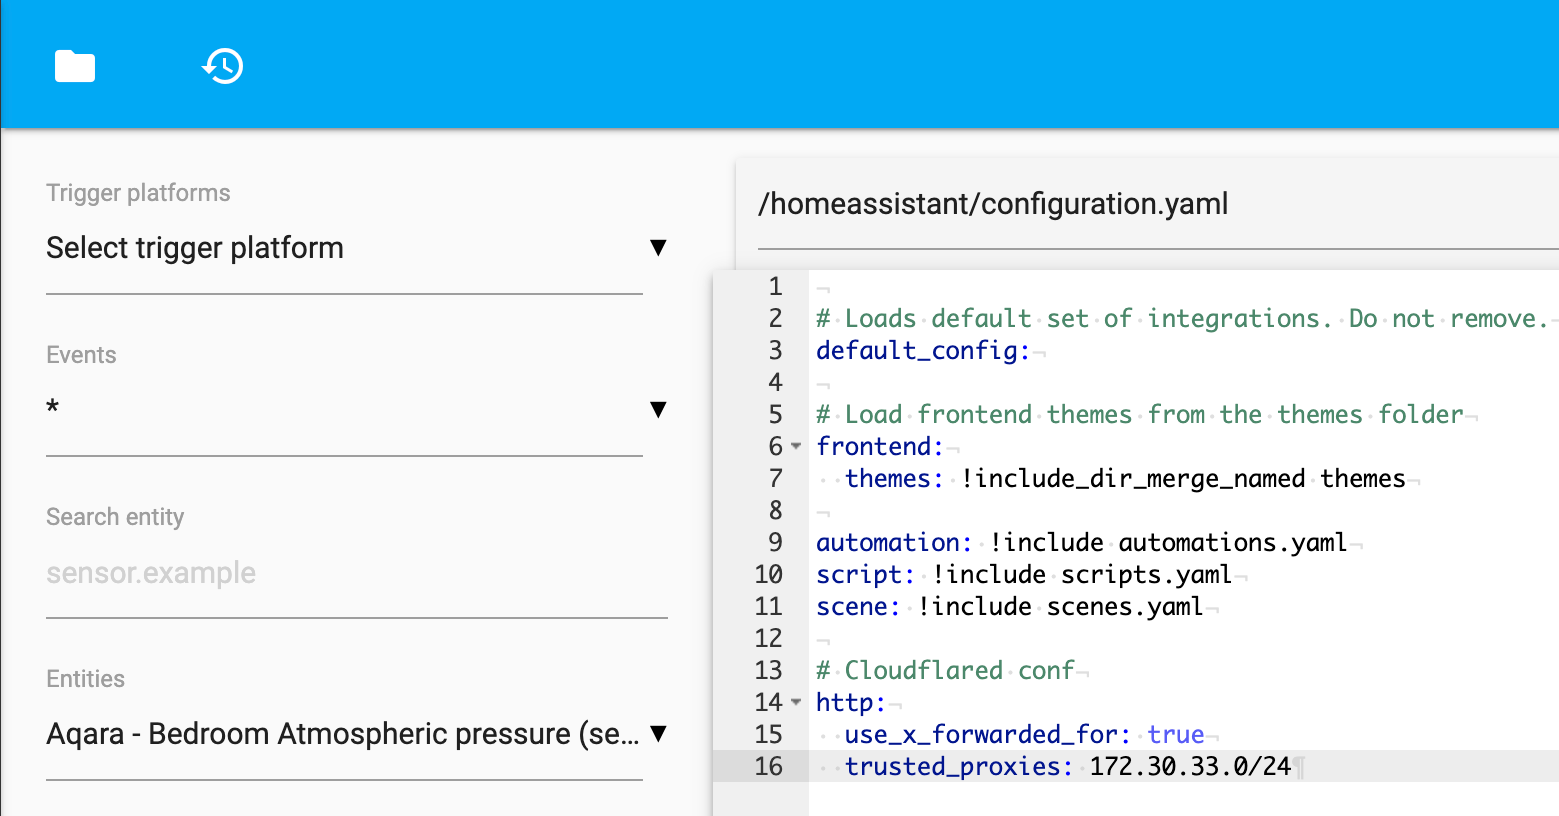
Click the Save icon in the top right corner. That’s all. Now, we need to restart Home Assistant so that the new configuration can be applied.
Head over to Developer Tools and click Check Configuration. You should see a green message indicating that everything is okay. Hit the Restart button and confirm. After a few seconds, Home Assistant should be up and running again.

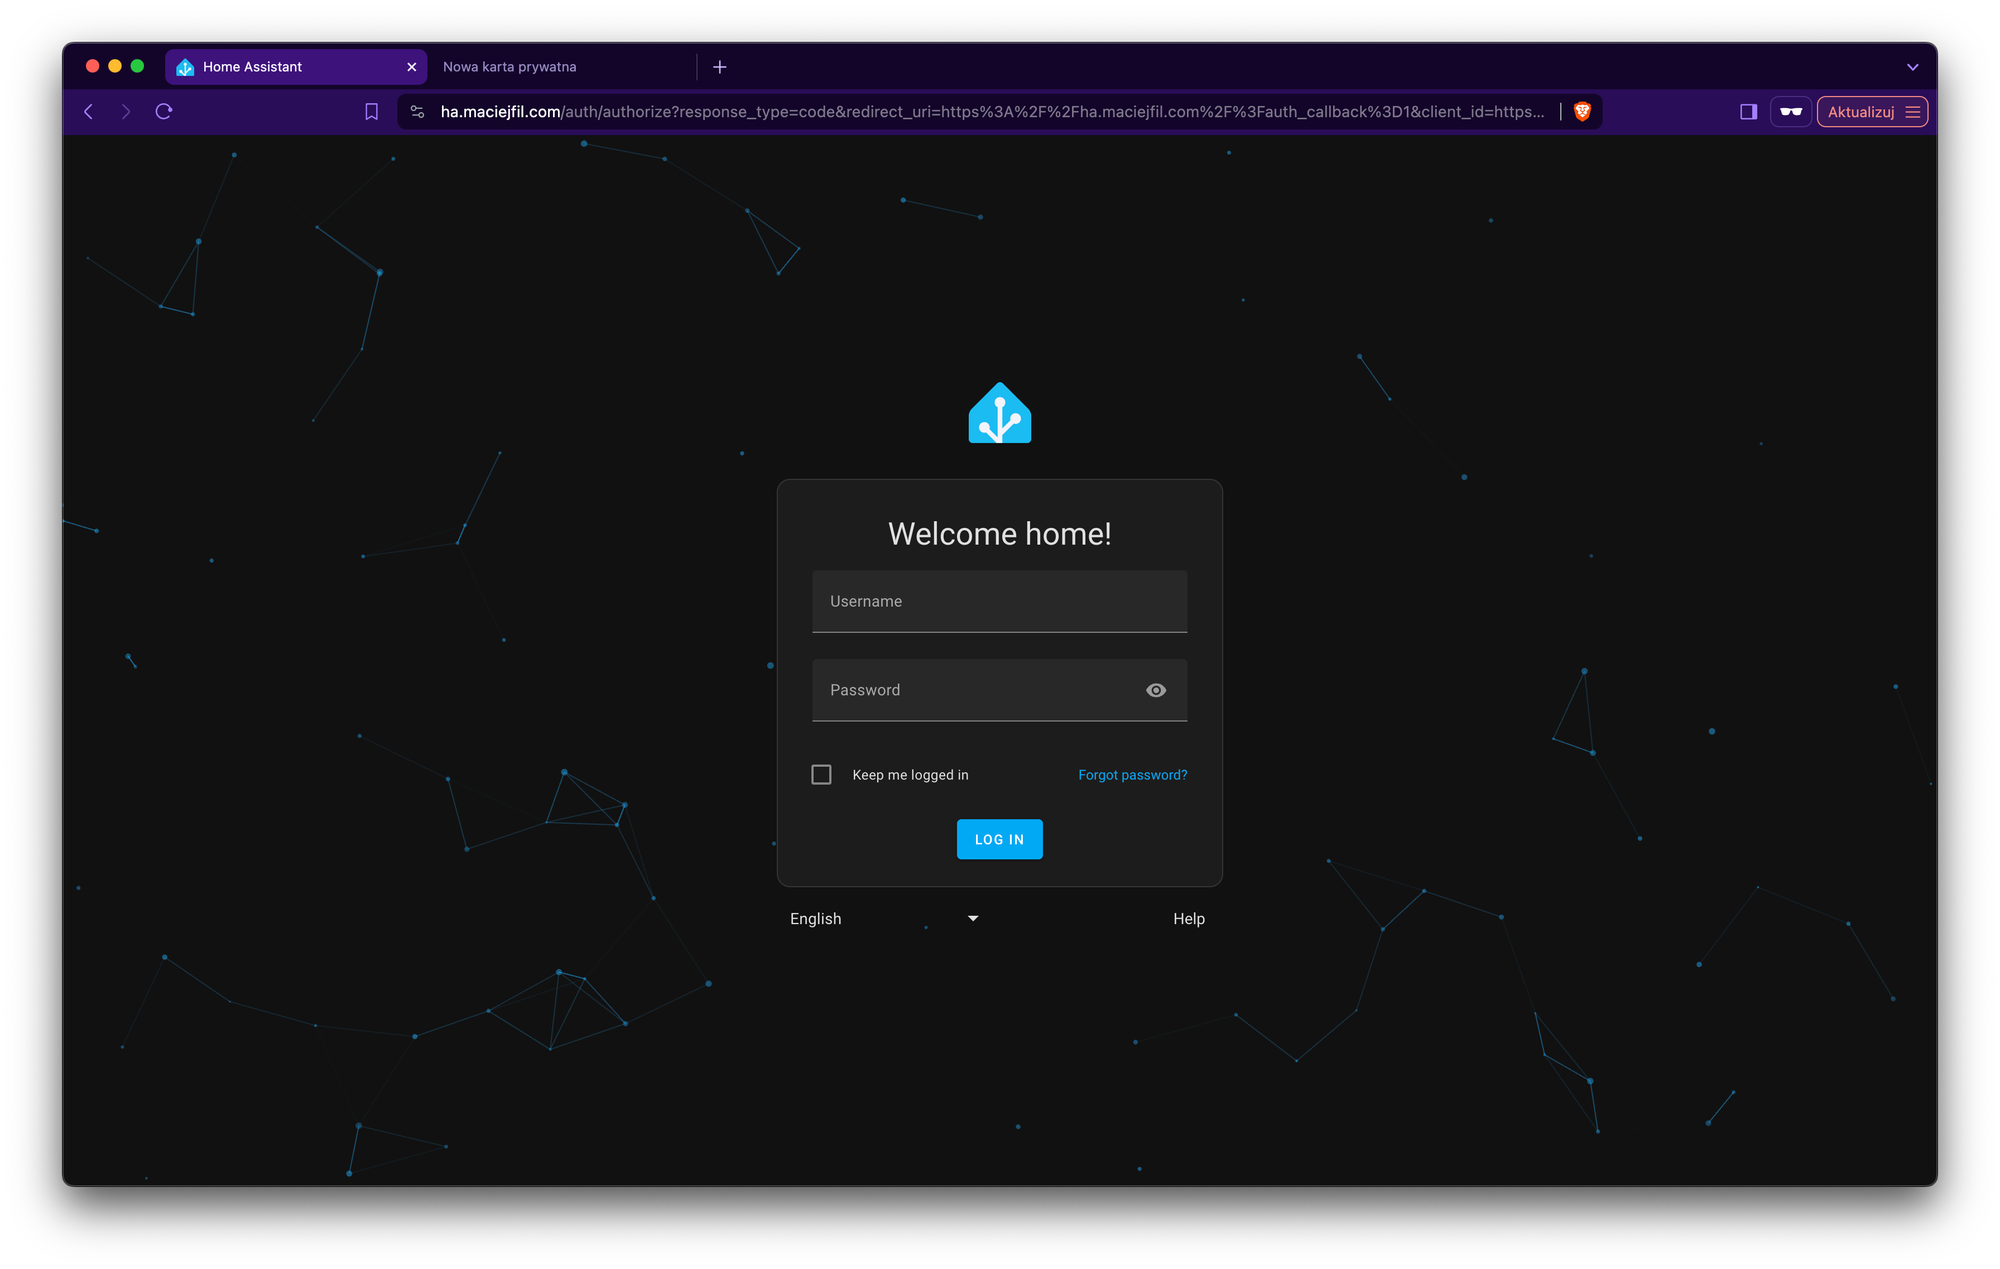
It’s time to test our solution. Type the address into your browser. In my case, it was ha.maciejfil.com. As you can see, I was able to access my Home Assistant instance through a custom address and from outside my local WiFi network!
Conclusion
In this tutorial, I’ve shown you how easily you can securely expose your Home Assistant to the internet. Now, you will be able to access your home data from anywhere in the world. Please remember to use strong passwords and enable 2FA!
If you found this article helpful, consider buying me a coffee. This helps me continue writing these articles for you!
References:
https://github.com/brenner-tobias/addon-cloudflared/wiki/How-tos
