Avatto TRV6 Home Assistant Setup

The heating season in Warsaw has begun. I’ve heard that smart radiator thermostats can work miracles when it comes to lowering heating bills. I’ve spotted a good price for the Avatto TRV6 Tuya Zigbee thermostat and decided to give it a try. My friends who have similar solutions in their homes claim that after the first winter season, the savings they made paid off the entire investment!
What will you learn?
You will learn how to install the thermostat onto a radiator with a Danfoss-type valve. Then, I will guide you through connecting the device to Home Assistant via Zigbee2MQTT, and, at the end, we will set up an simple automation.
Avatto Thermostat TRV6 review
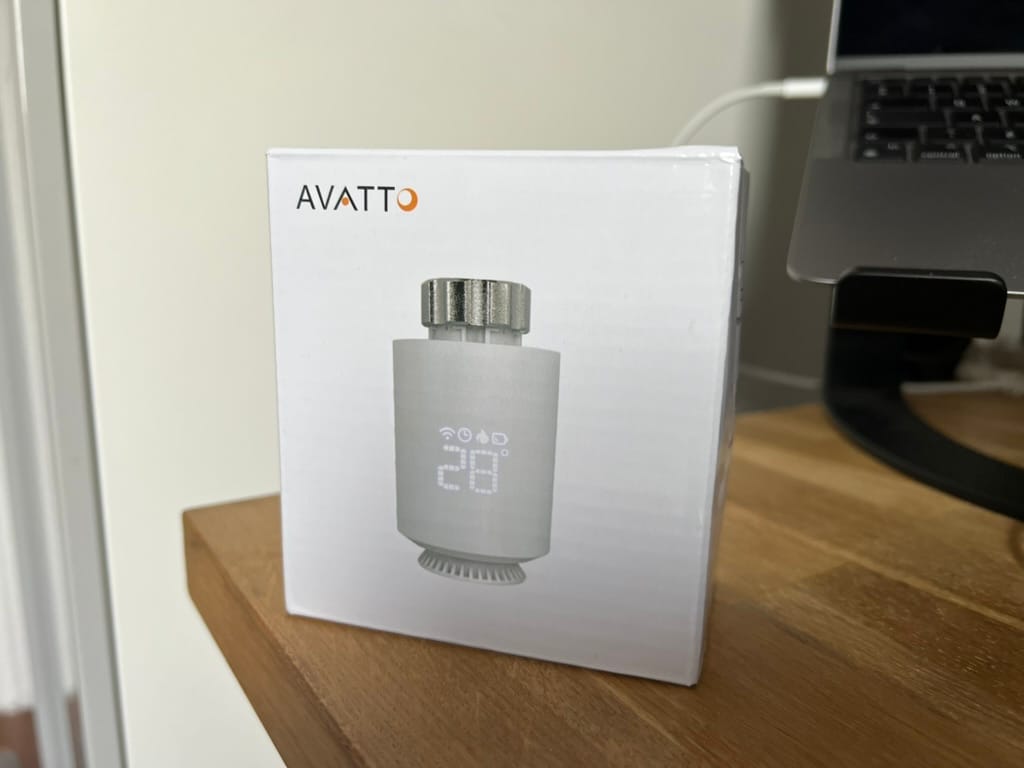
I bought my devices just a few days ago on AliExpress. The delivery took around 2 weeks to Warsaw, so quite fast.
Each package contains a thermostat, valve adapters, and a user manual. Please note that no batteries are included.
Overall, the materials it is made from feel a bit cheap, but I’m more interested in its capabilities than its looks. You get what you pay for, and for around 30$, that’s a bargain!

How to install Avatto thermostat?
Before installing it on the radiator, completely remove the white cover (there is a battery sign at the bottom). Install two fresh AA batteries. Personally I used IKEA rechargeable batteries (LADDA). Once installed, it should automatically turn on, and the dot screen should show LA sign. Give it at least 2 minutes to perform initial setup.
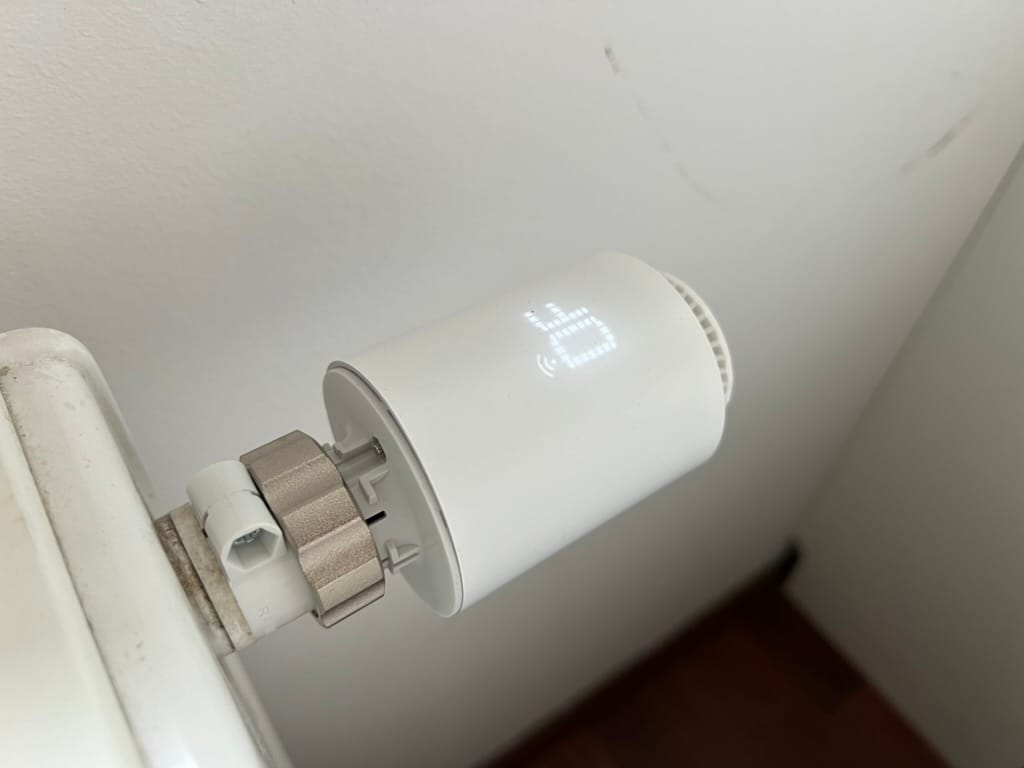
In the meantime, remove your old thermostat from the valve. My valve is of Danfoss type, so I had to install an adapter first. Make sure it sits tightly and is screwed in (but be gentle; overtightening may cause the plastic to break). Next, install the thermostat, and again, in need to sit thigh, but be careful when tightening. Now lower the temperature on the thermostat by turning the knob counterclockwise until you see 'OF' on the screen. That’s all for now!

Setup communication with HA
If you’re using Zigbee2MQTT, then the installation process is pretty straightforward. First of all, Permit Join in Home Assistant, and then while the thermostat is in OF position, press and hold circular button for couple of seconds, until the WiFi icon appears. Home Assistant should recognize and pair the device shortly. Check out this link for detailed instructions on pairing a new device. https://maciejfil.com/how-to-set-up-zigbee2mqtt-for-home-assistant/

Create Home Assistant automation
Alright, so I created a really simple automation. Go to Settings, and then Automation. There you can add a new automation. When I wake up and go to the living room, I like when it is a little bit warmer in the morning. So my automation every day at 6.30AM turns on the radiator for 20 minutes, and then it turns off. Below you can find the whole YAML configuration.
alias: Living Room Warmup DAILY
description: Turn on the heating every day at 6.30am
trigger:
  - platform: time_pattern
    hours: "6"
    minutes: "30"
condition: []
action:
  - device_id: dbd3dc4af8c1a68b75a9b23532abdebf
    domain: climate
    entity_id: 3fa5058913a0b77ee1d623acedd43848
    type: set_hvac_mode
    hvac_mode: heat
  - delay:
      hours: 0
      minutes: 20
      seconds: 0
      milliseconds: 0
  - device_id: dbd3dc4af8c1a68b75a9b23532abdebf
    domain: climate
    entity_id: 3fa5058913a0b77ee1d623acedd43848
    type: set_hvac_mode
    hvac_mode: "off"
mode: single
Feel free to experiment with your use cases! For example in my bedroom Home Assistant has a task to maintain 21 degrees between 6am and 10pm.

If you found this article helpful, consider buying me a coffee. This helps me continue writing these articles for you!
Conclusion
In this article, I showed you how to install and configure the thermostat with Home Assistant. With just a few automations you can easily maintain desired temperature in your home and therefore decrease the cost of heating.
